Mi A2 Lite Battery Replacement
ID: 193050
Description: This guide will help you replace the battery in...
Steps:
- Make sure you discharge the phone below 25%, since a charged battery could catch fire if it's accidentally punctured.
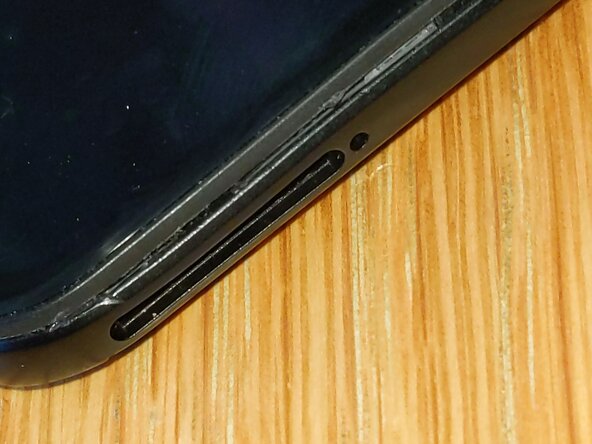
- Power off the phone and remove any cases, cables and the SIM card tray.
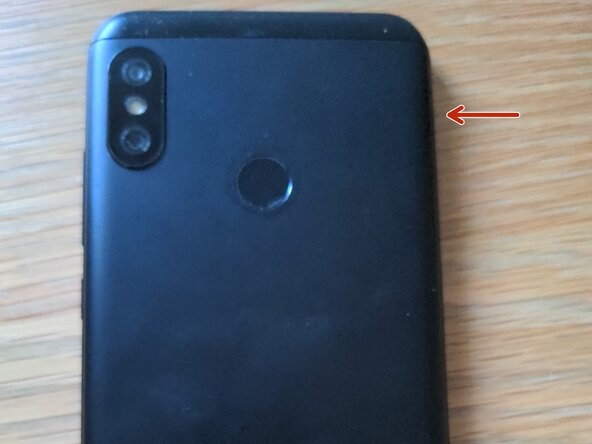
- During this step, make sure you only pry in the seam around the plastic frame, and not between the frame and the glass. The red area shown in the photo is where you should pry.
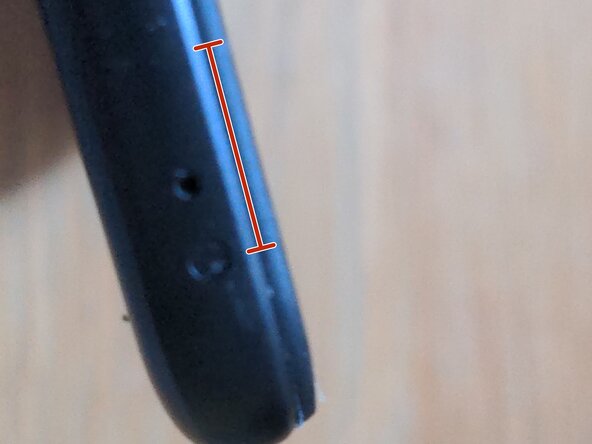
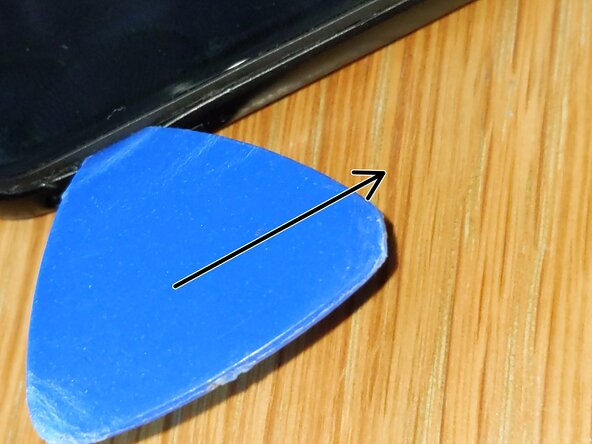
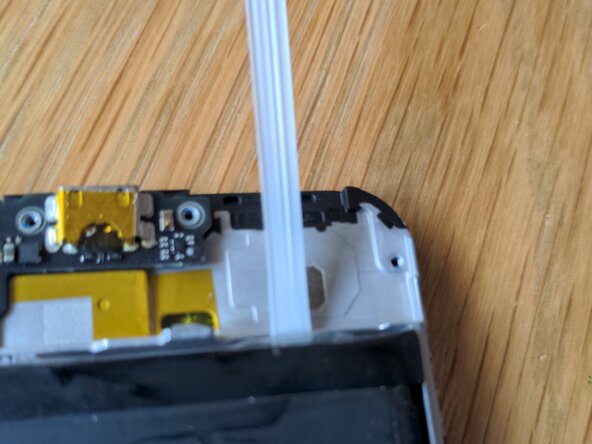
- Start by inserting a plastic pick into the area above the SIM card tray. Then slide it down the long edge of the phone - you should see the plastic start to separate if you do it right.
- Continue prying all the way around the phone, until the back cover is free to come off. (Don't remove it yet, there is still a ribbon cable!)
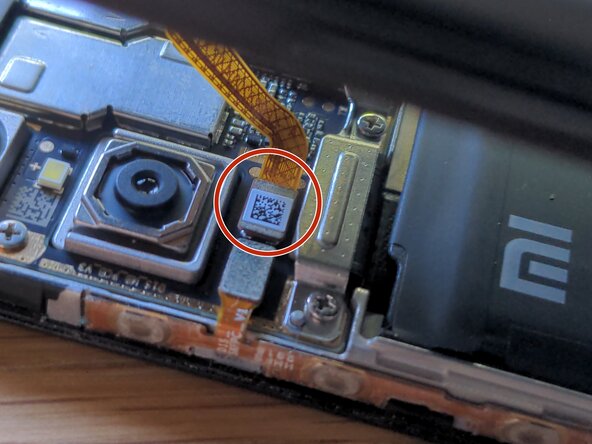
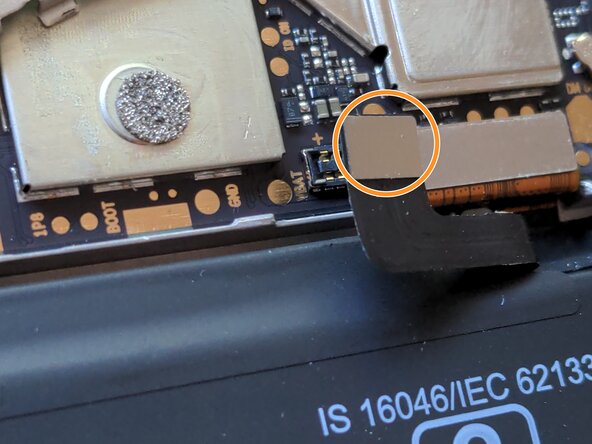
- Use a plastic tool or spudger to pry up the press connector shown in the photo
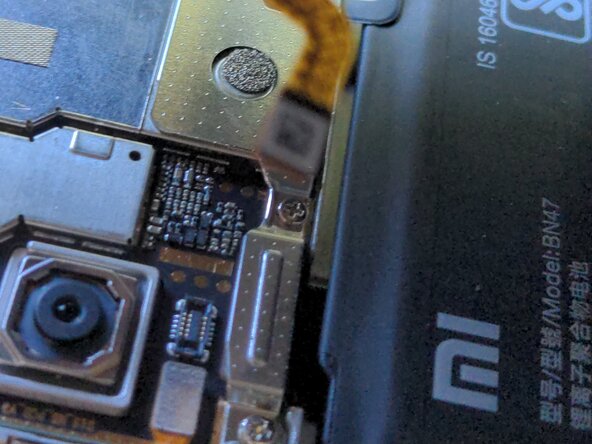
- Now the back cover can be removed and set aside.
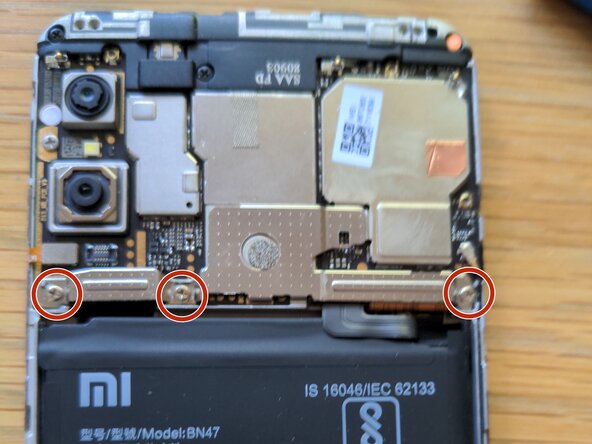
- Unscrew the three Phillips #0/#00 screws shown in red
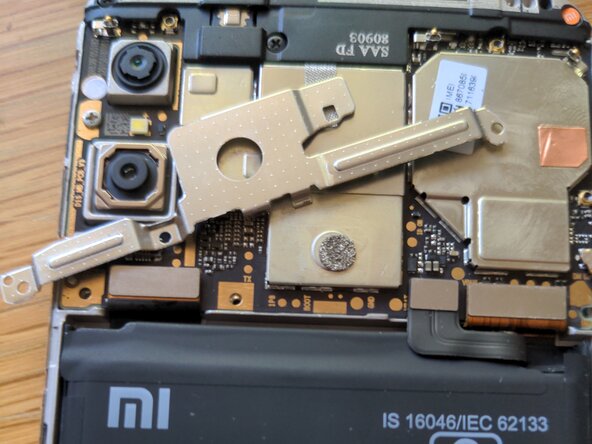
- Then pry up the metal shield that covers the battery connector. I don't recommend metal tools in case you cause a short.
- Set aside the shield and pry up the press connector for the battery.
- Though this step is optional, skipping it will mean you are more likely to break the adhesive strips in the next step.
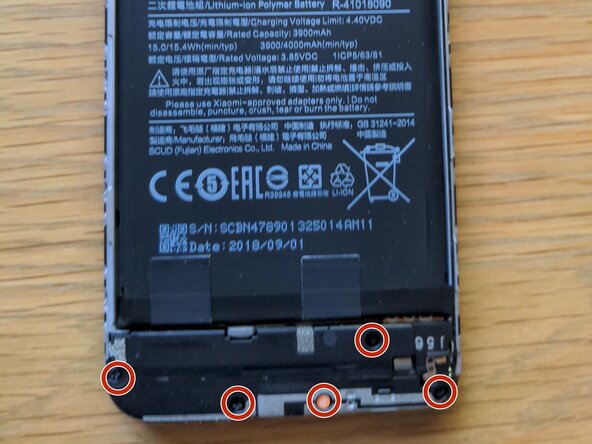
- Remove the five Phillips screws shown in red. One of them is covered by a security sticker which you can remove with tweezers.
- Carefully pry up the speaker module and set it aside.
- During this step, be careful not to damage the orange flex connector to the right of the adhesive strips. Keep your tweezers away from it to avoid slicing the cable.
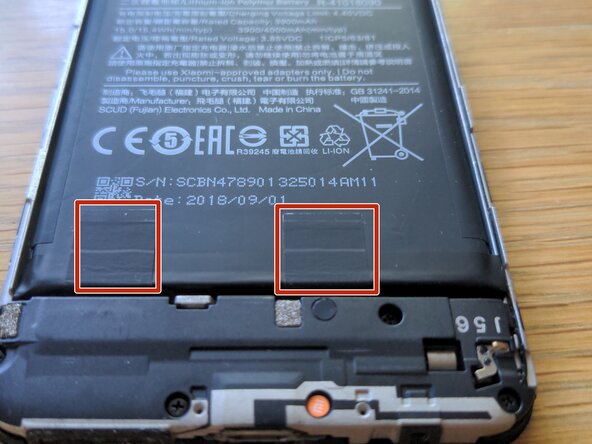
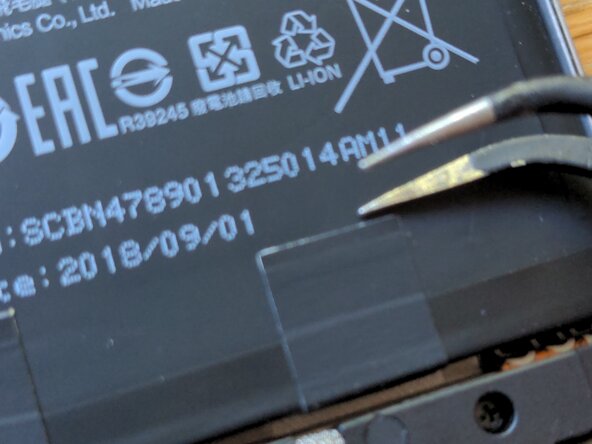
- Using tweezers, firmly grip one of the black pieces of tape, and start peeling it up.
- When the tape is free, you should see part of the white stretch release adhesive. This is easy to break, so make sure you pull gently and at a low angle.
- Keep on pulling the adhesive until it is completely removed; it shoud stretch to many times its original length.
- If the strip breaks off underneath the battery, don't panic! Have a look at the next step.
- Repeat for the other adhesive strip.
- Using a syringe, apply 99% isopropyl alcohol into the area under the broken strip. Wait a few minutes for it to flow under the battery and break up the adhesive.
- Now the battery can be removed with a plastic pick or suction cup. If the adhesive is still strong, don't force it, just apply more alcohol.