How to create a virtual machine on VMware Workstation Pro 17
ID: 193735
Description: This guide will go over how to create a VM in...
Steps:
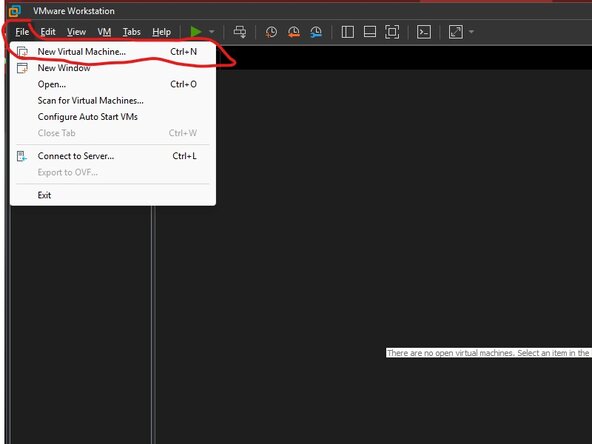
- Open VMware Workstation Pro 17.
- Go to File > New Virtual Machine..
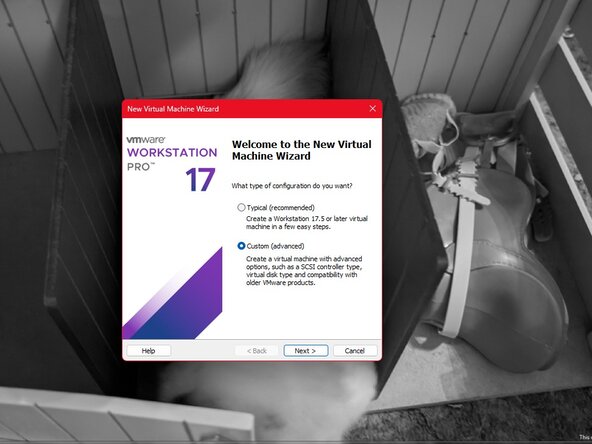
- Since we're doing the Custom setup, choose the second radio button and press "Next".
- Here you can choose what VMware version you want the VM to be for. You can set an older one, and it will still run on Pro 17, but potentially with less features. If you're unsure, leave it at the default.
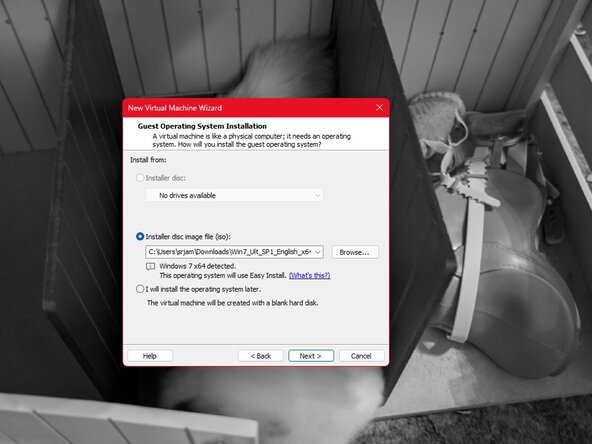
- Next, choose where you want to install the OS from. You can either use a disc in a physical drive, an ISO image, or none for now.
- If you're using a modern version of Windows, VMware will use Easy Install (Unattended mode) during Setup. The next step will go over these options. If you're not using one of these versions, you can skip the next step.
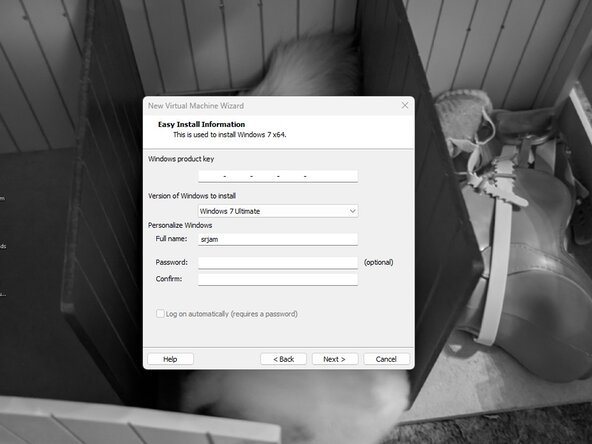
- First, if you have one, enter the Product Key for Windows.
- Next, choose the skew you want to install. You should pick the one your product key is for
- Lastly, enter the name for the user (default is your username) and your password.
- If you enter a password, you can also have Windows log in to that account automatically by checking the box at the bottom.
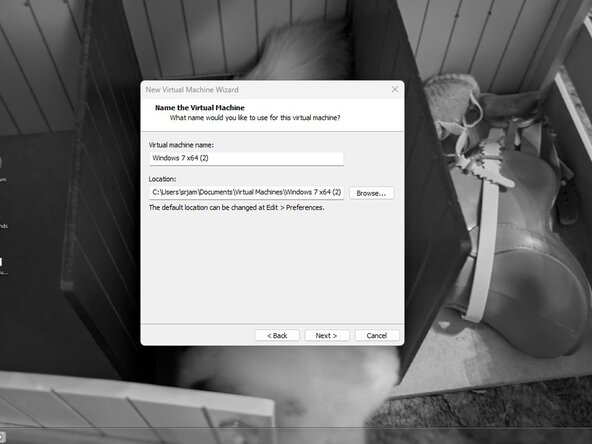
- Choose a name for the VM and where it will be stored.
- You can change the path VMware saves to by default in Edit > Preferences.
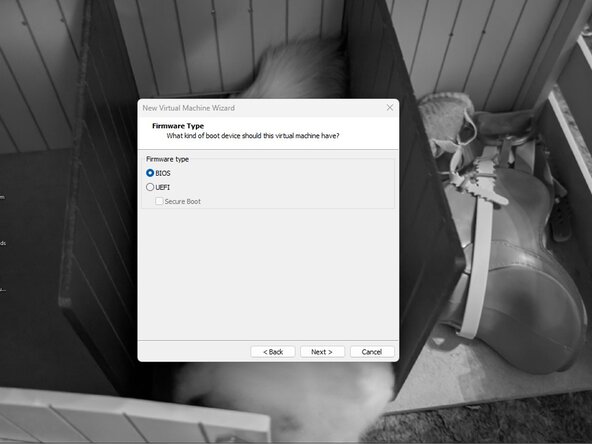
- Here you can choose between BIOS and UEFI. For older operating systems, choose BIOS. For newer operating systems, choose UEFI and, especially for newer versions of Windows, you may want to enable Secure Boot.
- Here you can set the number of processors and how many cores each processor has. What's best will depend on the host machine and guest OS, but 2 processors and 2 cores can be a good default, or you can stick with the 1 processor and 1 core default. You can change it at any time.
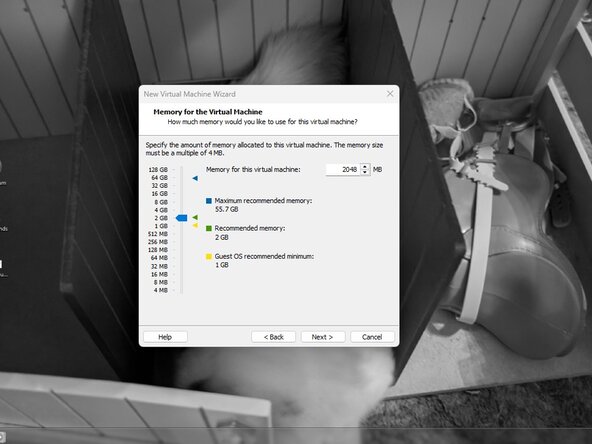
- Here you can specify how much RAM is allocated to the VM. The allocated amount must be less than the amount your host has.
- Some operating systems may limit the amount of RAM you can specify. Win9x systems have a max of 1GB.
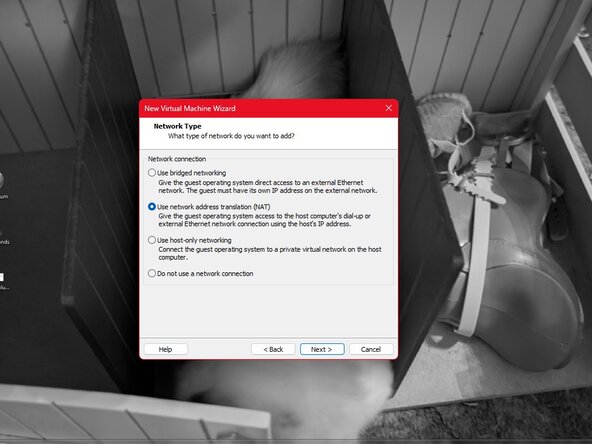
- Here you can specify the type of networking the VM will have.
- A good default is NAT, but you'll want to use Bridged if you need the VM to have its own IP on your network, which can be good for stuff like servers.
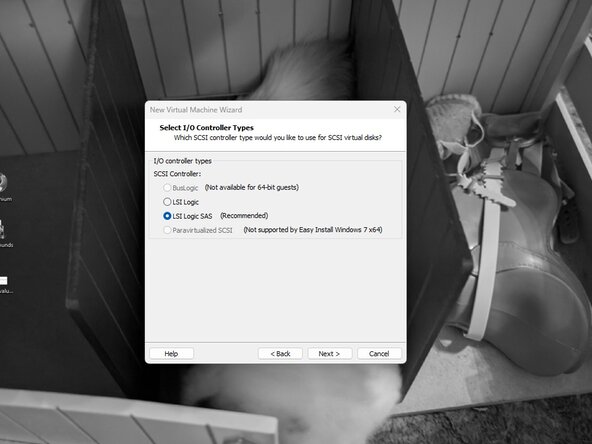
- Here you can choose the type of I/O Controller the VM will use. Keep it at the default if you're not sure.
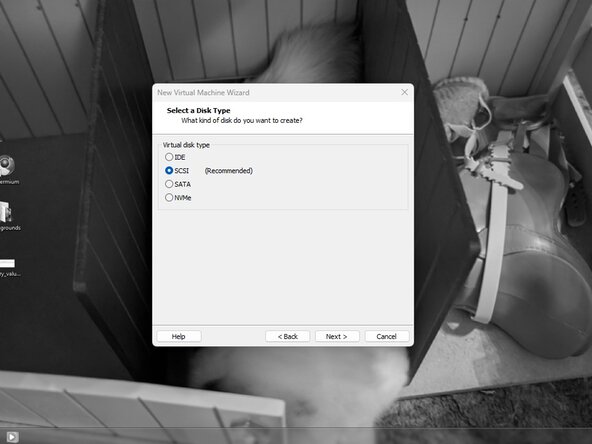
- Next, choose the type of disk the virtual hard disk will be. You may need to change this to get some Operating Systems to recognize the virtual hard disk.
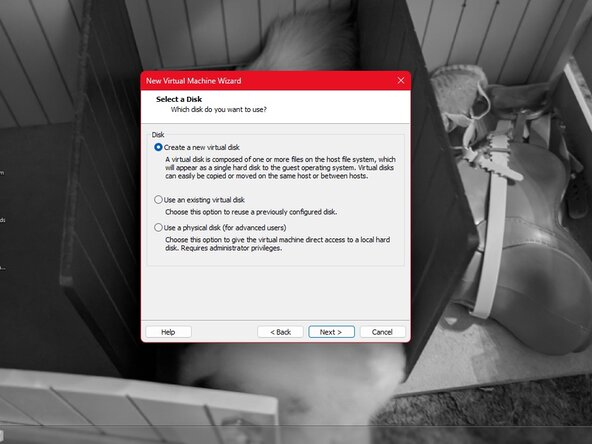
- Next, choose what kind of hard disk you want to use. You can either create a new one, use an existing one, or if you have another drive connected to your computer, use that physical drive.
- You will need administrator privileges to use a physical drive as the VM's hard disk.
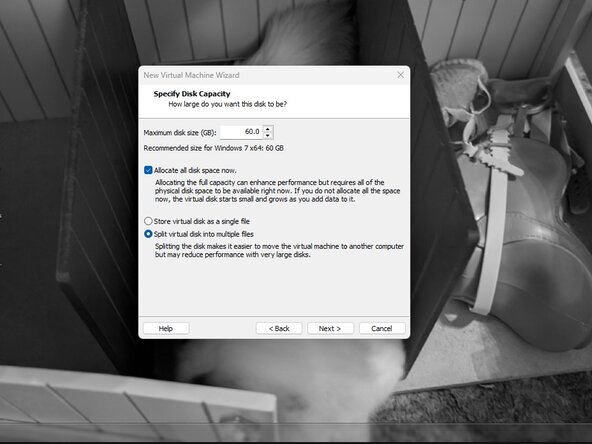
- If you're creating a virtual hard disk, you can specify how big you want the disk to be, whether to use one file or multiple files for the disk, and if you want to allocate all of the space now.
- It's more performance efficient to use one file for the hard disk.
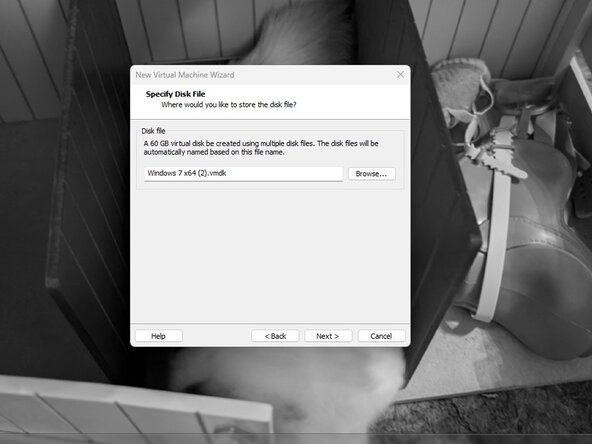
- On the next screen, you can specify the virtual disk's name (default is the VM's name)
- Here you can review your settings that you specified in the previous steps. You can also click "Customize Hardware..." to add to or modify the VM's hardware.
- You can also tell VMware to boot the VM after creation.