Nintendo Switch 2 Right Joy-Con 2 Connector Installation
ID: 194137
Description:
Steps:
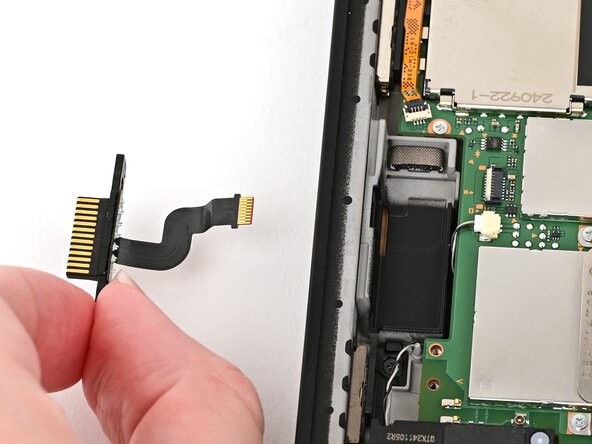
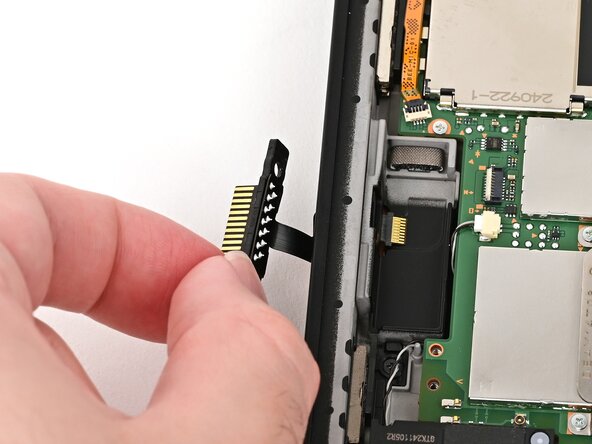
- Align the right Joy‑Con 2 connector cable with its cutout in the frame.
- Carefully thread the cable through its cutout so the cable reaches its connector on the board.
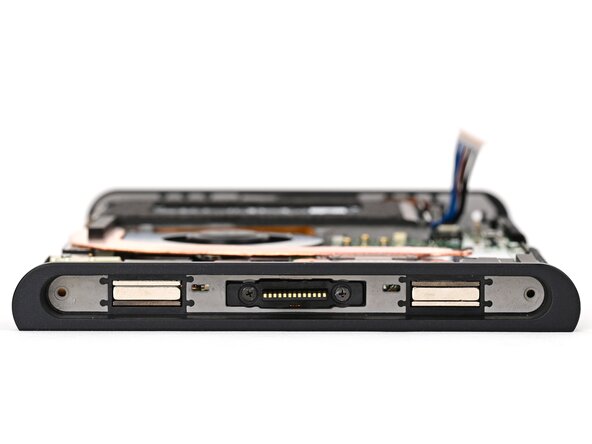
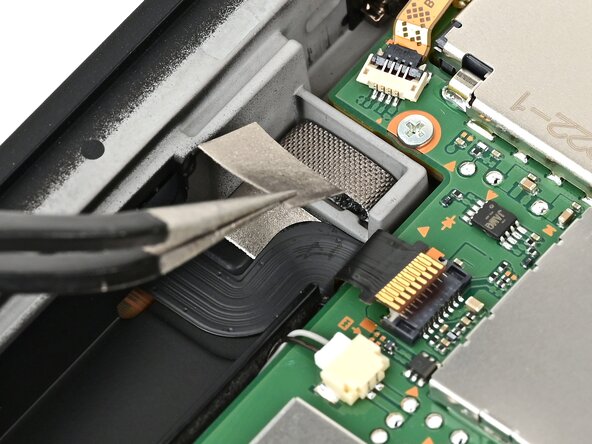
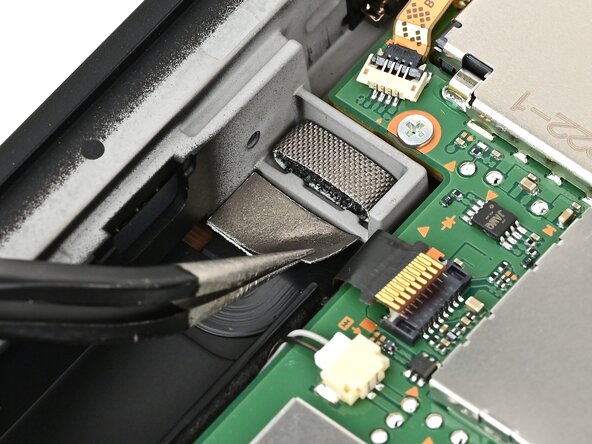
- If the silver sticker beneath the cable was removed, adhere it to the bottom of the cable.
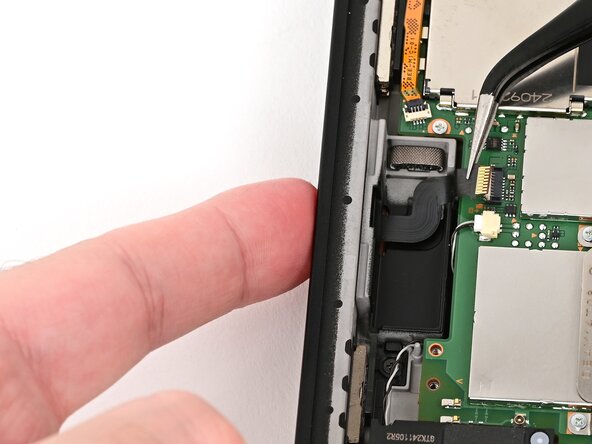
- Use a JIS 00 driver to remove the two 3.2 mm‑long black screws securing the right Joy‑Con 2 connector.
- Use tweezers to place the silver sticker over the right Joy‑Con 2 connector cable.
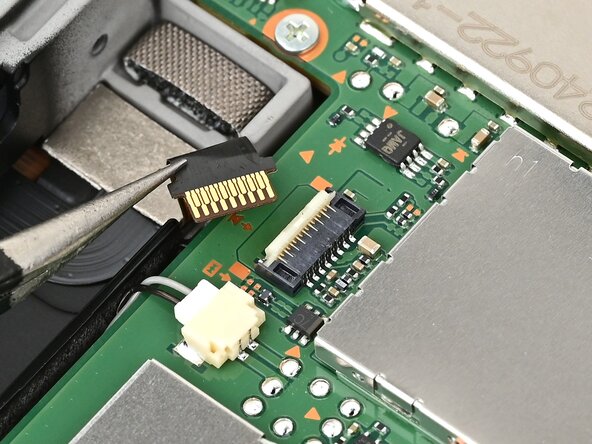
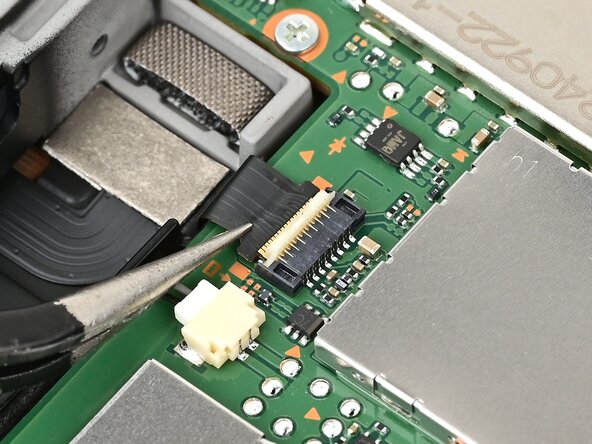
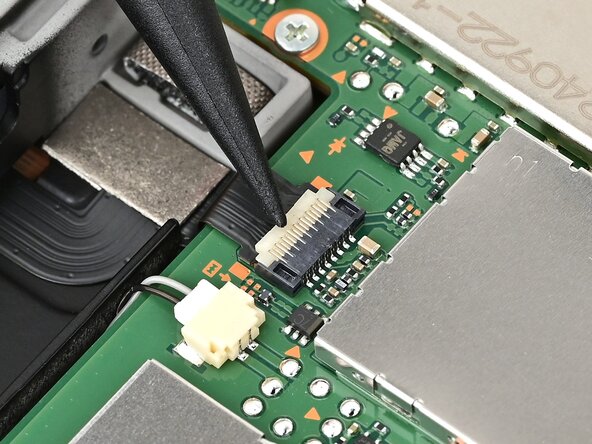
- Insert the right Joy‑Con 2 connector cable into its ZIF connector on the board until it's fully seated.
- Flip the hinged locking flap down to secure the cable.