Nintendo Switch 2 Screen Removal
ID: 194189
Description:
Steps:
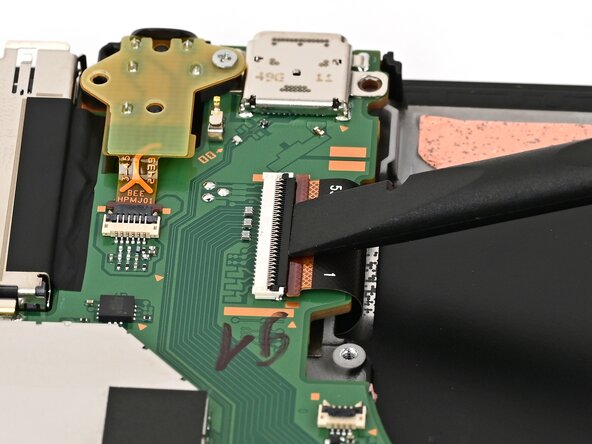
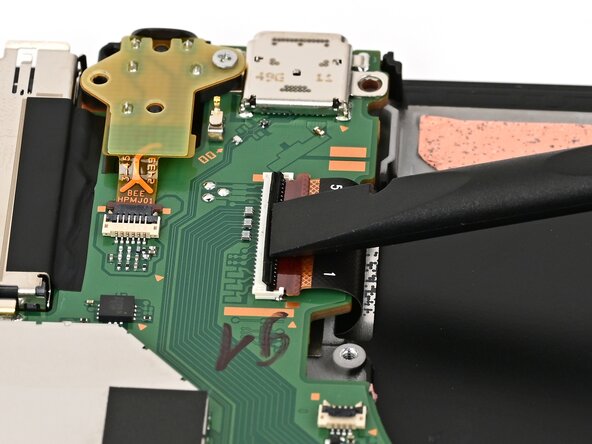
- Use your finger or the flat end of a spudger to flip up the locking flap on the screen cable ZIF connector.
- Use tweezers or your fingers to gently pull the cable out of its connector.
- Flip the console over so the screen is facing up.
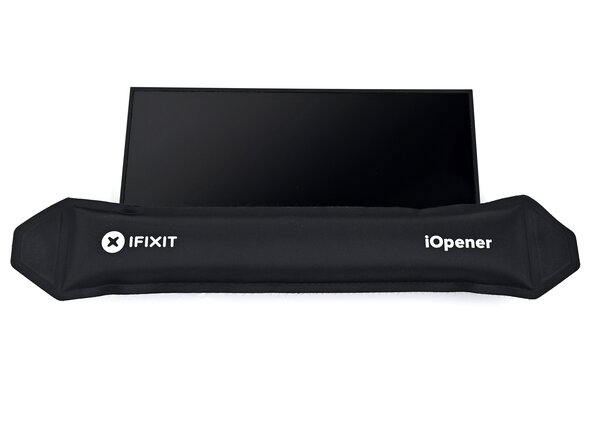
- Apply a heated iOpener to the bottom edge of the screen for two minutes.
- Alternatively, you can use a hair dryer or heat gun to heat the bottom edge of the screen until it's hot to the touch.
- Be careful not to heat the console hotter than this—the frame is susceptible to heat damage.
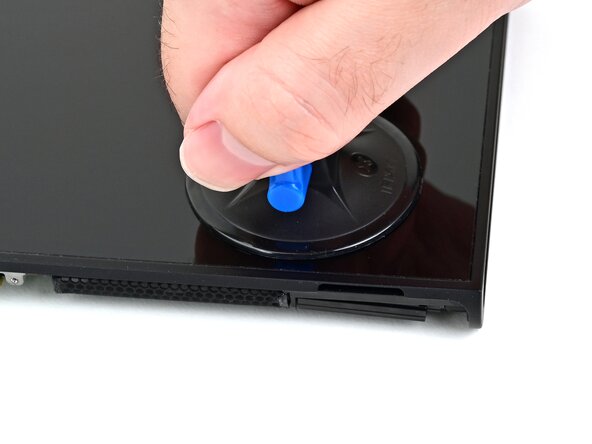
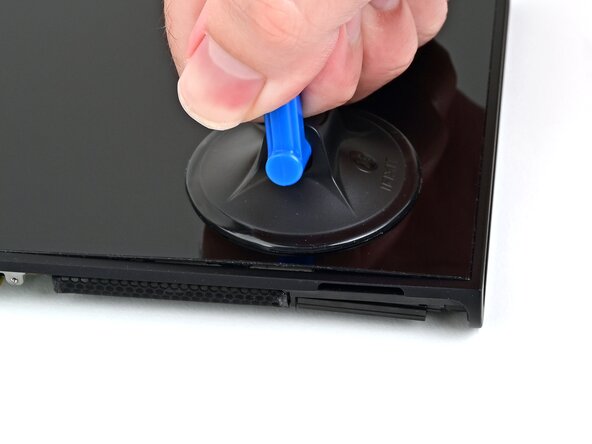
- Apply a suction handle to the bottom edge of the screen, above the right speaker and ventilation cutouts.
- Pull up on the handle with a strong, steady force to create a gap between the screen and the frame.
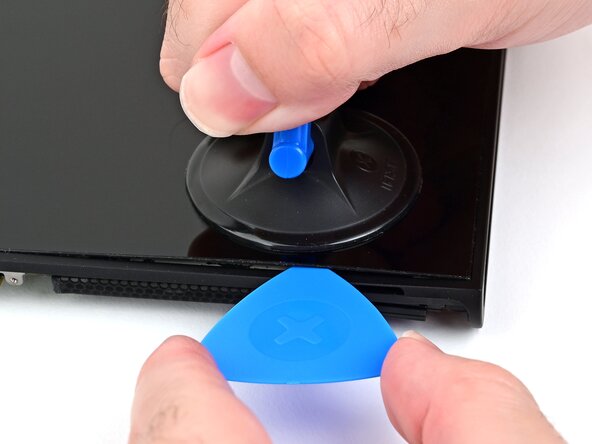
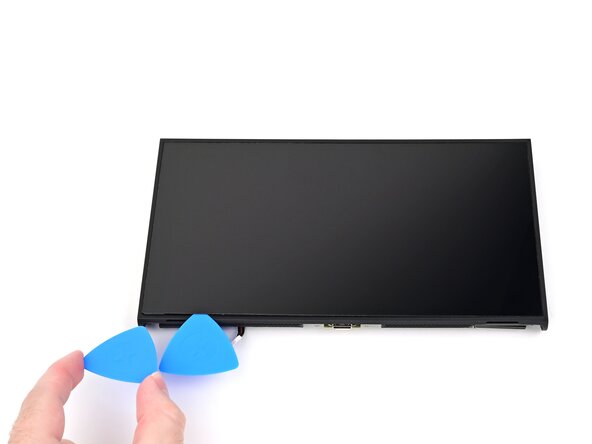
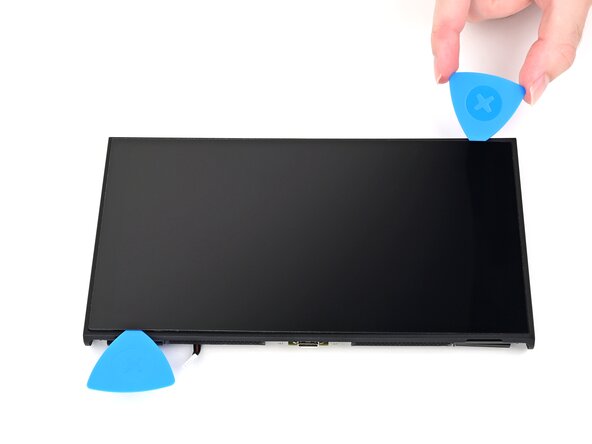
- Insert the tip of an opening pick into the gap.
- If you can't create a gap large enough to fit an opening pick, reheat the bottom edge of the screen and try again.
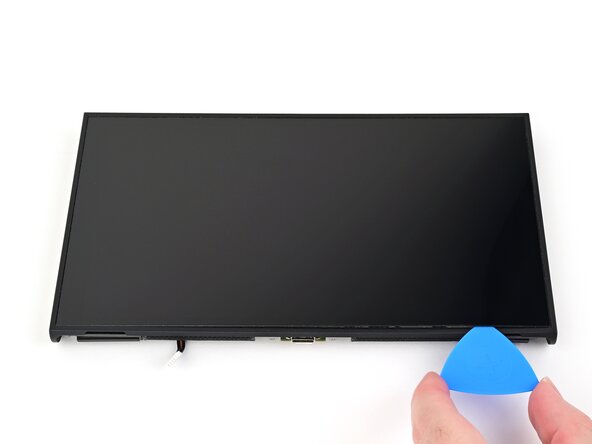
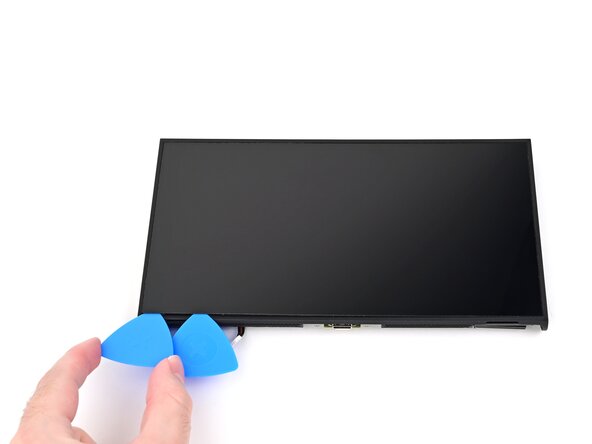
- Slide your pick across the bottom edge to separate the adhesive.
- Leave your pick inserted in the bottom left corner to prevent the adhesive from resealing.
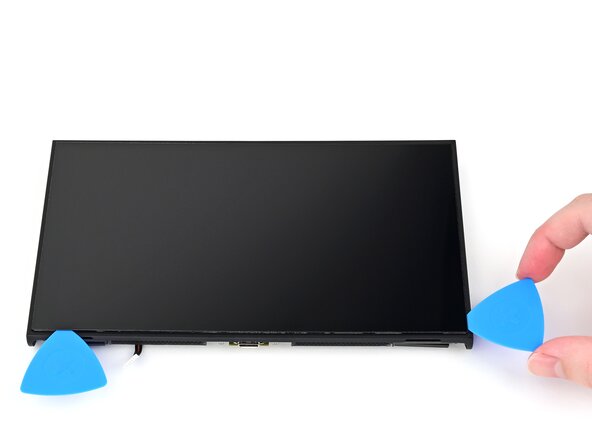
- Apply a heated iOpener to the left edge of the screen for two minutes.
- When using a hair dryer or heat gun, heat the screen until it's hot to the touch.
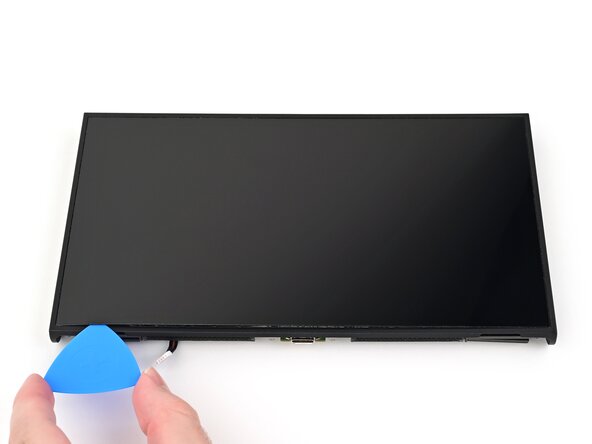
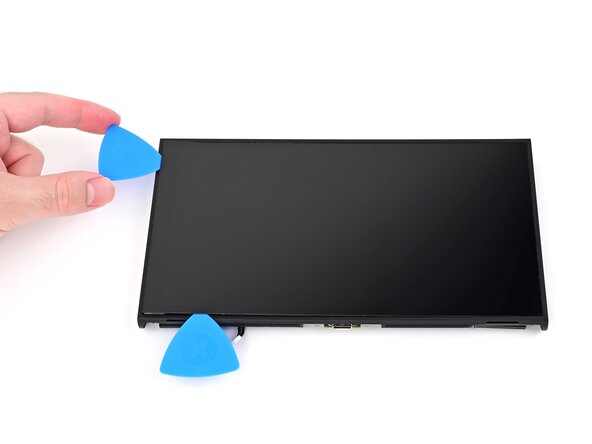
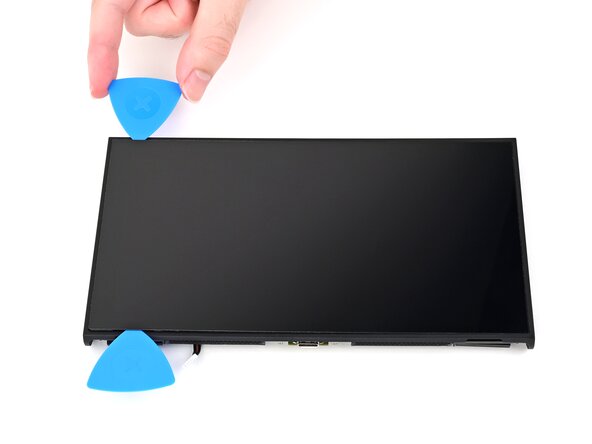
- Insert a second opening pick next to the first one and slide it up the left edge of the screen.
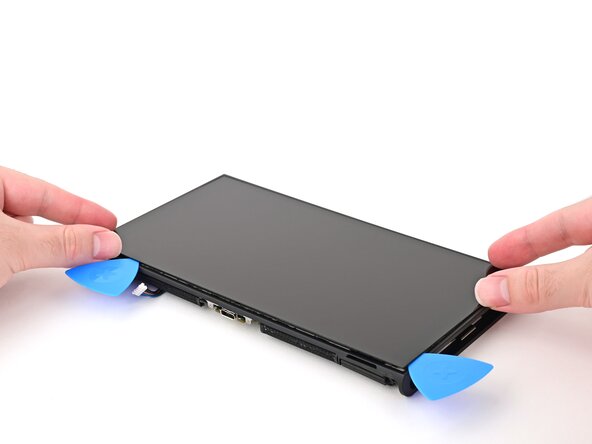
- Repeat the heating and sliding procedure along the remaining screen edges.
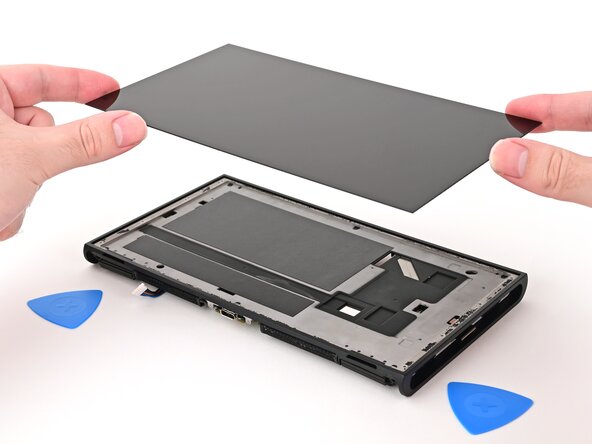
- Lift the screen off the frame to remove it.
- If any adhesive strips are still stuck to the frame, peel it up with slow, steady force to release it.