Monitor LCD Hannspree capacitors replacement
ID: 194594
Description: Monitors often lose contrast or brightness afte...
Steps:
- Unplug all.
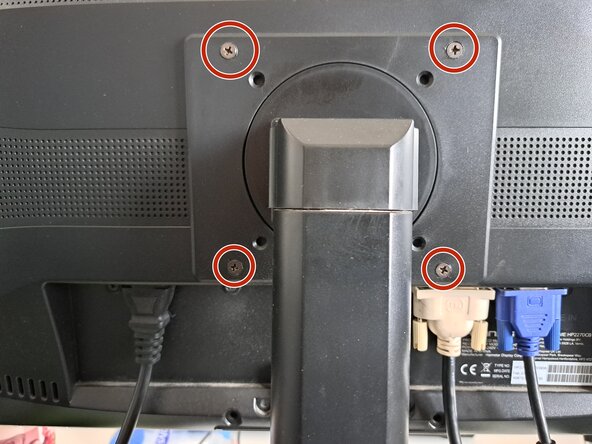
- Use a PH2 driver to remove the four screws securing the stand.
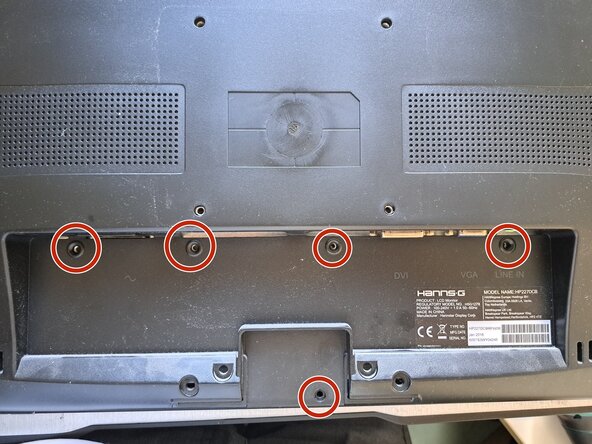
- Use a PH2 driver to remove the five screws securing the back panel.
- Throughout this repair, keep track of each screw and make sure it goes back exactly where it came from.
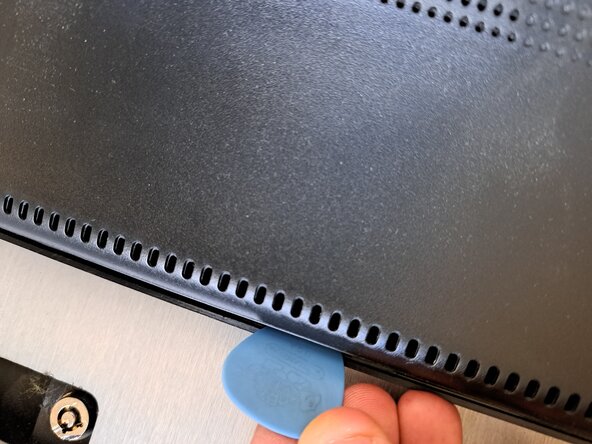
- Insert the flat end of a spudger into the gap between the back panel and the shell.
- Gently pass around the entire frame of the monitor, you will hear several clicks.
- Skip the corners if you have trouble. It will open anyway.
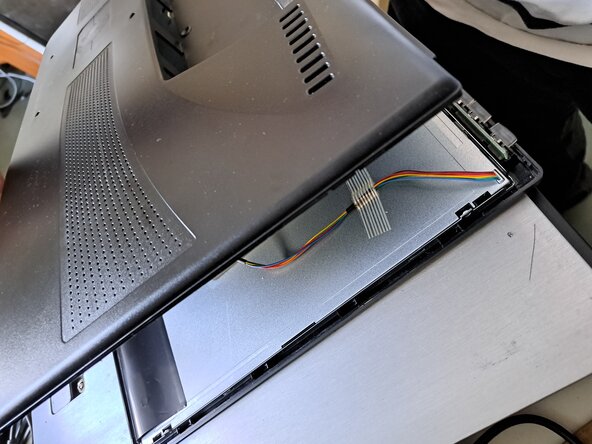
- Hold one of the two short sides and lift the panel.
- During reassembly, press along the edges of the back panel to snap it into place.
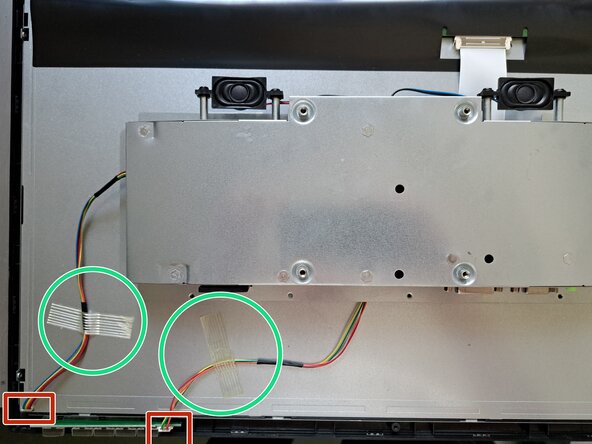
- Unplug connectors
- Unstick the tape
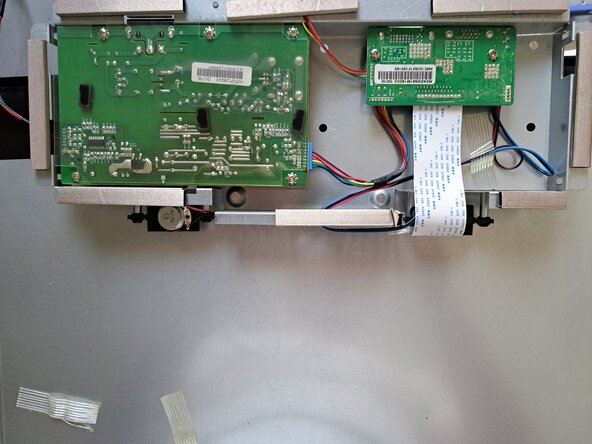
- Flip up the metal case
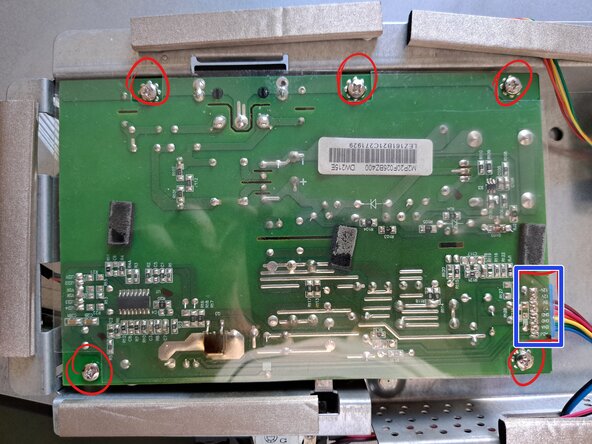
- Use a PH2 driver to remove the five screws securing the power board.
- Unplug the "rainbow" connector.
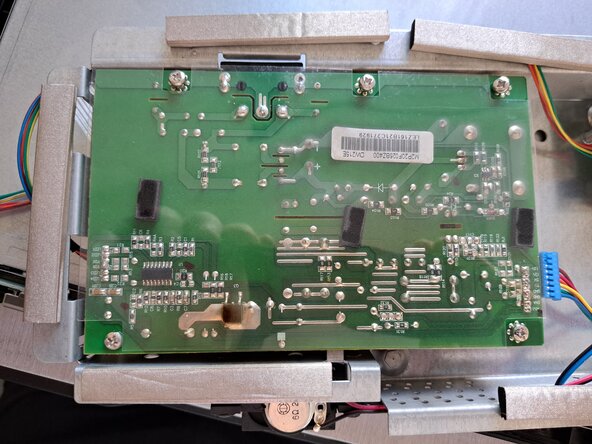
- Remove the plastic cover.
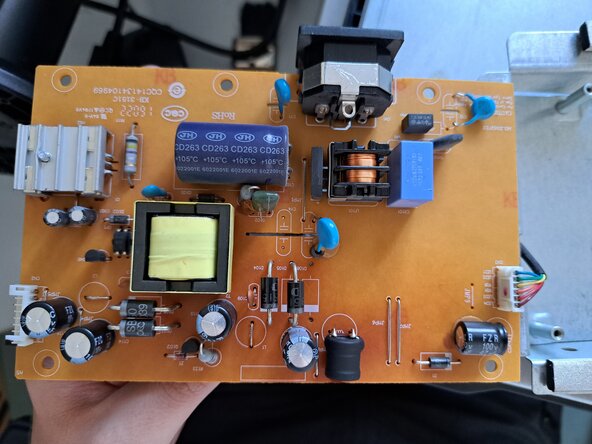
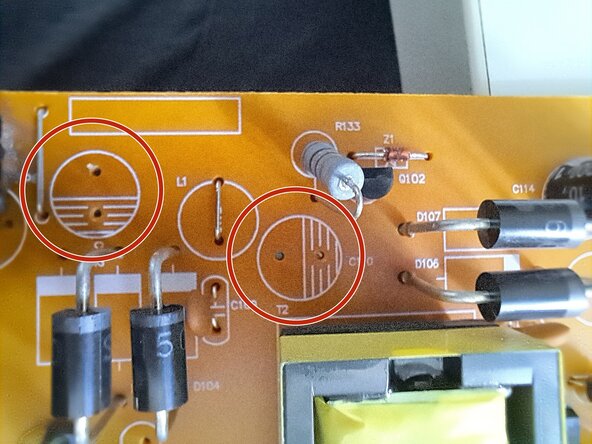
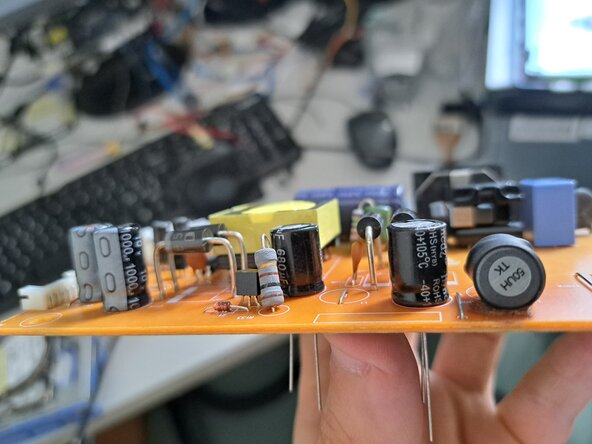
- Inspect the board paying attention to the capacitors
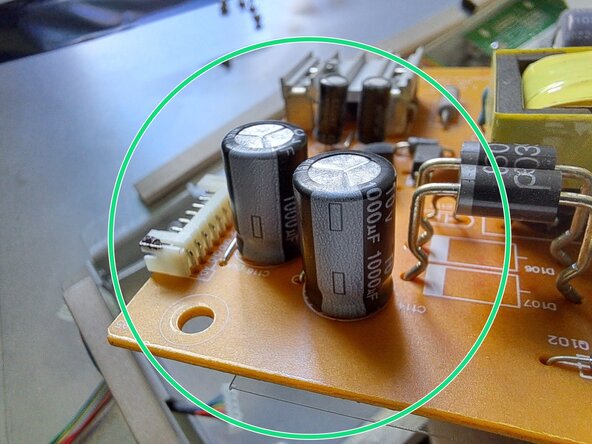
- These two have no bulges, they look normal. If you have a tester you can test them.
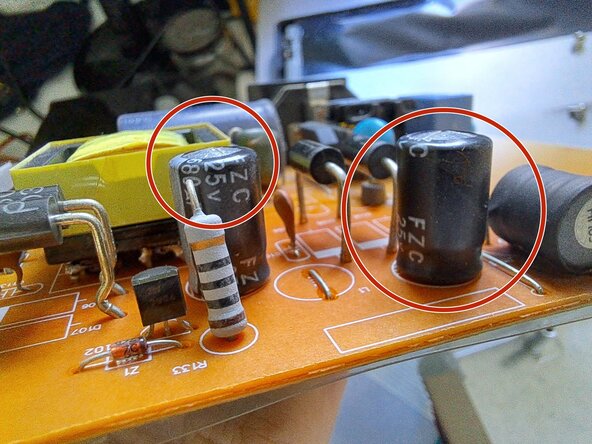
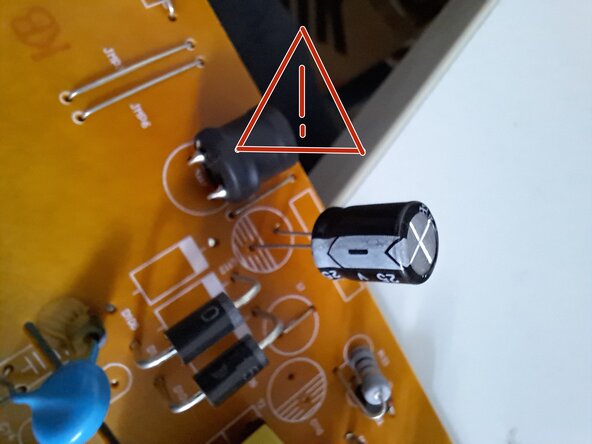
- These two are a little swollen and need to be replaced. If you have a tester you can test them.
- Pay attention to Voltage and Capacity.
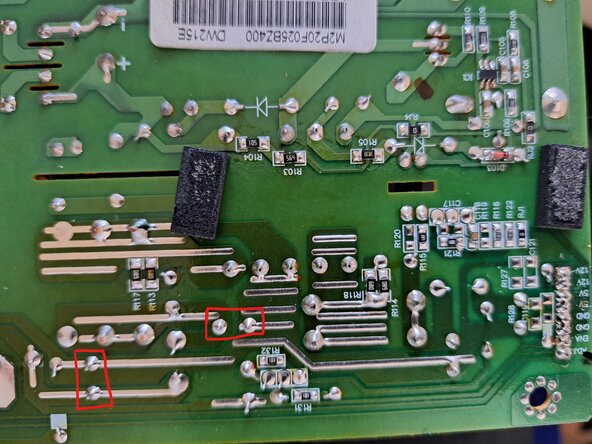
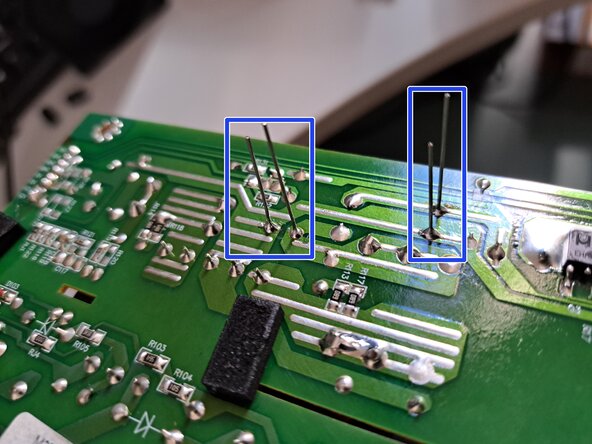
- Look where the old capacitors are placed on the PCB and unsolder them
- Insert the new capacitors.
- Respect the polarity of the capacitors. Otherwise they will explode.
- Solder the new capacitors, then cut off the excess wire.
- Finished. To reassemble, go back from point 6 to point 1.