Framework Laptop 16" Mainboard Removal
ID: 194711
Description: Use this guide to replace the mainboard, along...
Steps:
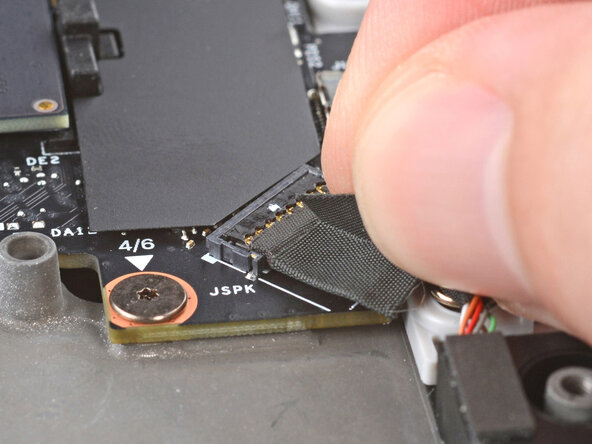
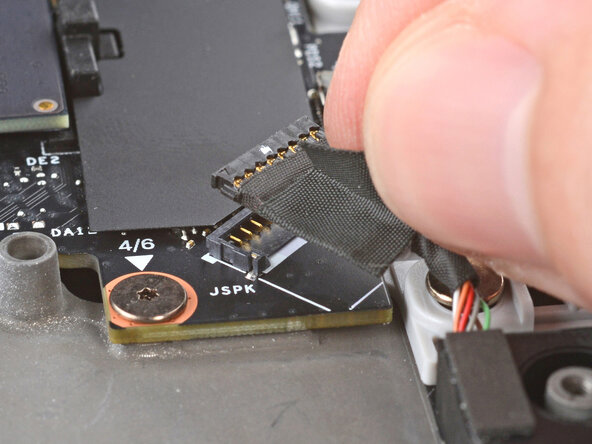
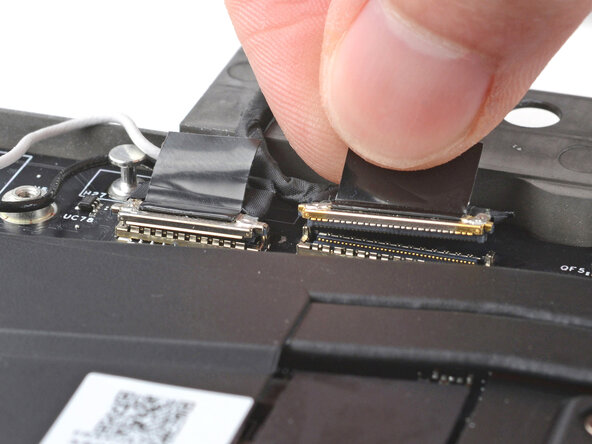
- Lift the speaker cable connector by its black pull tab and disconnect it.
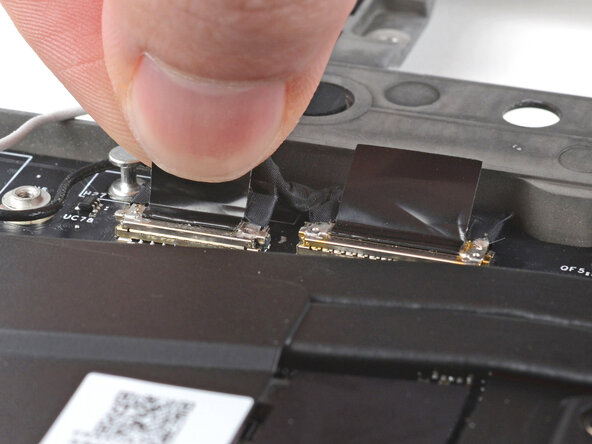
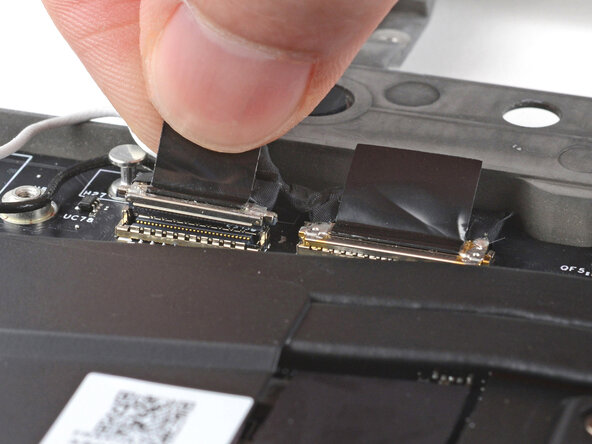
- Grip the webcam cable connector to the right of the Wi-Fi module slot by its pull tab and lift up to disconnect it.
- Repeat for the display cable connector next to it.
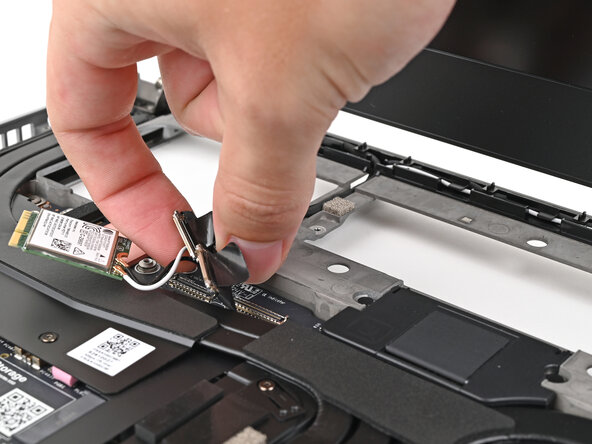
- Lift the display, webcam, and Wi-Fi module cables out of their slot in the frame enough to give room for the Mainboard to lift straight up.
- Optionally, you can tuck the cables underneath the frame.
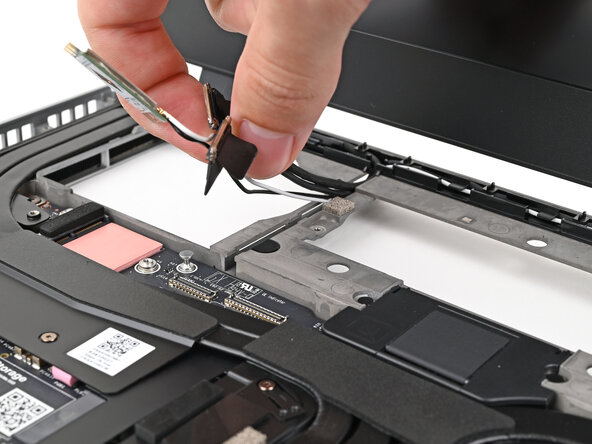
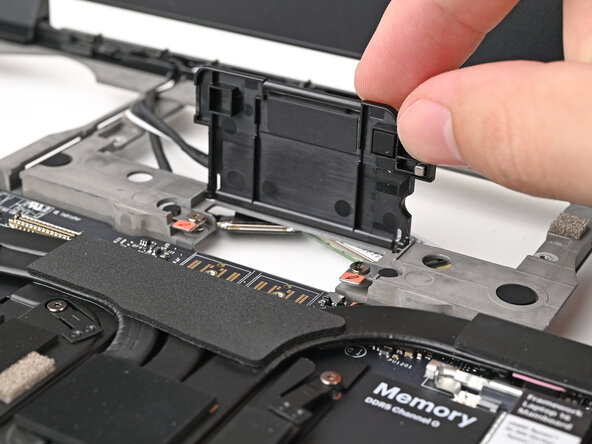
- Lift up the interposer door to reveal the screw underneath.
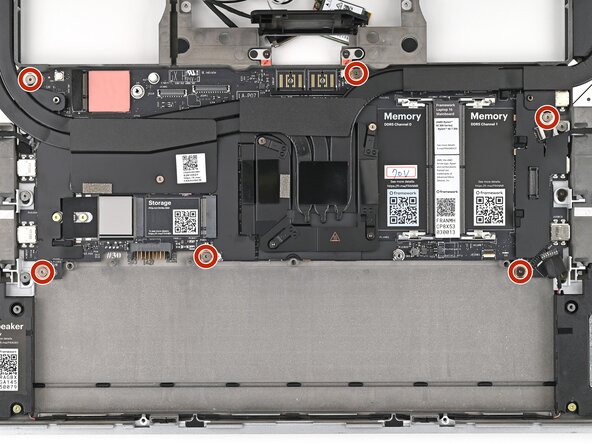
- The Mainboard screws are ordered from 1–6. You don't have to follow the order, but you can use it to help keep track of the screws you've removed.
- Use your Framework Screwdriver to remove the six 2.0 mm‑long T5 Torx screws securing the Mainboard.
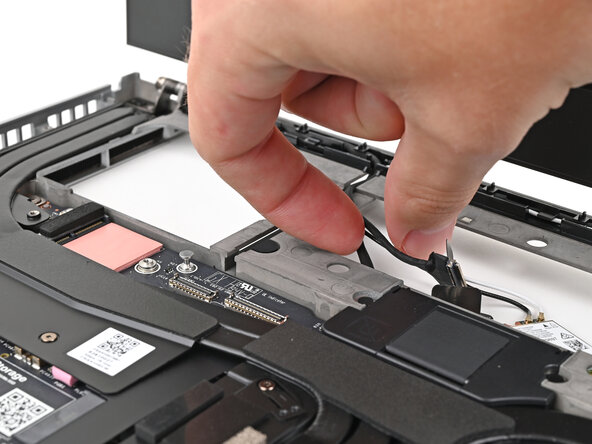
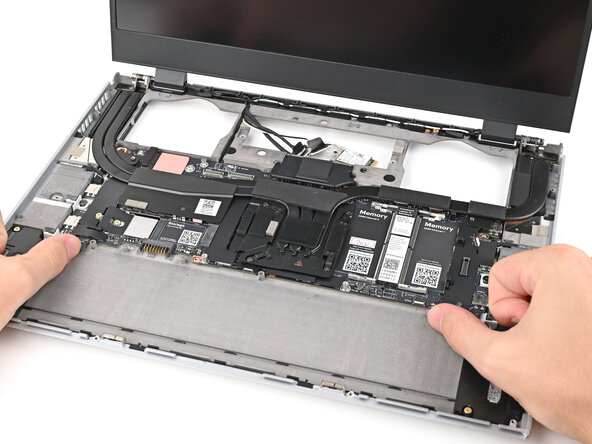
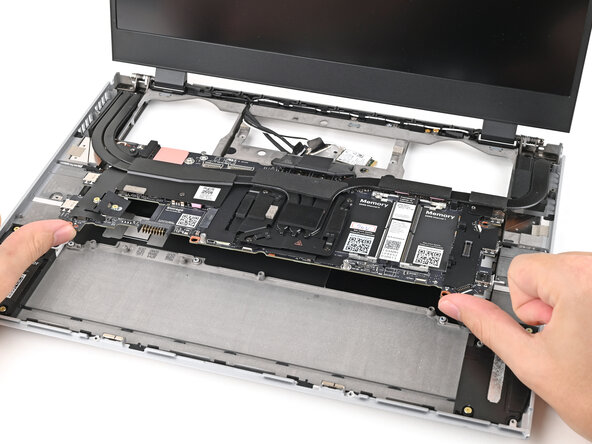
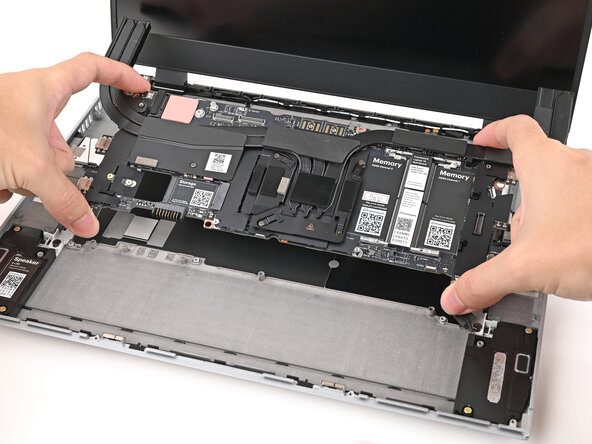
- Use your fingers to lift the bottom edge of the Mainboard enough to grip its edges.
- Lift the Mainboard off its alignment pegs and remove it.