Framework Laptop 16" (2025) Expansion Bay Removal
ID: 194722
Description: Use this guide to remove the expansion bay in...
Steps:
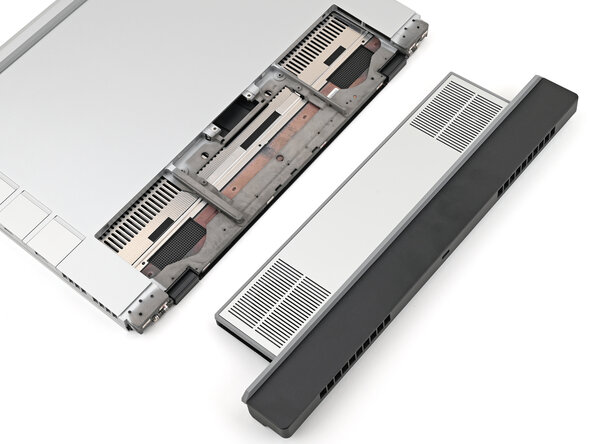
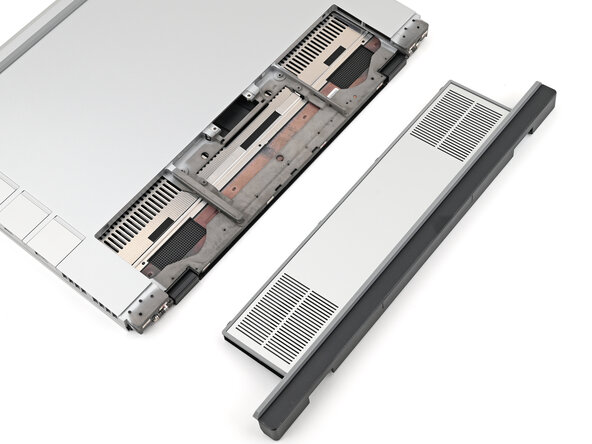
- The Expansion Bay can either fit a Graphics Module or the Expansion Bay Shell—the removal and installation procedures for both are nearly identical.
- The following instructions will point out any differences.
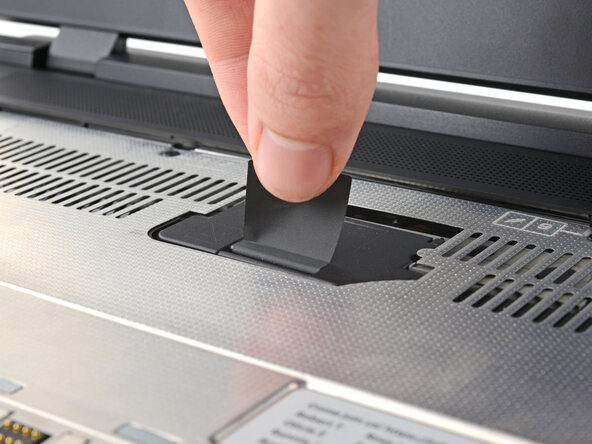
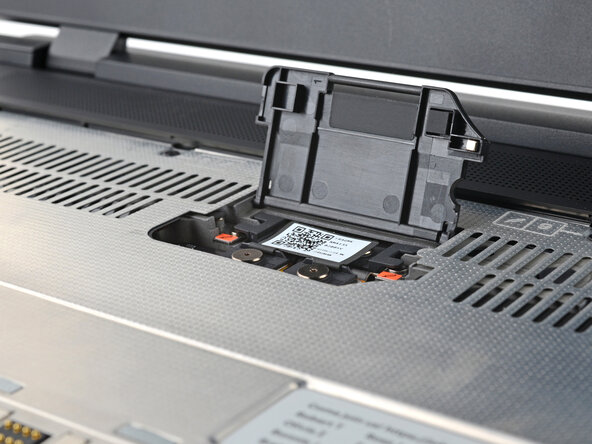
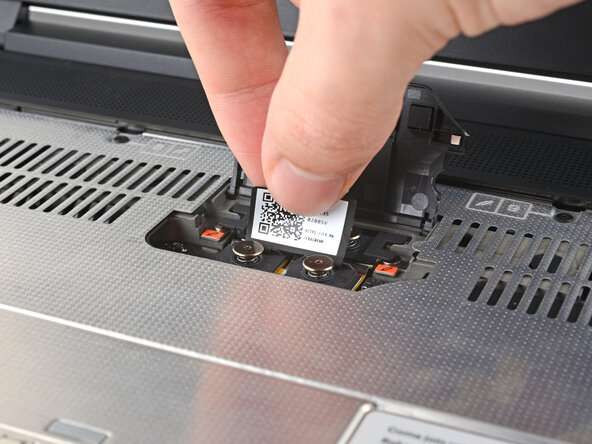
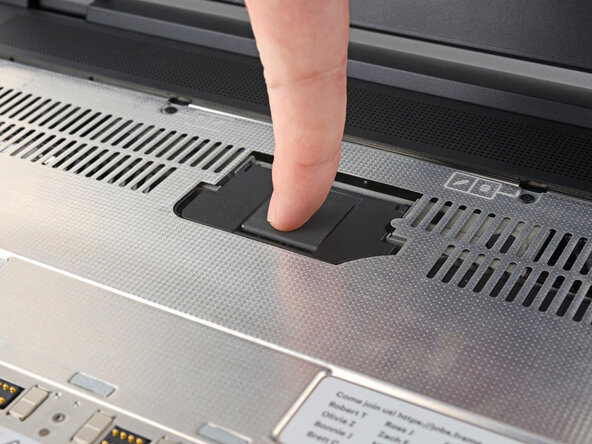
- Lift the interposer door by its black pull tab and let it rest upright.
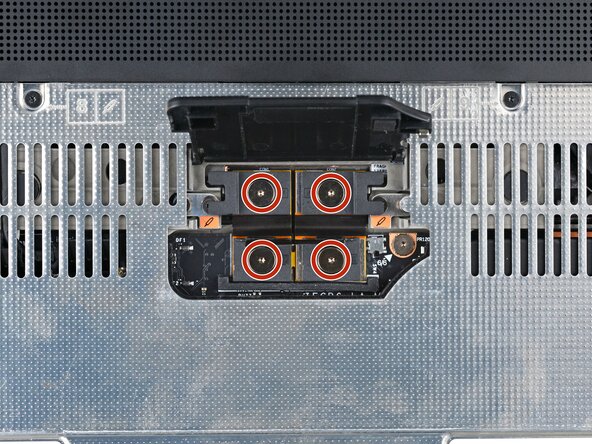
- If you have the Graphics Module installed, your interposer will have four screws. If you have the Expansion Bay Shell installed, you'll have three screws instead.
- If you have the Graphics Module, use your Framework Screwdriver to loosen the four captive T5 Torx screws securing the interposer.
- If you have the Expansion Bay Shell, use your Framework Screwdriver to loosen the three captive T5 Torx screws securing the interposer.
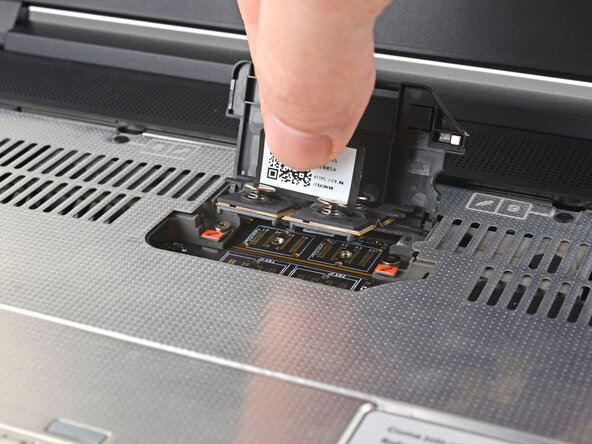
- Lift the interposer by its pull tab and remove it.
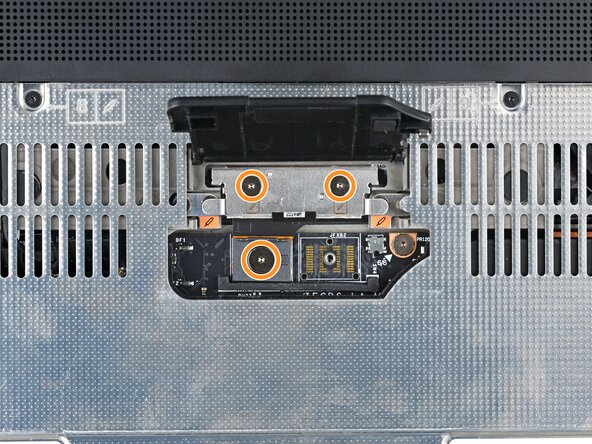
- Use your Framework Screwdriver to loosen the two captive T5 Torx screws securing the Expansion Bay Module.
- Close the interposer door before continuing.
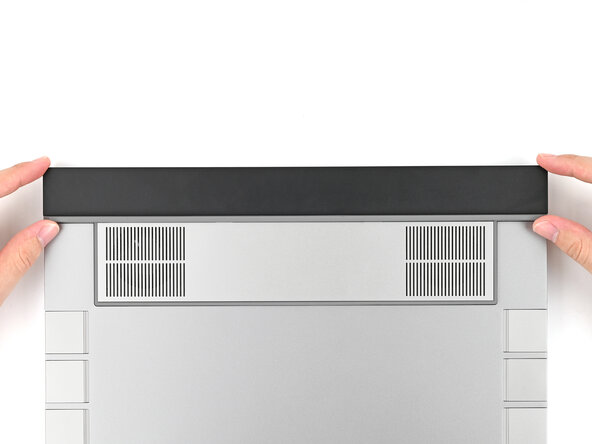
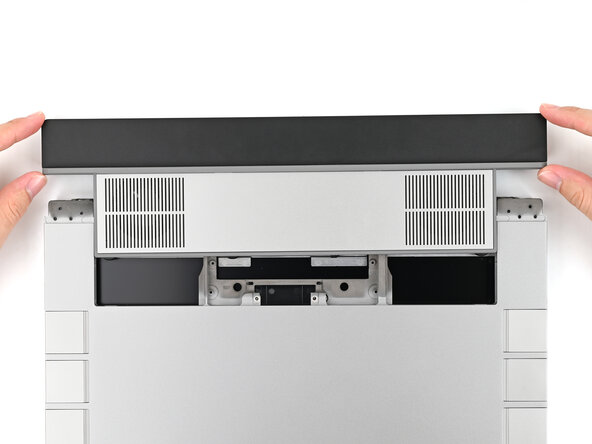
- Close your laptop and flip it over.
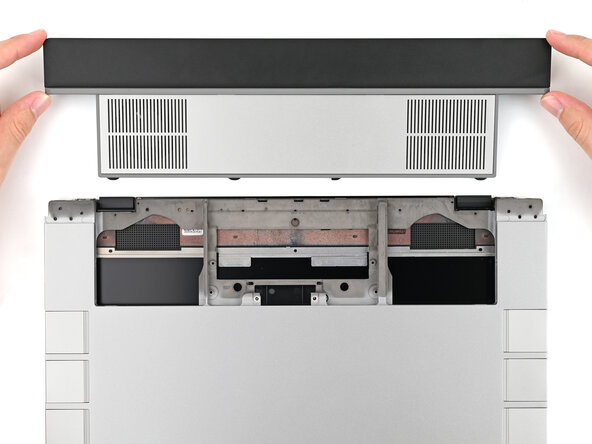
- Slide the Expansion Bay Module out of the laptop and remove it.
- The module should slide out easily. If you feel any resistance, check that the screws holding it in place are fully loosened.