How To Replace a Refrigerator Door Seal
ID: 195028
Description: A good seal is essential for refrigeration and...
Steps:
- Use a soap and water solution to clean the area around the seal. Remove any dirt, debris, or other buildup around the seal and door frame to prevent contamination.
- Make sure to clean the area gently and not over-scrub the plastic.
- After cleaning, Beginning at a corner, grasp and pull the seal firmly out of the channel using consistent, gentle pressure.
- Check for cracks or any damage to the gasket channel that might affect the new seal.
- Verify the channel runs straight and check for sagging, or misalignment that can create gaps or pressure points for the new seal.
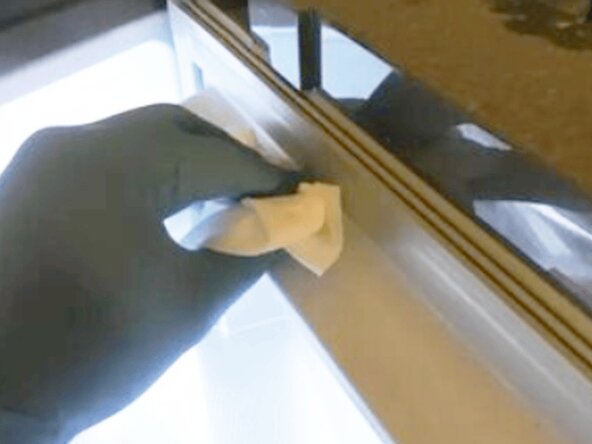
- Wearing gloves, use a baby wipe with water and soap to remove any loose dirt, or sealant residue.
- Use the water and soap solution to remove any remaining dirt, then dry with a cloth.
- Use a hair dryer on a low heat setting to dry the channel.
- Let the new gasket reach room temperature by removing it from the packaging and letting it sit out for an hour.
- Allowing it to reach room temperature will allow the gasket to become softer. more malleable and easier to install.
- Soak it in warm water for one minute to soften the material.
- Wear gloves and safety glasses to prevent any cuts or eye injury.
- Install the gasket: Starting at the corners, first make sure it is aligned around the door perimeter. Then, again beginning at a corner and working your way around the door frame, push it into place and ensure it fits properly.
- Do this carefully or the gasket will not install properly. Follow the instructions carefully.
- Use a hair dryer to warm any potential stubborn spots that occur.
- Press firmly with gloved hands, firmly pushing it into the channel. Be firm but not too forceful so it is installed well.
- Apply petroleum jelly to areas that resist installation.
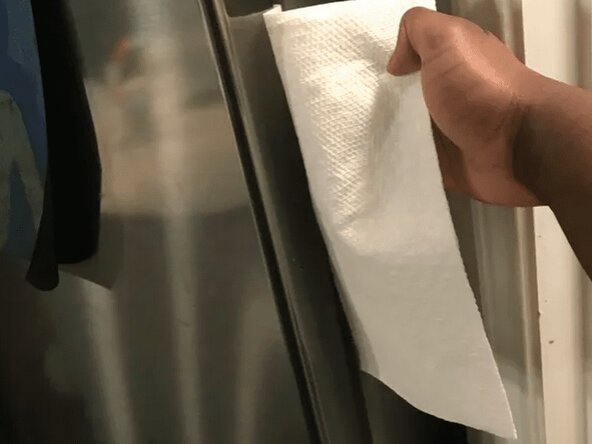
- Check for proper closure by using the paper test. Take a piece of paper and try to fit it in between the gap of the seal. If it can fit, it is not installed properly: repeat step five. If it can't enter, you may proceed.
- Test multiple areas around the door, pay more attention to areas that were hardest to install.
- Make sure to test all areas focusing on the hardest spots. Testing must be done in a carefully.
- Adjust gasket positioning if needed. When it fits, there won't be a satisfying click like when putting a puzzle piece together. So, ensure it is correctly positioned and completely installed before finishing. Retest if needed. If it is complete, you are done.