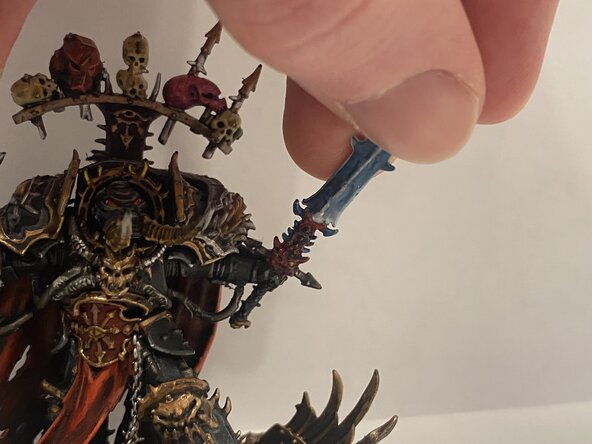
How to Repair a Warhammer 40,000 Painted Miniature
ID: 195065
Description: Tired of continuously regluing a fragile...
Steps:
- Assess your art piece and gather all necessary tools and the broken piece before beginning the repair.
- Determine the correct orientation of the broken piece by holding it in place, ensuring it isn’t attached backward.
- Use a #11 X-Acto blade to pierce and twist the spots where you plan to drill on both the miniature and the broken piece.
- Use the 1 mm model drill to make a small hole on both parts of the broken piece.
- Use a side cutter to cut a piece of steel beading wire.
- Place the wire into the drilled holes and align the miniature and broken piece so they fit together.
- The .48 mm steel beading wire should be cut short enough that it is invisible when the pieces are attached, but long enough that the docking piece does not slide off.
- Cutting such a small piece of steel wire can make it difficult to find. Cut over a large plastic bowl to catch the piece, if you're having trouble.
- Apply a drop of super glue to the hole in the broken piece.
- Once the super glue is applied, you will have to complete steps 5 and 6 in quick succession, so make sure you are ready before starting this step. Failure here could result in a damaged piece or otherwise unsatisfactory repair.
- Insert the .48 mm steel beading wire into the hole on the miniature.
- I used tweezers to insert the wire here, but if your hands are dexterous enough, it is not necessary.
- Attach and hold the pieces together for 30 seconds, letting the super glue solidify.
- Wait 10-15 minutes to let the super glue fully dry before moving to the next step. You do not have to hold the miniature for this time.
- Do not let your fingers touch the super glue for long to avoid bonding to the miniature or harming it.
- Apply the Citadel plastic glue into the cracks to seal the pieces together.
- Use your finger to smooth out and wipe away any excess glue.
- Wait 10-15 minutes to let the plastic glue dry before moving to the next step.
- The next step improves appearance, but the repair is already structurally complete.
- Paint over the repair crack with plastic-safe paint.
- Paint the entire face of the broken piece for a uniform finish, using your preferred style.
- The miniature repair is now completed and tabletop ready.