HP 14-dq5009nr Daughterboard Replacement
ID: 199164
Description: Replacing the daughterboard in your HP...
Steps:
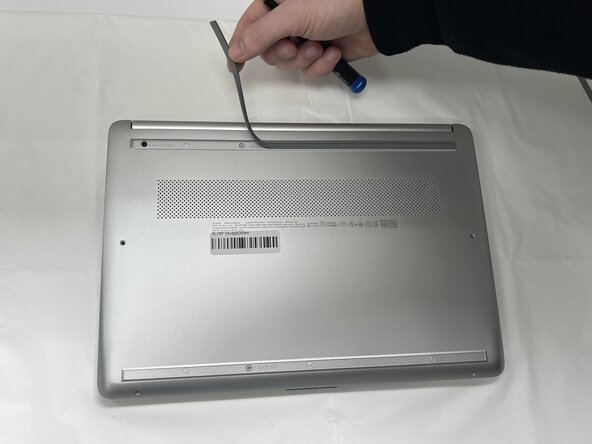
- Peel the rubber feet off the bottom casing to reveal hidden screws.
- Keep the rubber feet for reassembly.
- Make sure the device is completely powered off before replacement.
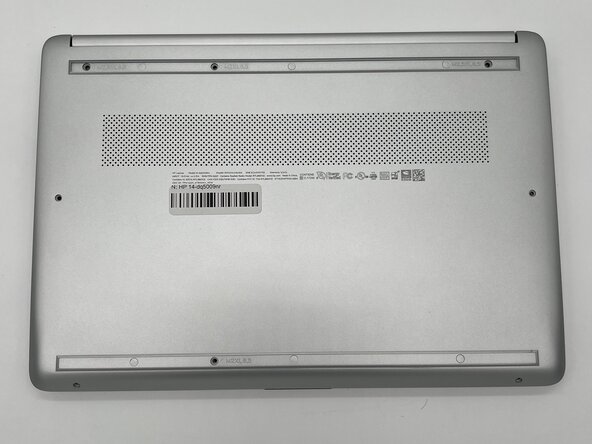
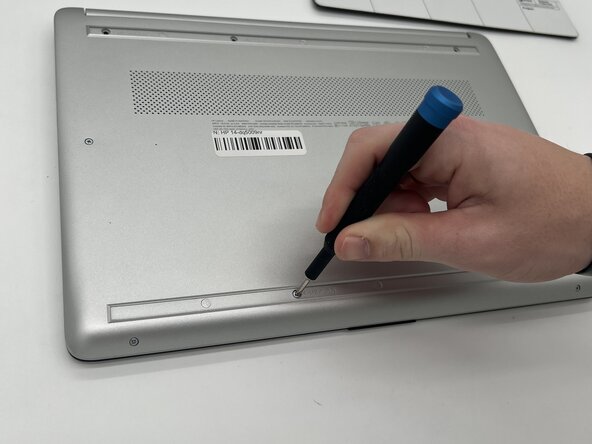
- Use a Philips #0 screwdriver to remove the eight screws from the back case.
- Six 7 mm-long screws
- Two 4.8 mm-long screws
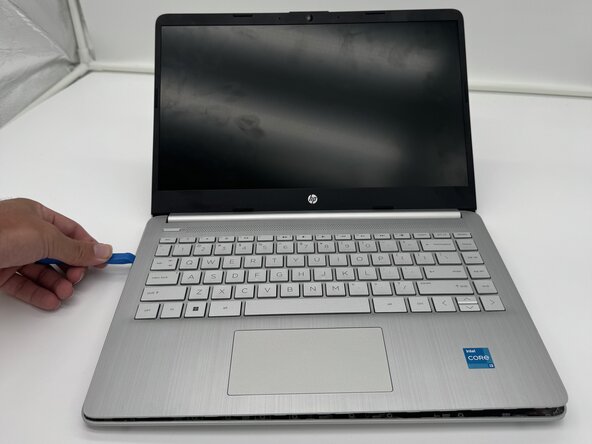
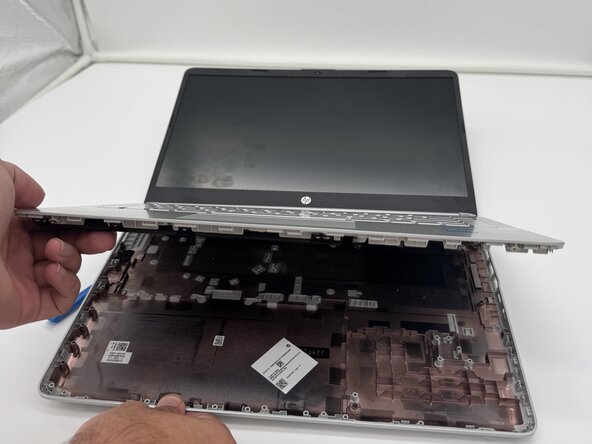
- Use a plastic opening tool to separate the back case from the palmrest keyboard assembly. Gently pry the back cover from the device.
- Start from a corner of the device and run the opening tool along the edge of the cover to release the clips before you separate them.
- Be careful to not bend or crack the back cover.
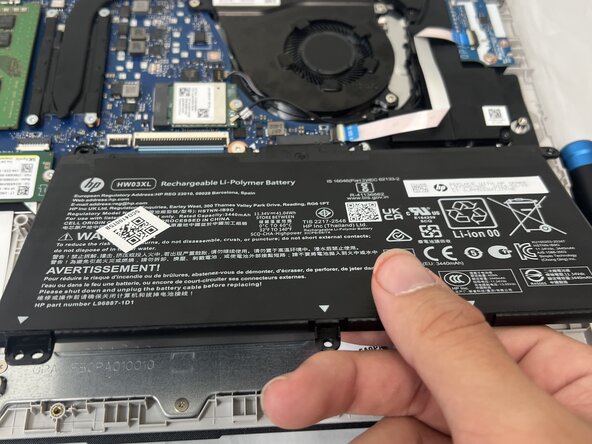
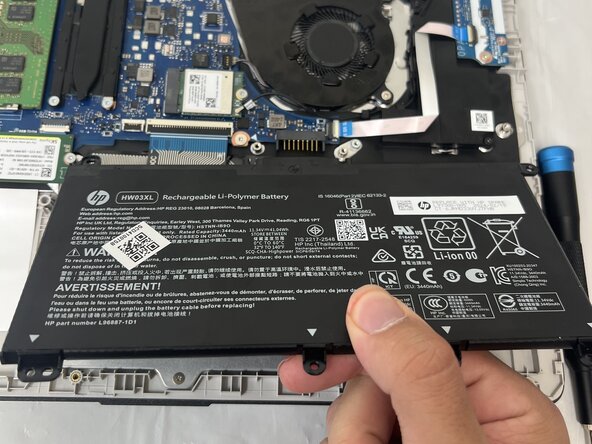
- Use a Phillips #0 screwdriver to remove the four 3 mm screws that secure the battery to the chassis.
- Angle the battery up slightly and gently pull it from the socket on the motherboard.
- Use a spudger or a clean fingernail to flip up the black locking flap.
- Use the widest tool possible to avoid damaging the delicate hinge pins.
- Use tweezers or your fingers to gently pull the cable out of its socket.
- If the cable has a pull tab, use it to grip the cable. You may damage the cable by gripping it directly.
- Pull gently to avoid damaging the ribbon cable.
- Use a Phillips #0 screwdriver to remove the two screws securing the daughterboard.
- Use a spudger or a clean fingernail to flip up the locking flap on the ZIF connector on the daughterboard —this is the unlocked position.
- Use tweezers to gently pull the ribbon cable from the connector on the daughterboard.
- Remove the daughterboard from the laptop.