Garmin DriveSmart 60 LMT Power Button Replacement
ID: 199422
Description: In this guide we will show you how to replace...
Steps:
- Use a T4 Torx screwdriver to remove the four 6.3 mm-long screws that secure the rear case.
- Insert a plastic opening tool into the seam between the rear case and chassis.
- Pry around the perimeter until the rear case fully releases.
- Take your time and work slowly to avoid damaging the clips or the casing.
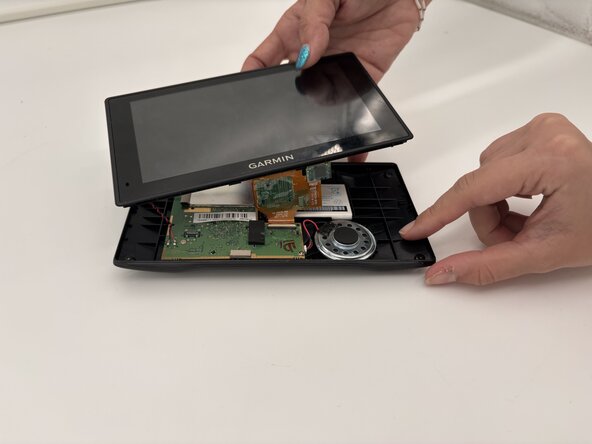
- Remove the rear case.
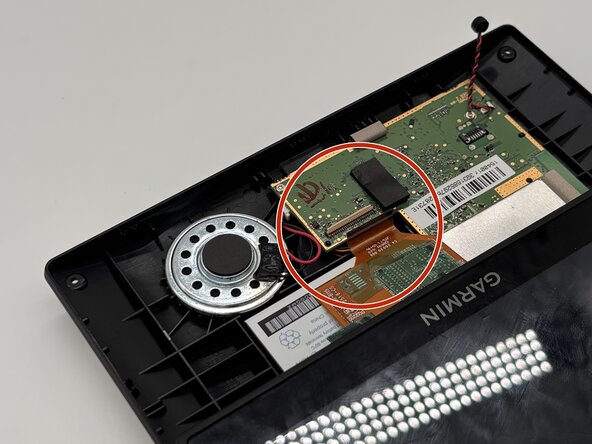
- Use a spudger to gently disconnect the black and red wires (ZIF connector) from the socket on the screen assembly. Take care not to pull on the wires or damage the connector.
- Gently lift the white clamp to release the ZIF Connector, which is the orange ribbon cable, and carefully unsnap it from the connector.
- Avoid using too much force to prevent damage to the ribbon or the clamp.
- Using a plastic spudger, gently disconnect the black and red wires (ZIF connector) from the socket on the screen assembly. Take care not to pull on the wires or damage the connector.
- Gently lift the white clamp to release the ZIF Connector, which is the orange ribbon cable, and carefully unsnap it from the connector.
- Avoid using too much force to prevent damage to the ribbon or the clamp.
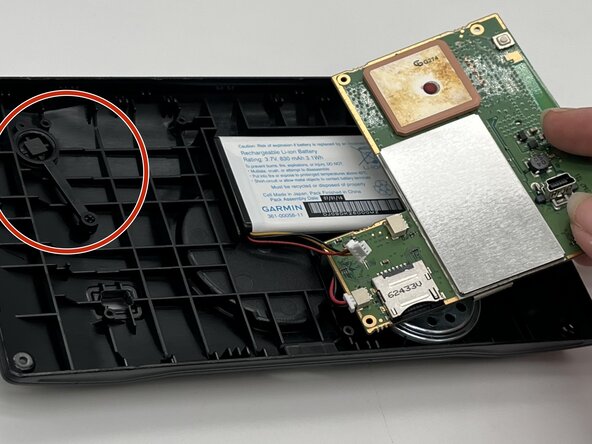
- Unscrew the four 5 mm Phillips screws and gently lift the motherboard up.
- Be careful when unscrewing and removing the motherboard to avoid damaging the device.
- Remove the power button.