iPhone 15 Pro Max Front Sensors Removal
ID: 199432
Description:
Steps:
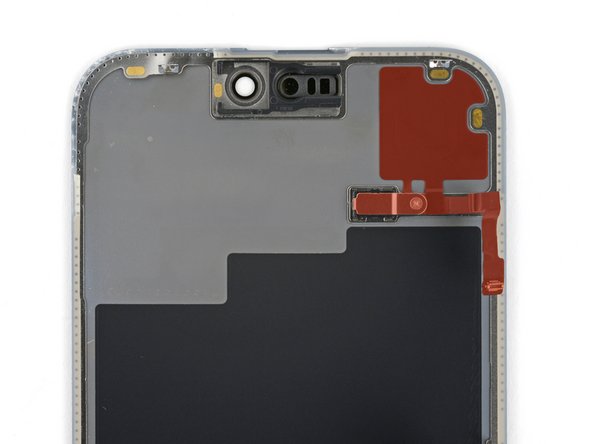
- Check if your new screen comes with an ambient light sensor installed.
- If it doesn't, follow the remaining steps to remove and transfer the sensor from your original screen to your replacement.
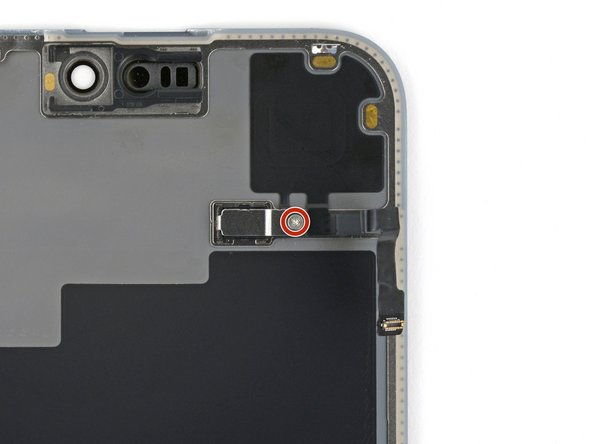
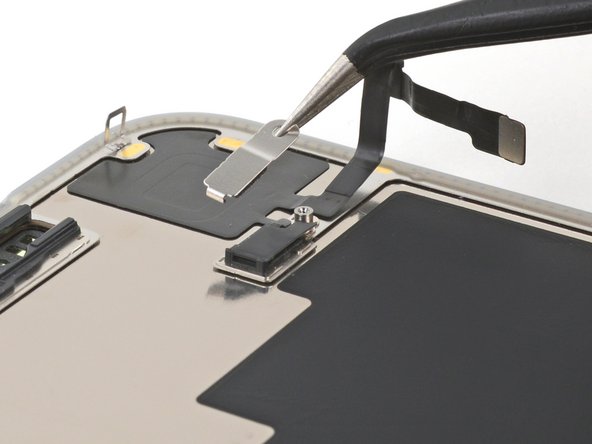
- Use a Phillips #000 driver to remove the 1.4 mm screw securing the ambient light sensor cover.
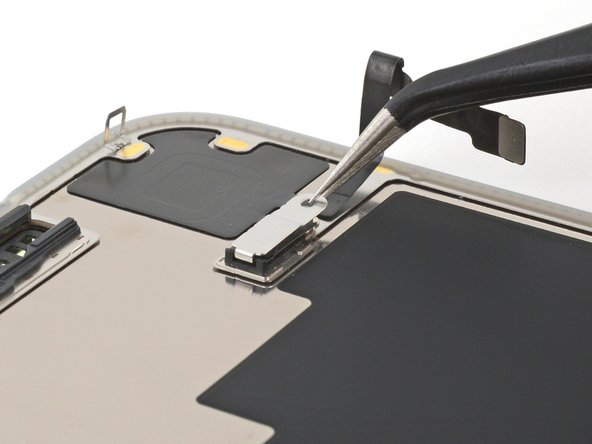
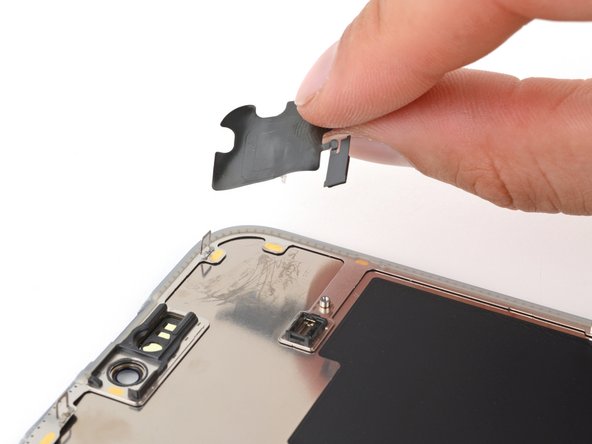
- Use tweezers or your fingers to unlatch the ambient light sensor cover and remove it.
- During reassembly, make sure to hook the latch into the small groove on the left side of the black plastic enclosure.
- Be careful not to overheat the screen—the plastic components can melt if they get too hot.
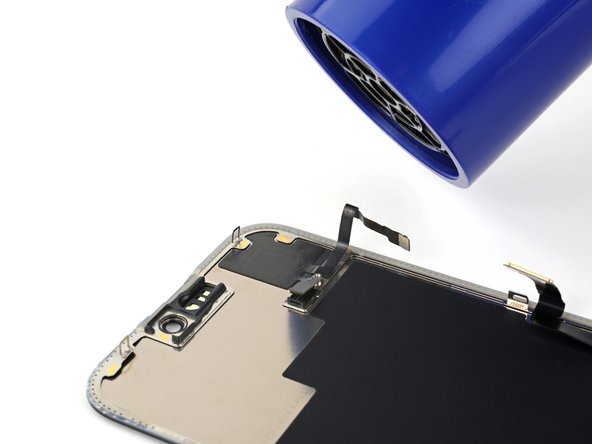
- Use a hair dryer or heat gun to heat the ambient light sensor until it's warm to the touch.
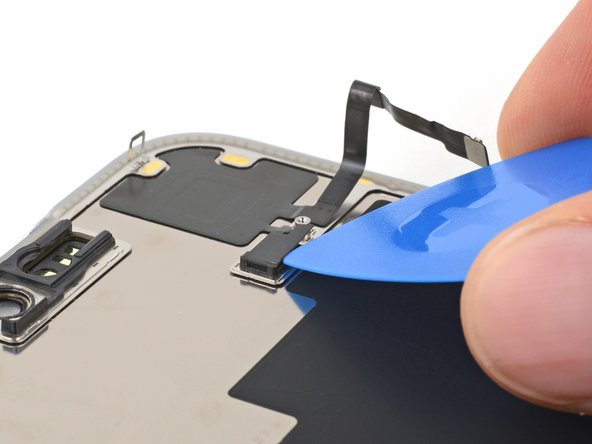
- Be very gentle handing the ambient light sensor, as its cable is extremely fragile and thin. Avoid using your tool in the direction of the cable.
- Use the tip of an opening pick to pry up the edge of the ambient light sensor out of its black plastic enclosure.
- This may be tricky. The enclosure prevents you from inserting a tool underneath the sensor. Try from a couple angles, if your tool tends to slip.
- By this point, your sensor likely cooled down. Apply more heat until the entire glued down component is warm to the touch.
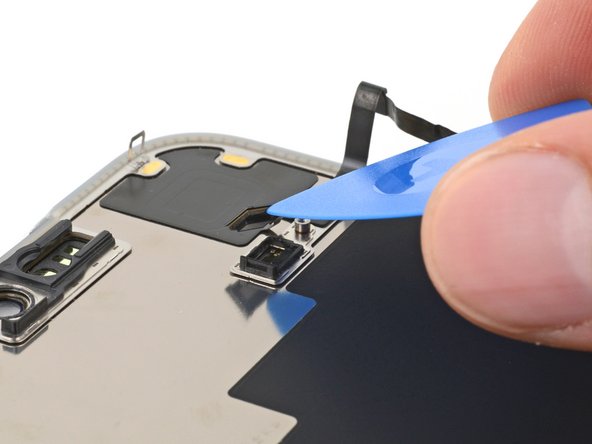
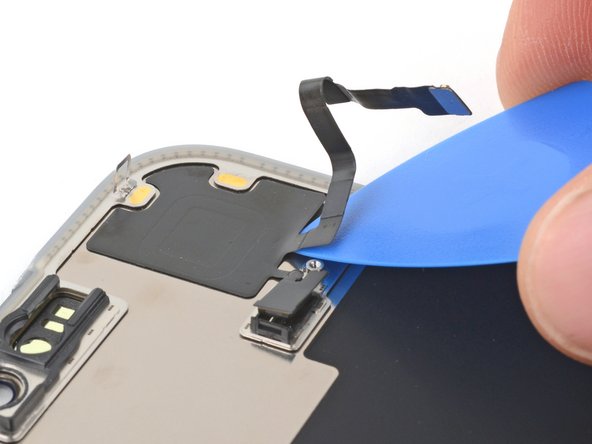
- Insert the tip of your opening pick underneath the press connector cable.
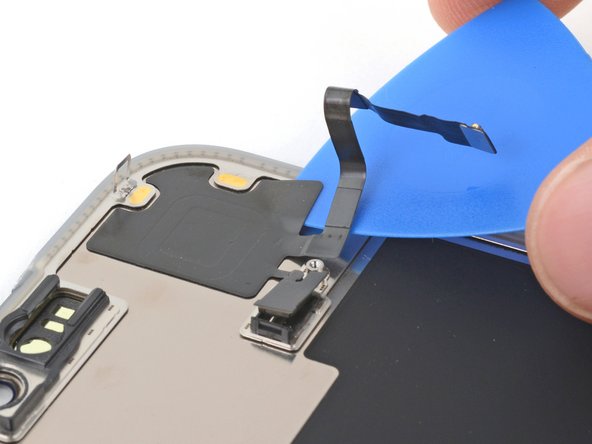
- Slide your pick back and forth underneath both cables to separate the lower section of adhesive.
- Be careful not to sharply crease or tear the ambient light sensor.
- Reheat the glued down section of the component at any point if the adhesive cools and becomes stubborn to cut.
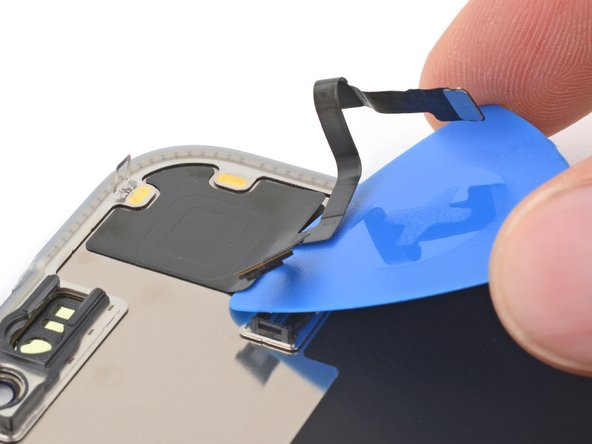
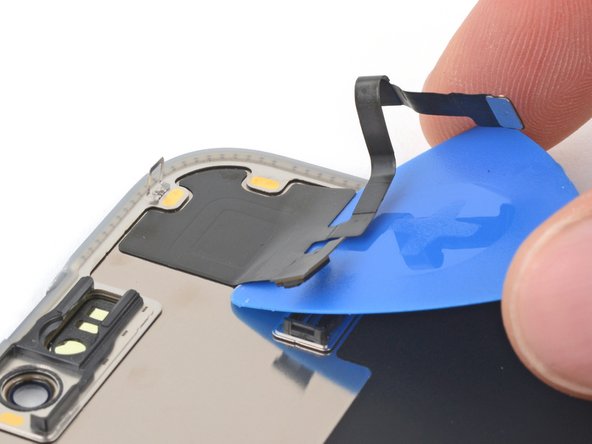
- Use the flat end of your pick to slide back and forth underneath the sensor until you've separated roughly half of it from the screen.
- Use your fingers to grab the raised half of the sensor and peel it from the screen.