Google Pixel 10 Pro Front Camera Installation
ID: 199538
Description:
Steps:
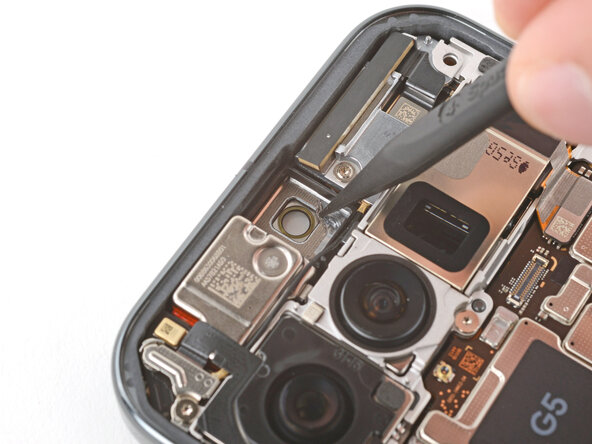
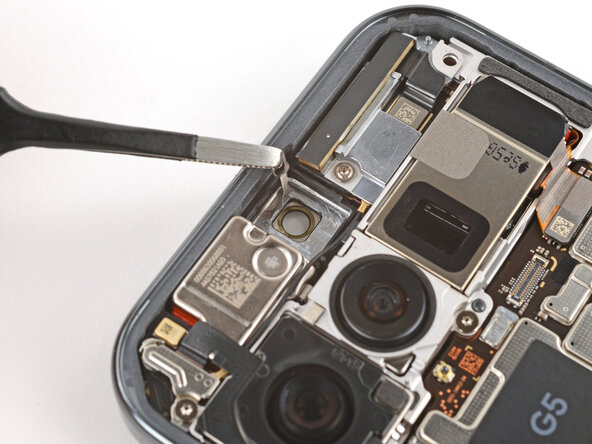
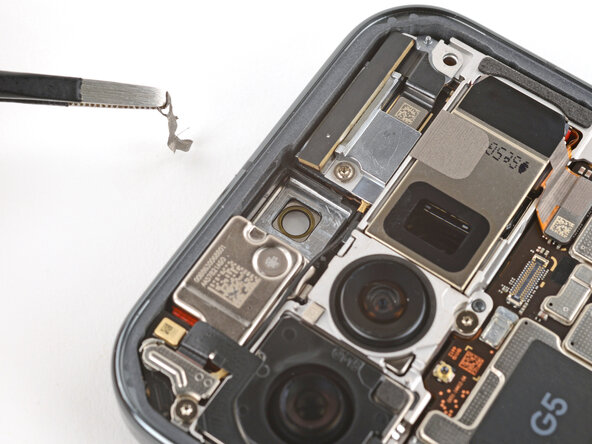
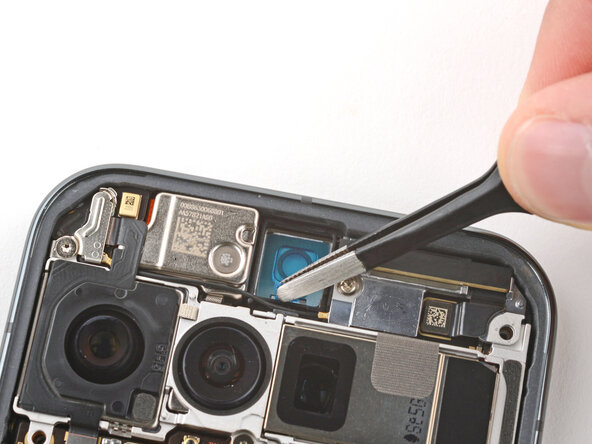
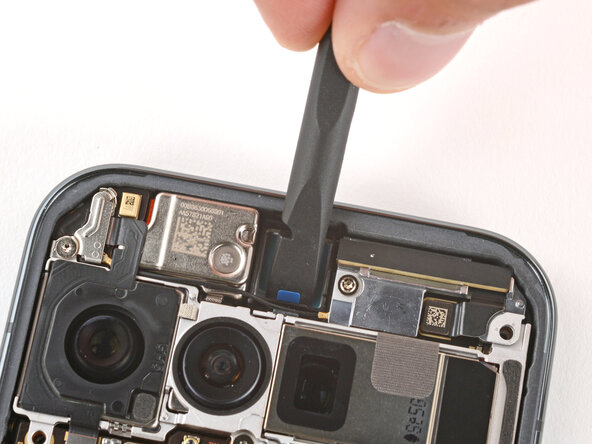
- Use the point of a spudger and tweezers to gently scrape up and remove all the old front camera adhesive.
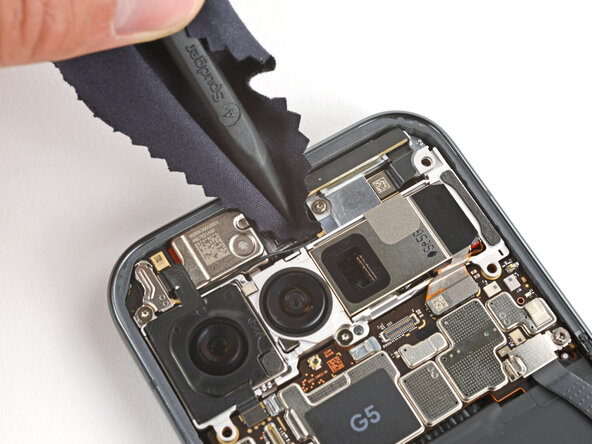
- Use a spudger wrapped in a microfiber cloth and one drop of high‑concentration (>90%) isopropyl alcohol to clean up any adhesive residue from the front camera recess.
- Allow the alcohol to dry completely before continuing.
- Remove the large clear liner from the front camera adhesive and gently place it into the recess.
- Use a spudger to press down firmly on the adhesive to secure it.
- Slowly peel up and remove the remaining liner.
- If the adhesive starts to peel up with the liner, lay it down and press it into place firmly before trying again.
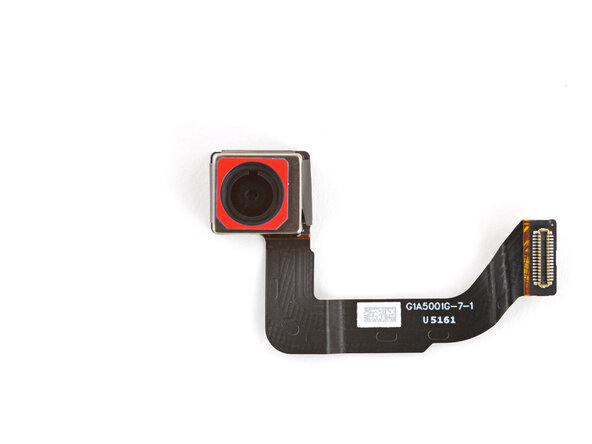
- If your replacement front camera has a protective cap on the front, carefully remove it.
- With the cable facing the bottom of the phone, lay the front camera into its recess and press it into place.
- Slide the top corners of the front camera bracket under the lip in the frame and press the clip in to secure it.
- Be careful not to touch the rear cameras.
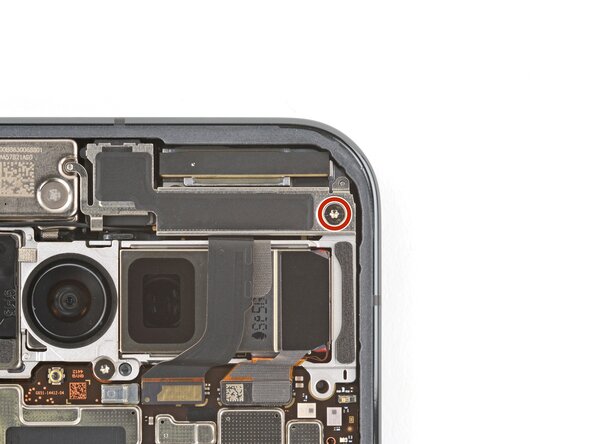
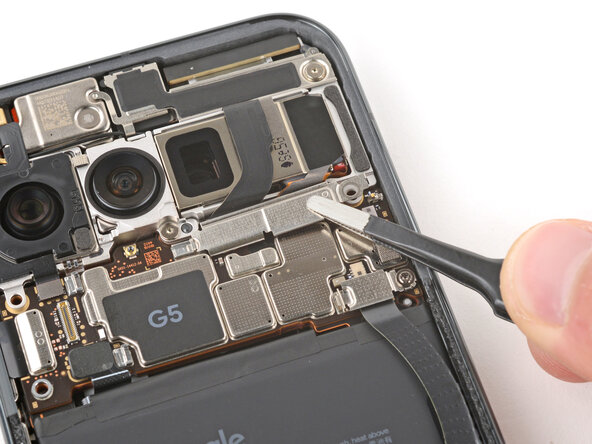
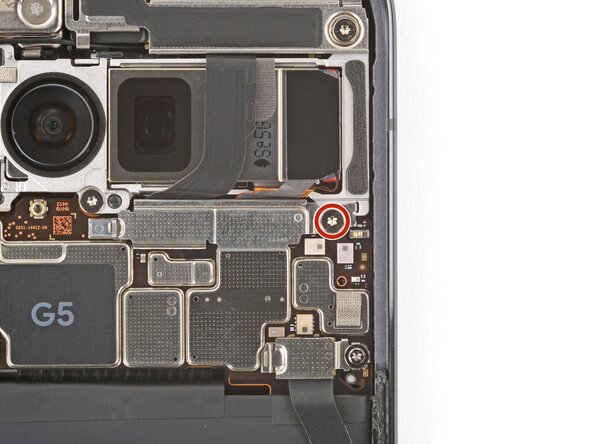
- Use a Torx Plus 3IP screwdriver to install the 5.7 mm‑long screw securing the front camera bracket.
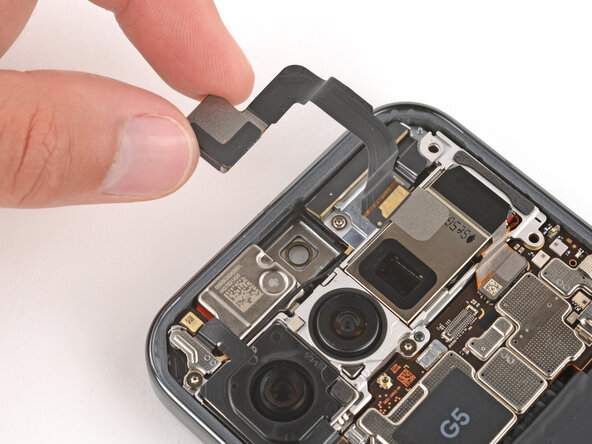
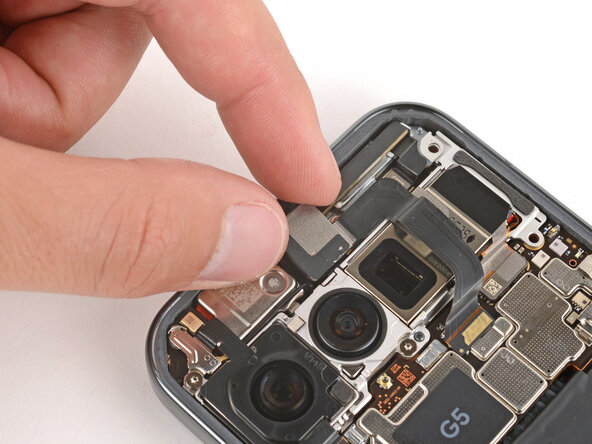
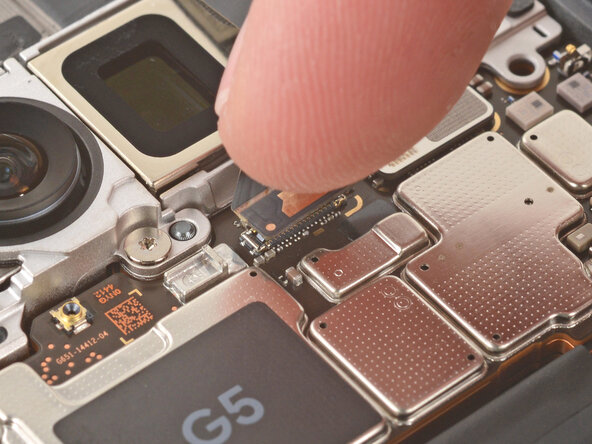
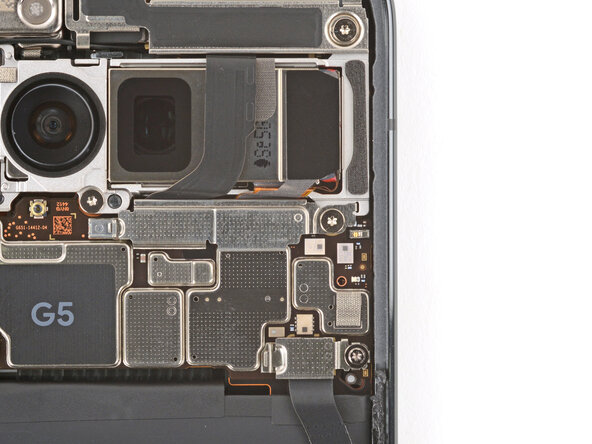
- Use your finger to press down and reconnect the front camera press connector.
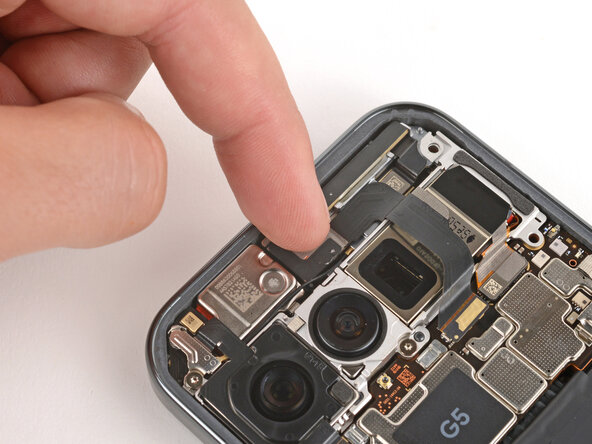
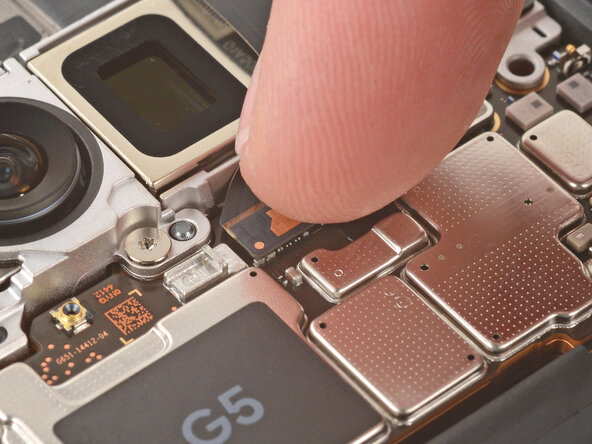
- Slide the tab on the left edge of the front camera connector cover into its slot and lay the cover down flat.
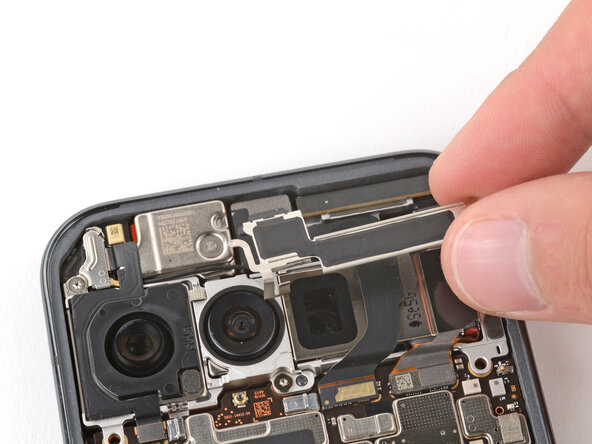
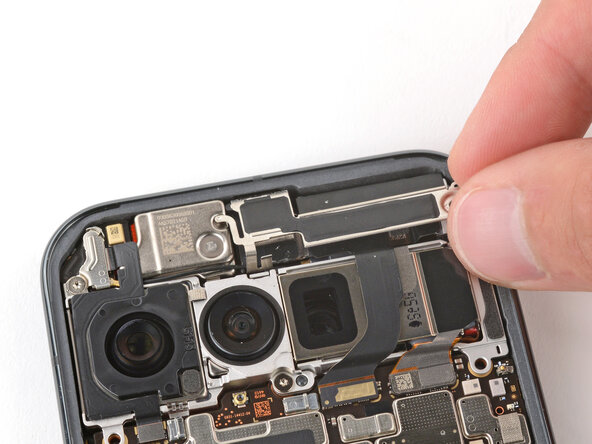
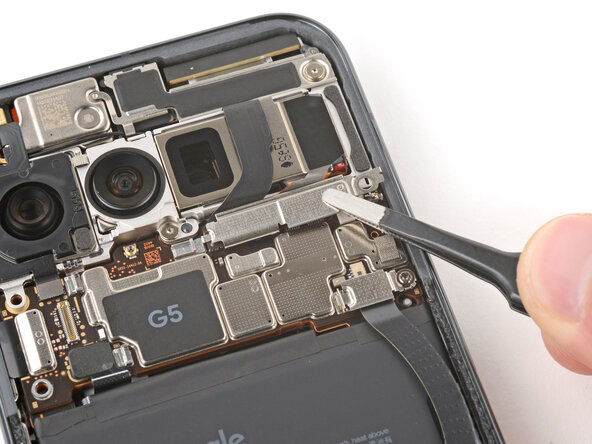
- Use a Torx Plus 3IP screwdriver to install the 5.7 mm‑long screw securing the front camera connector cover.