HP 14-cf2112wm Wi-Fi Card Replacement
ID: 199570
Description: Today where the internet serves as a primary...
Steps:
- Before you begin, shut down your laptop and disconnect all cables.
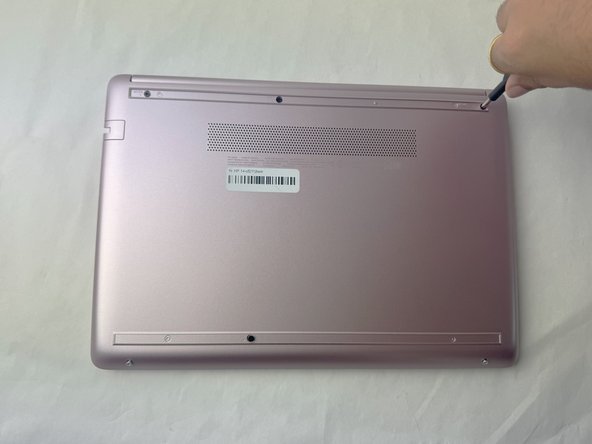
- Turn the laptop over so the bottom case is facing up.
- Use a spudger to pry under the end of the screw cover.
- When the edge is lifted up, use your fingers to pull the rest of the strip off.
- Try to keep the strip intact so you can replace it at reassembly.
- Use a Phillips #1 screwdriver to remove six 6 mm screws from the back case.
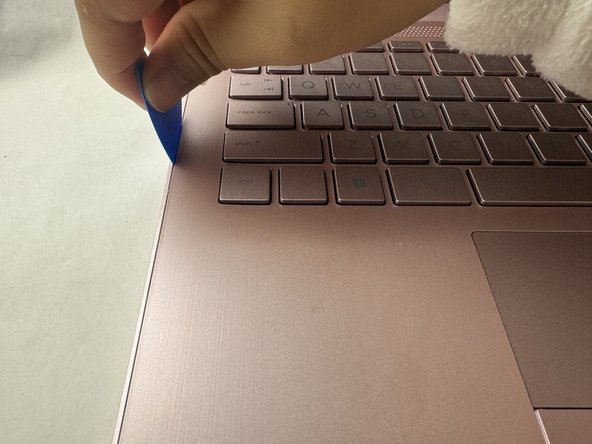
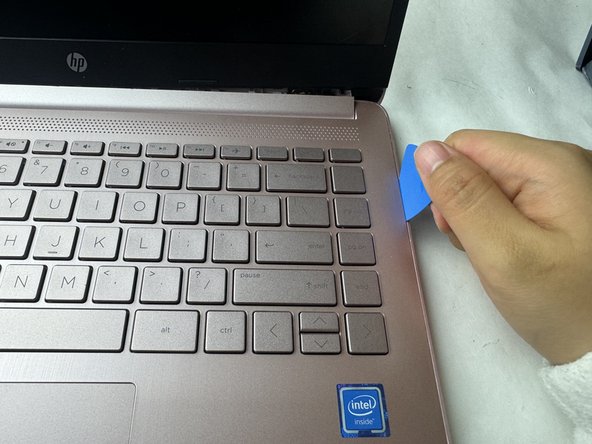
- Use a pick or opening tool to pry along the edges of the back cover from the keyboard side of the laptop.
- Be careful as the case edges are sharp.
- Lift the back cover off the laptop.
- For reference, the Wi-Fi card is near the middle left of the image.
- Use an opening tool to pry up and disconnect the two Wi-Fi card coaxial cable connectors.
- The wire with the white tab attached should connect to spot number 1 on the Wi-Fi card. The wire with the black tab attached should connect to spot number 2.
- Remove the 3 mm-long screw securing the Wi-Fi card with a Phillips #1 screwdriver.
- Pull the Wi-Fi card out of its socket.