Dell Precision 3580 Fan Replacement
ID: 199618
Description: When the CPU fan is no longer working, a...
Steps:
- Make sure the PC is completely shut down before beginning the repair.
- Use a Phillips #1 screwdriver to remove the eight screws securing the bottom case.
- Insert a plastic opening tool into the space between the bottom and top case beginning near the hinge.
- Slide the opening tool around the perimeter to release the clips that attach the bottom case to the device.
- Remove the bottom casing from the laptop.
- Lift straight up with the built-in pull-tab to disconnect the battery connector from the socket on the motherboard.
- Use the point of a spudger to push on alternating sides of the fan connector to "walk" it out of its socket.
- It may take a lot of alternating before the connector comes out. Be patient, and don't pull on the cables.
- To reconnect the cable, align the connector and use a spudger or clean fingernail to push it fully into the socket.
- Don't push or pull on the cables themselves, or you may damage the connector.
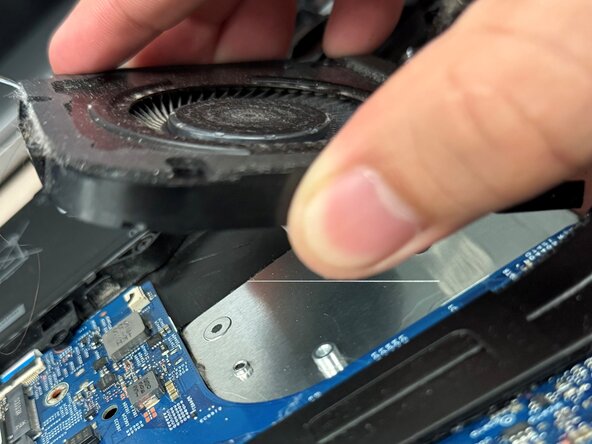
- Use a JIS #0 screwdriver to loosen the four screws securing the fan.
- Remove the fan from the laptop.