Dell Latitude 3310 Wi-Fi Card Replacement
ID: 200147
Description: This guide shows how to replace the network...
Steps:
- Remove seven 8.0 mm screws using a Phillips #1 screwdriver.
- Remove three 5.0 mm screws using a Phillips #1 screwdriver.
- Using the iFixit opening tool, gently pry between the body of the laptop and the bottom cover. Make your way around the laptop carefully releasing all plastic clips.
- The screen hinges are an ideal spot to begin prying.
- Remove the bottom cover.
- Locate the white-and-black wire connected to the network card, then trace it and remove it from the fan’s retaining clips.
- Using a Phillips #1 screwdriver, remove the screw fastening the network card to the board.
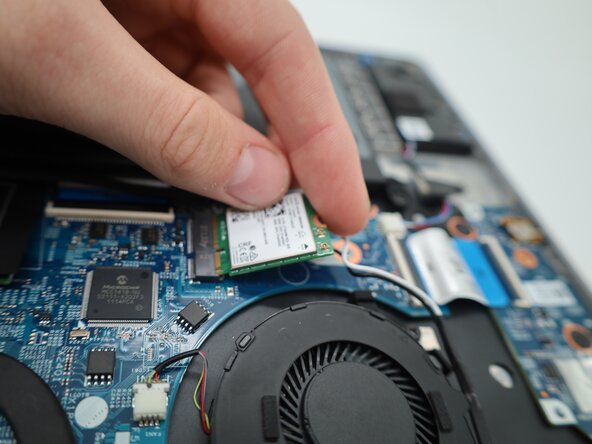
- The card will lift up at an angle.
- Using your fingers, gently pull straight up on the white/black connectors.
- Remove the Wi-Fi card.
- Insert the replacement card into the slot.
- If you're having trouble lining it up, it is safe to insert it at an angle.
- Reconnect the white/black wires.
- Make sure to connect the correct wire to the correct side. This is indicated by a white and black arrow found on the sticker of the network card.
- Reinstall the metal plate & screw to fasten the card to the board.