JBL Clip 3 Micro-USB Charging Port Replacement
ID: 206872
Description: This guide will walk through the steps for...
Steps:
- Unplug the speaker from any power source and power it off.
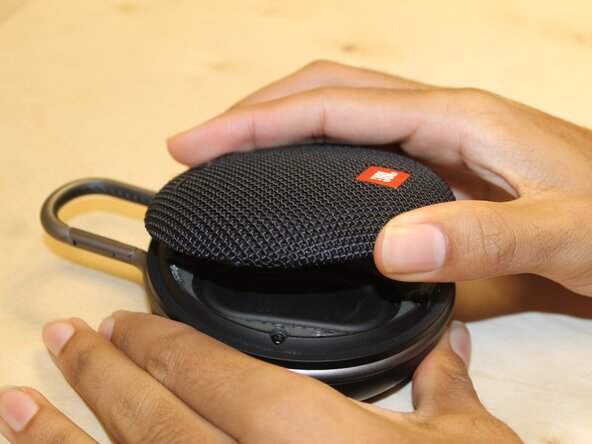
- Gently pry the plastic front cover away from the device face using your hands or a flat tool and set it aside.
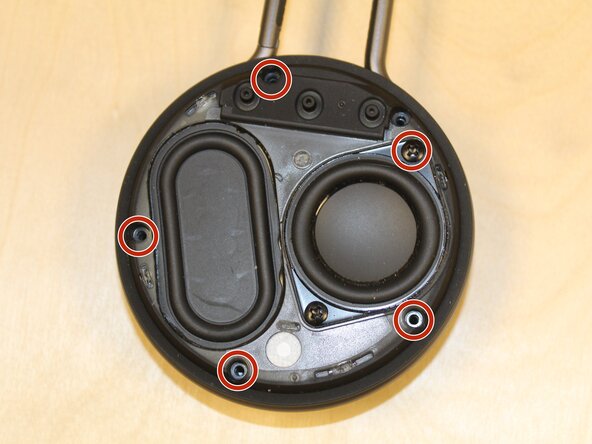
- Using a Phillips #0 screwdriver, remove the five outermost screws from the speaker.
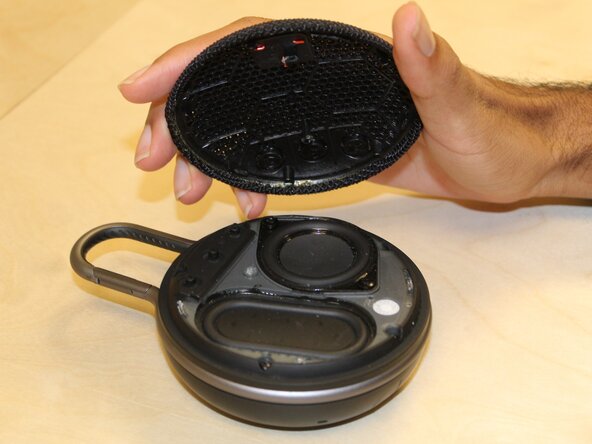
- Flip the speaker piece back to set it aside from the main device.
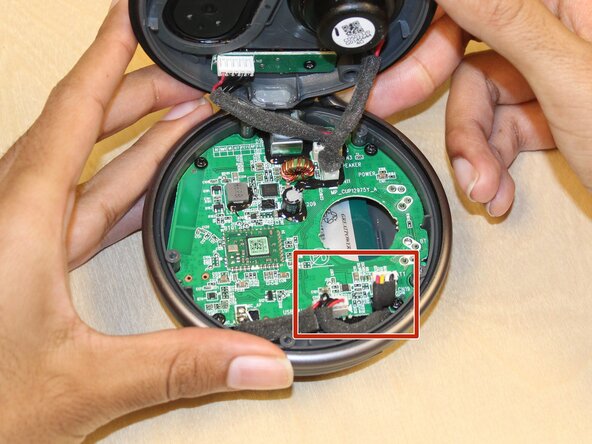
- A wire will still be connected to the motherboard. Make sure to gently open the speaker up to avoid severing connections.
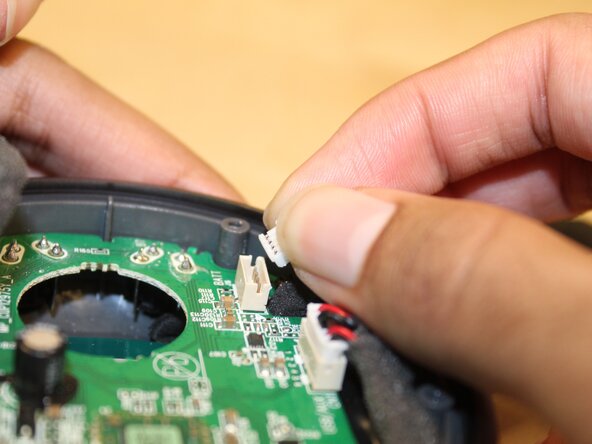
- Unplug the wire connectors (the black and red wires with the white head) by pulling the connector head from its housing on the motherboard.
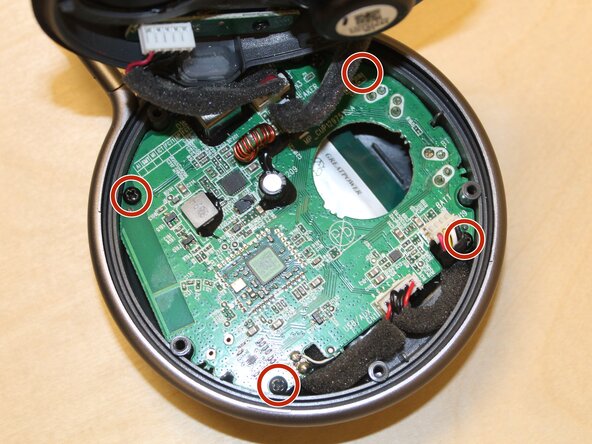
- Remove the four screws holding the motherboard in place using a Phillips #0 screwdriver.
- Gently remove and set aside the motherboard.
- Make sure the microphone wire stays connected to the motherboard and the back piece of the device at all times.
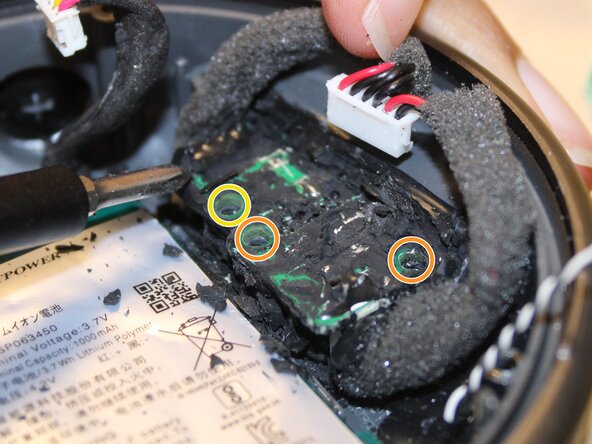
- If an epoxy seal is present on the printed circuit board (PCB), carefully remove it. It can be peeled off, and it may help to remove the screws first.
- Removal of the epoxy seal may affect the waterproof feature of the device.
- Damage to the lithium-ion battery may cause a fire. Do not use a sharp object near the battery.
- Remove the three screws holding the PCB in place using a Phillips #0 screwdriver.
- The PCB is in two parts.
- The only screw holding the micro-USB side down is the leftmost screw.
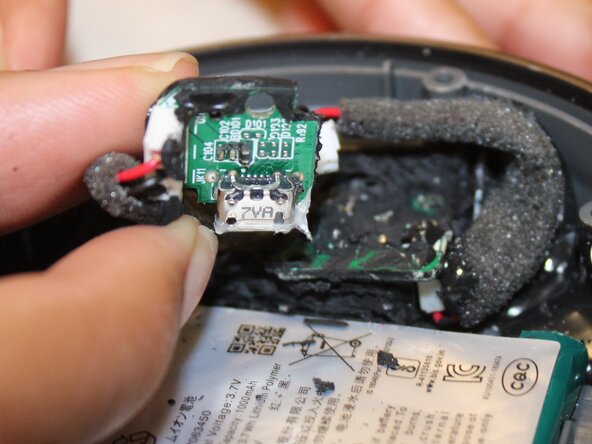
- Remove the PCB, ensuring that there are no other connections with the device.
- Desolder the micro-USB from the PCB.
- Then, solder a new micro-USB onto the PCB.
- Use this soldering guide: How to Solder and Desolder Connections