Surface Pro 7+ Screen Installation
ID: 212440
Description:
Steps:
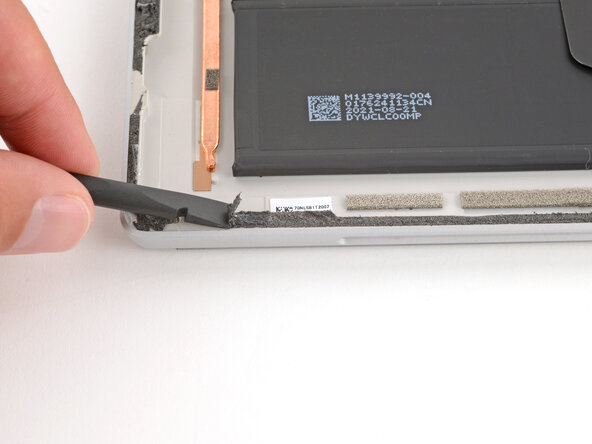
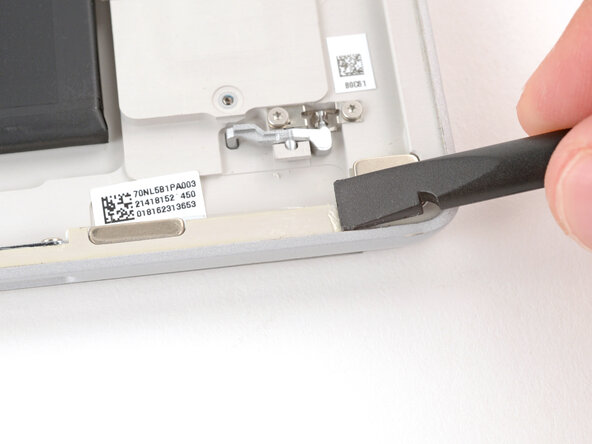
- Use a spudger and your fingers (or tweezers) to scrape up and remove all the old screen adhesive from the perimeter of the frame.
- If you're reusing your screen, repeat the process to remove any of the old screen adhesive from it.
- To prevent damaging your screen, press gently with the spudger and make sure nothing is under the screen while you work.
- Take your time and be very thorough during the next two steps. A clean frame allows replacement adhesive to lay evenly, ensuring a better bond.
- The old adhesive likely left behind a thin, clear film on the frame. Use a spudger and tweezers to peel any traces of the film from the frame.
- If you're reusing your screen, repeat the process to remove any of the adhesive film left on the screen.
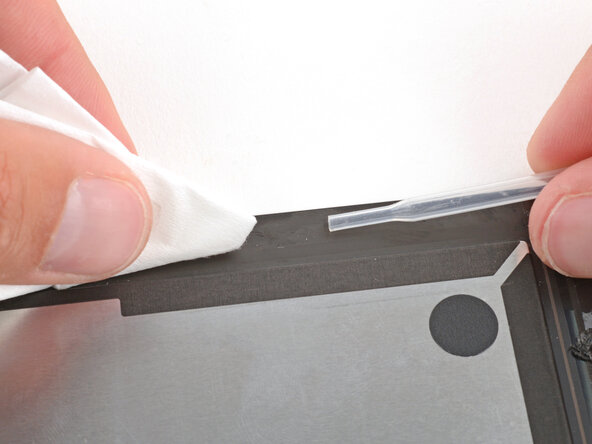
- Use a lint‑free cloth (or coffee filter) and some high‑concentration (>90%) isopropyl alcohol to thoroughly clean the frame where you removed the old screen adhesive.
- If you're reusing the screen, repeat the process to clean its perimeter.
- Before applying any screen adhesives, find their proper orientation on the frame. Use cutouts and notches in the adhesive to match each strip to its spot on the perimeter.
- The top strip has lots of circular cutouts for the cameras and sensors.
- Take your time when applying the adhesive strips. Once the adhesive sticks to the frame, it can't be repositioned—you'll need to start over with a new strip.
- Apply the shorter strips (left and right) first, as it makes it much easier to properly align the top and bottom ones.
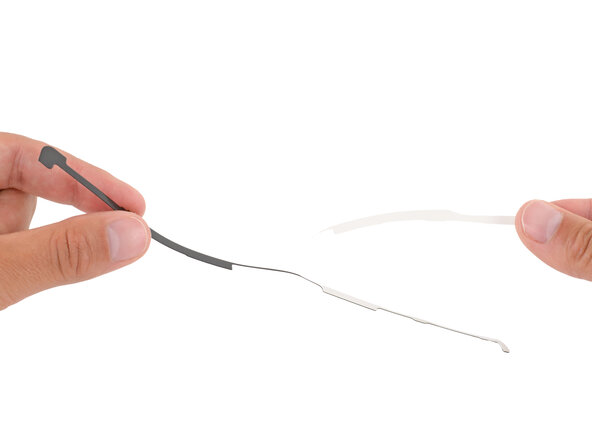
- Remove the white, paperlike liner (not the clear one) from one of the shorter strips.
- Line up the strip and use your finger to secure one end to the frame.
- With one end secured, gently lay the strip onto the frame and use your finger to lightly press down as you go.
- Don't remove the remaining clear liner on top of the strip yet.
- Use the same process to apply the other short strip.
- To apply the top strip, align the middle cutouts over the front camera and lay the strip down starting in the center and working out to both sides.
- Use the same process to apply the bottom strip.
- Press down on the strips with the flat end of a spudger and slide it along the length of the strips to secure them to the frame.
- To secure the strips further, you can press down firmly with your finger.
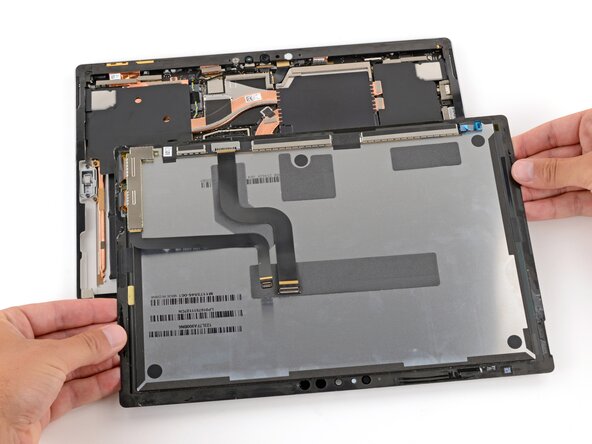
- Lay the screen display-side-down on the device so you can reconnect the two cables.
- The screen should be oriented so when you flip it over, the top edge of the screen is lined up with the top edge of the frame.
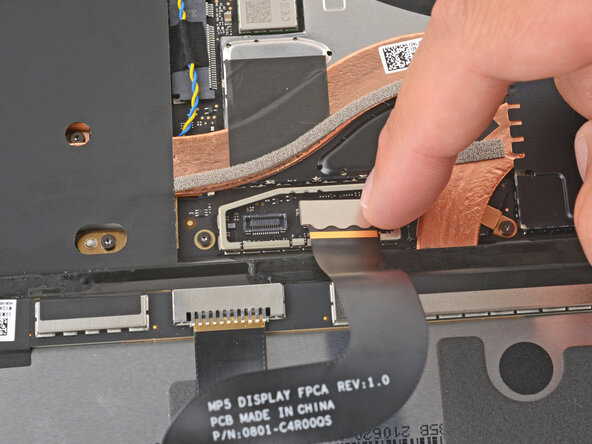
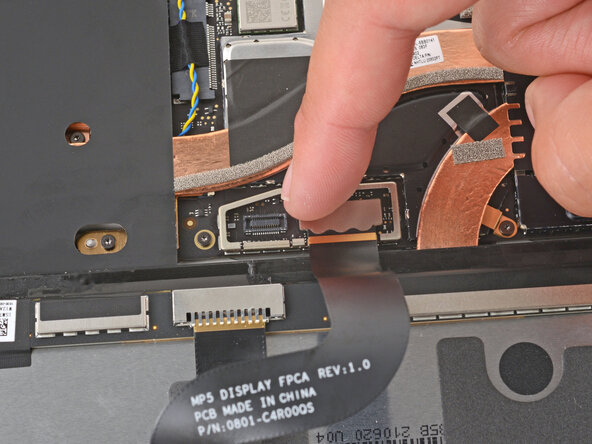
- Use your finger to press down and reconnect both of the screen cable press connectors.
- For the larger connector, press first on one short side, then the other, until it clicks into place.
- Lay the screen cable cover into place and press down firmly around the entire perimeter to secure it.
- Remove all the remaining adhesive liners, carefully holding the screen above your device as necessary.
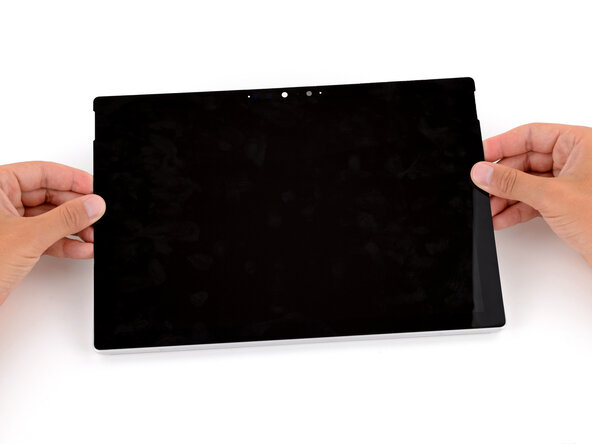
- Flip the screen over and align the bottom edge, using the frame's lip to properly orient it.
- Once the bottom edge is properly aligned, lay the screen onto the frame.
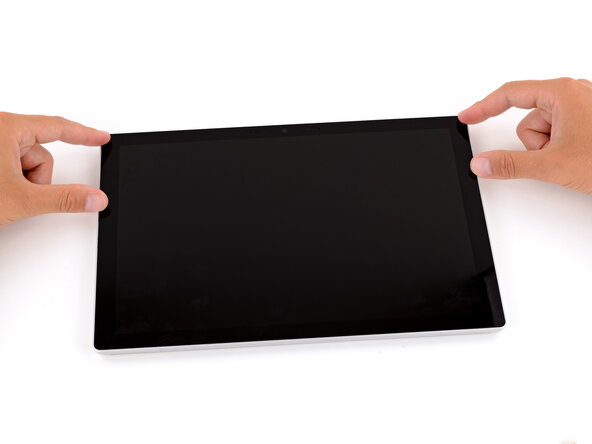
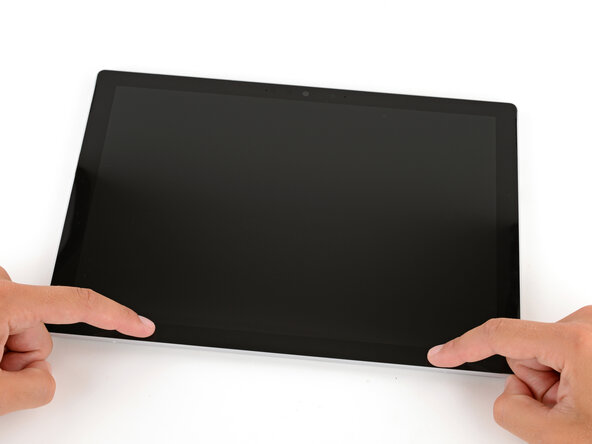
- Use your fingers to press down on the entire perimeter of the screen to secure it in the frame.
- Check the edges of the screen and make sure they're sitting flush in the frame—there should be no gaps.
- Lay your Surface Pro screen down on a clean, flat surface.
- If you're using a display bonding frame, lay the device down with the screen facing up.
- Place 4–5 heavy books squarely on top of your device.
- Leave the books in place for at least thirty minutes. The lighter the books, the longer they should be left. Ideally, leave them stacked overnight.
- The pressure will help activate the adhesive, creating a stronger bond.
- Open the kickstand and remove the SSD door using a SIM eject tool.
- Use your fingers to slide the SSD fully into its socket.
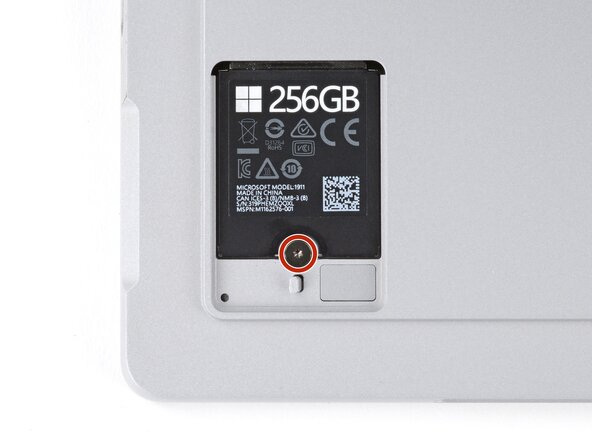
- Use a Torx Plus 3IP screwdriver to install the 2.2 mm‑long SSD screw.
- Slide the SSD door into place and use your finger to press down on the bottom edge until it clicks into place.