HP Chromebook 14a-na0031wm Motherboard Replacement
ID: 212656
Description: This guide will instruct you on how to remove...
Steps:
- Use a spudger to pry and remove the rubber screw protectors.
- Remove all eight 5mm screws using a Phillips #00 screwdriver.
- Insert the opening tool in the bottom of the case.
- Apply pressure around the edges to pry off the case.
- When reassembling, line up the bottom of the case and gently apply pressure to reattach.
- Use a spudger to flip up the tab on the ribbon connector.
- Detach the cable connecting the battery to the motherboard.
- Ribbon cables are easy to damage; use caution when detaching them.
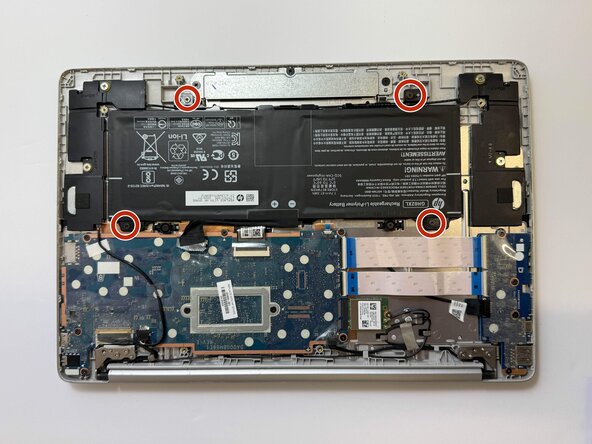
- Remove four 4mm screws using a Phillips #0 screwdriver.
- Lift the cord and remove the battery from the case.
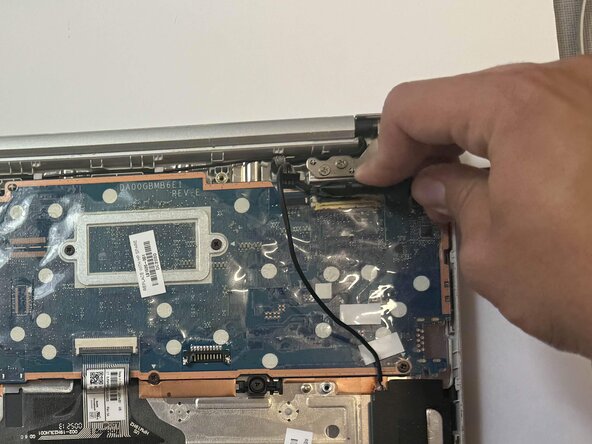
- Use a spudger to peel back the plastic film that is holding the wire.
- Use a spudger to peel back the plastic film holding the connector.
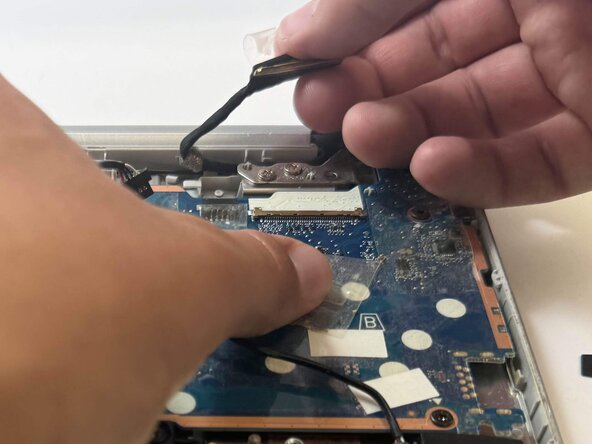
- Use a spudger to lift up the tab on the ribbon connector.
- Detach the cable.
- Use a spudger to peel back the plastic film holding the connector.
- Use a spudger to flip up the tab on the ribbon connector.
- Detach the cable.
- Use a spudger to peel back the plastic film holding the connector.
- Gently use the spudger to lift the black locking bar.
- Disconnect the cord.
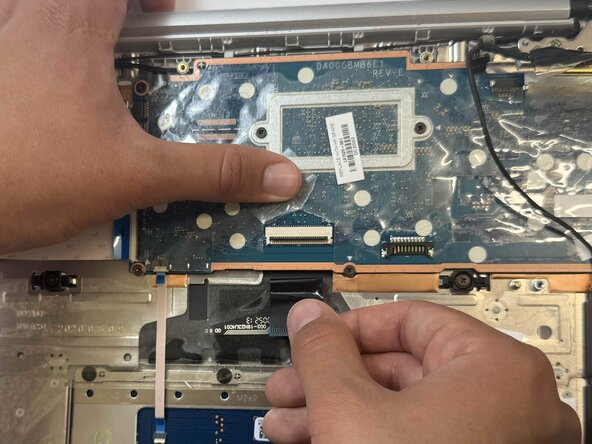
- Use a spudger to lift the tab on the ribbon connector.
- Disconnect the cord.
- Use a spudger to flip up the tab on the ribbon connectors.
- Disconnect both ribbon cables.
- Remove all eight 4mm screws using a Phillips #00 screwdriver.
- Lift and remove the motherboard from the case.
- Disconnect the cable.