Squeezebox Receiver Teardown
ID: 221130
Description: Disassemble the Squeezebox receiver to...
Steps:
- Start from the bottom side
- Gently pry off the glued rubber pad on all 4 corners to reveal the T10 Torx screws underneath and unscrew them
- Turn the receiver over and pry off the top cover
- Find the front button from the inside and turn it slightly to allow the main board to slide up
- Pull the main board up and out by the transparent plastic piece
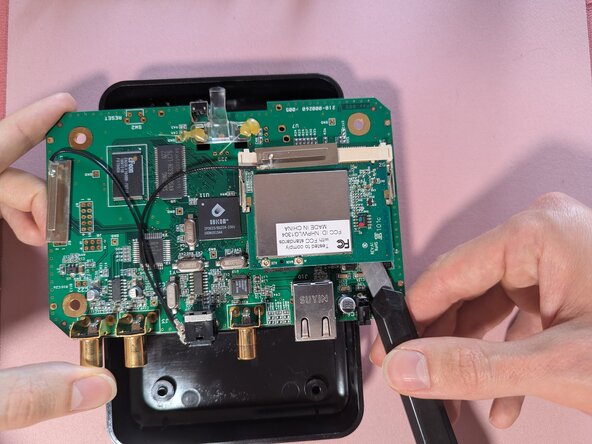
- Use a spudger or a fingernail to pry off the lego-style antenna connectors
- The plug-in network card (the one that you unplugged the antennas from) is attached to the main board with 4 adhesive sponge pads (photo 3 is mirrored to illustrate the location of these pads as they are under the card)
- This step of loosening or cutting the adhesive is optional, but highly recommended because otherwise removing the card requires a lot of force. You can loosen the adhesive by heating the card with an iOpener or you can slice through the adhesive using a utility knife or some string (swipe it across the bottom of the card in a saw-like motion)
- The plug-in card does not have any protruding components at the bottom, but the main board does have protruding components underneath the card, so when slicing with a knife or a string, make sure to drag the blade or string as close to the plug-in card as possible to avoid damaging the components under it
- Take the plug-in network card by its sides and gently rock sideways, pulling away and up. Once the contacts are pulled out far enough, you will be able to pull the card at an angle, as shown on the photo.
- This step might require quite a bit of force, especially if you didn't loosen the adhesive in the previous step
- You're done! Here are some close-up pictures in case you simply want to see what's inside and not actually disassemble your Receiver