Disassembling the Samsung Laptop Ultrabook NP530U3B
ID: 23322
Description: This guide is a complete, all-around guide to...
Steps:
- Remove the 8 small screws.
- Remove the other 6 screws.
- Remove the hard disk and the RAM slots.
- This is the hard disk - Hitachi 500 GB
- Ensure that the hard disk has been removed. Carefully detach the bottom cover.
- Once the bottom cover is removed, your device should look like this.
- Remove the 4 screws to detach the battery.
- Remove all of the sticky tape.
- Carefully disconnect the small power connector by using a tool to push the connector out through the small gap in the middle of the connector.
- The connector won't come out all the way, because the battery pack is in its way.
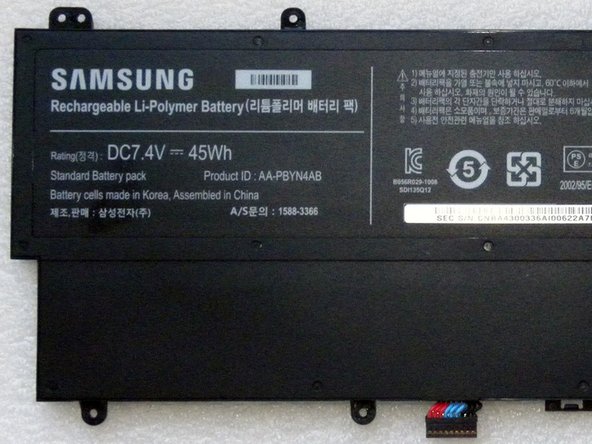
- This is the Samsung 7.4V 45Wh battery.
- Ensure that the battery is removed before continuing.
- When the battery is removed, this is how it will look.
- Remove the processor fan.
- There are 2 screws holding it in place. Loosen and remove them.
- This is the processor fan.
- Remove the processor heat sink.
- 3 screws hold this part in place. Loosen and remove them.
- Disconnect the antenna cables from the WiFi card.
- Remove the screw.
- Be sure to match the colors when reattaching the cables.
- Remove the screw.
- Lift the latch upwards to loosen the cable.
- Remove the screw.
- Remove the screw.
- To remove the Motherboard, carefully disconnect the cables.
- This is the Motherboard - there is a front and rear view.