iPhone 18 Pro Battery Removal
ID: 240023
Description: This guide shows how to remove the battery from...
Steps:
- Let your iPhone's battery drain below 25% before starting this repair—a charged lithium‑ion battery may catch fire if damaged.
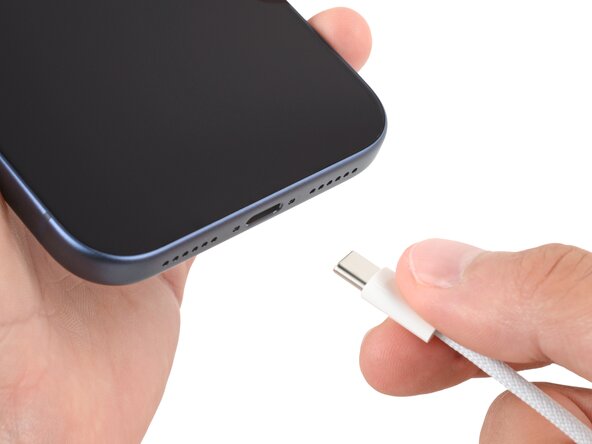
- Unplug all cables from your phone.
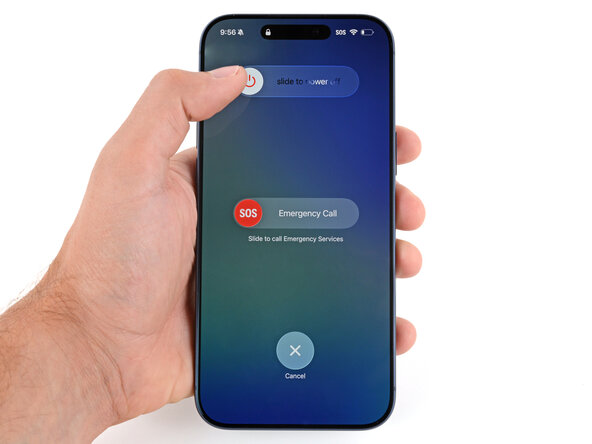
- Hold the power and either volume button and slide to power off your phone.
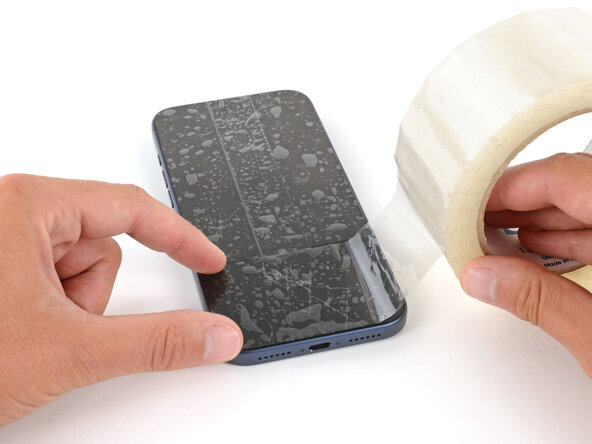
- Glass shards can complicate disassembly—or worse, cause injury. If your phone is cracked, follow this step.
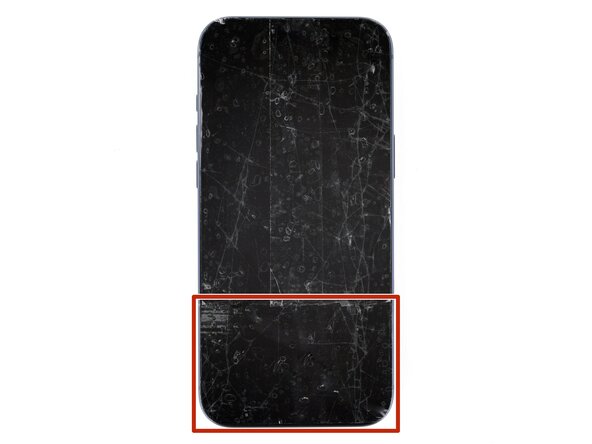
- Apply strips of packing tape to the cracked glass until it's completely covered—this will help keep the glass contained and allow the suction cup to stick.
- Make sure there's a single strip of tape (not overlapping) across the bottom edge, big enough for a suction cup to fit on.
- Only cover the glass itself—don't stick any tape to the frame.
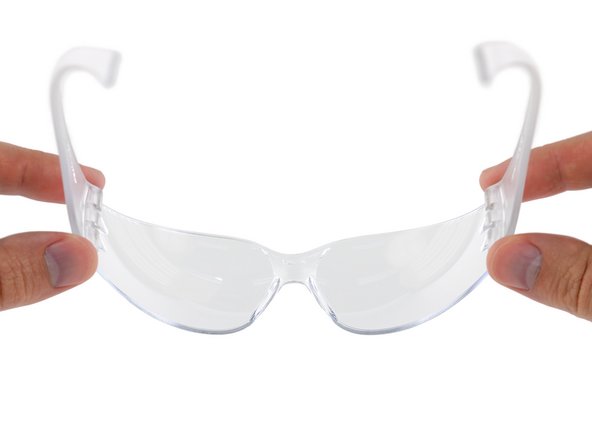
- Consider wearing safety glasses to protect your eyes from any glass shaken free during the repair.
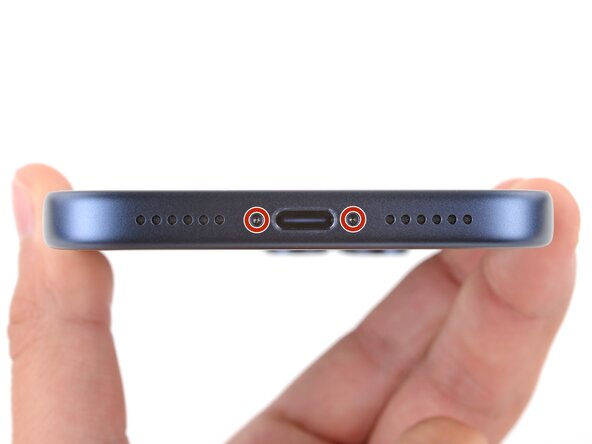
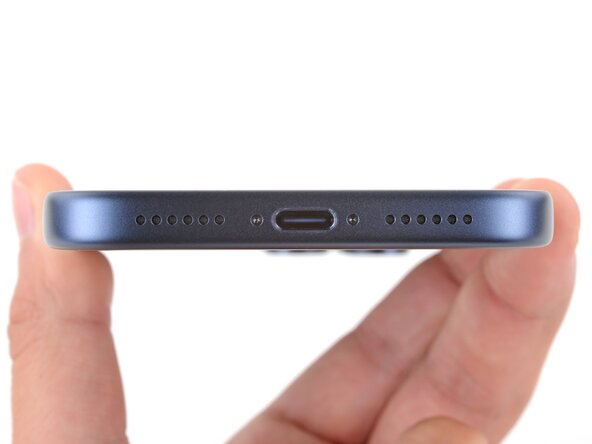
- Use a P2 pentalobe screwdriver to remove the two 7.5 mm‑long screws on either side of the charging port.
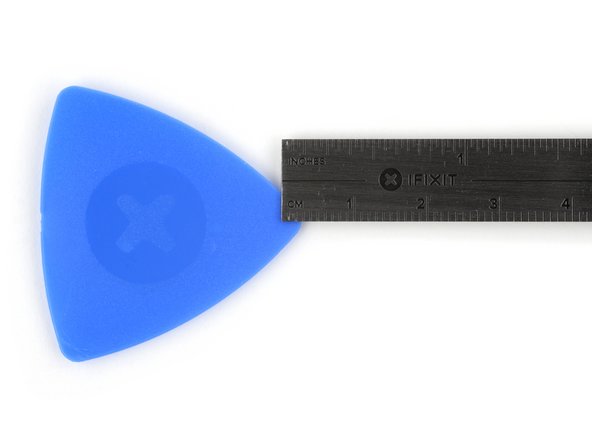
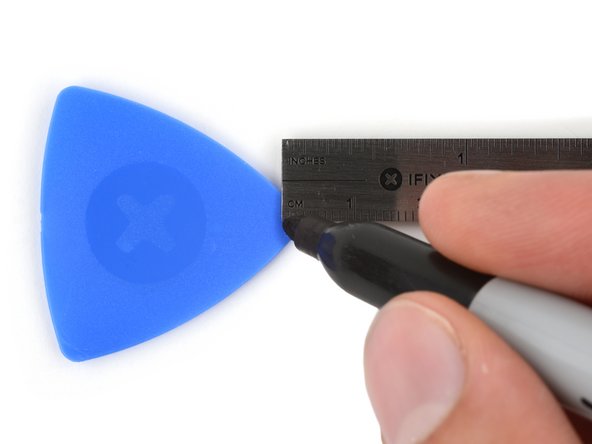
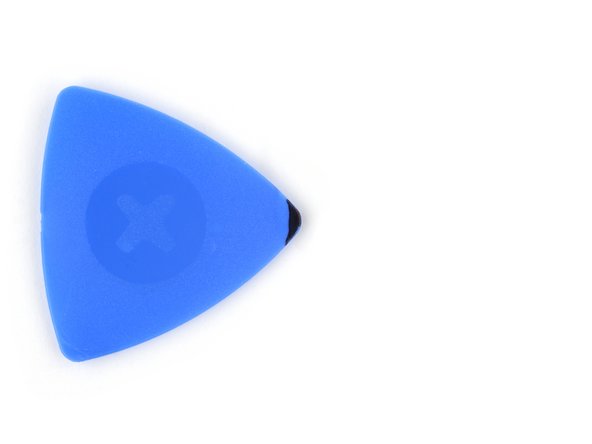
- If inserted too far, an opening pick can damage your device. Follow this step to mark your pick and prevent damage.
- Measure 3 mm from the tip and mark the opening pick with a permanent marker.
- Alternatively, you can tape a coin 3 mm from the tip of the pick.
- Use a hair dryer or heat gun to heat the bottom edge of the screen until it's slightly too hot to touch.
- Improper use of a heat gun can destroy the display and/or battery—follow the linked instructions carefully.
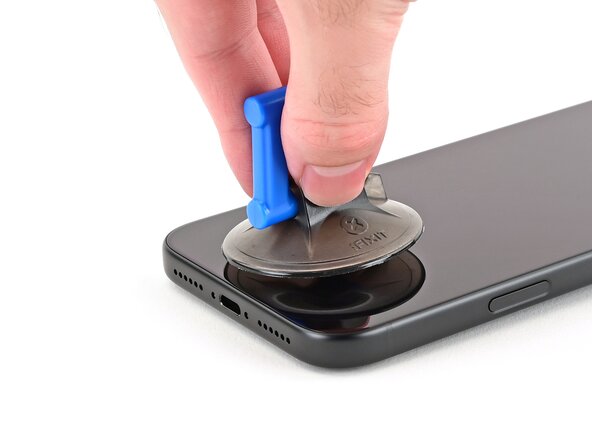
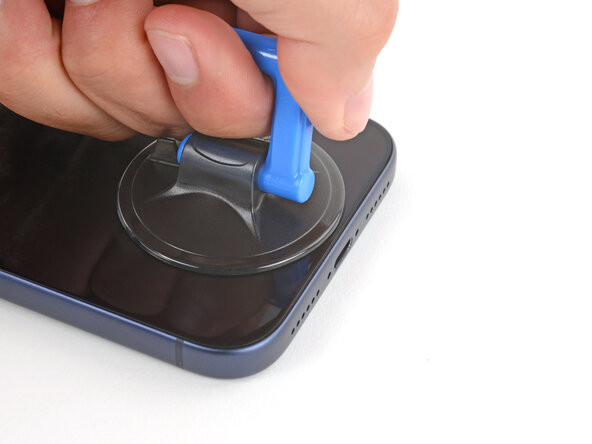
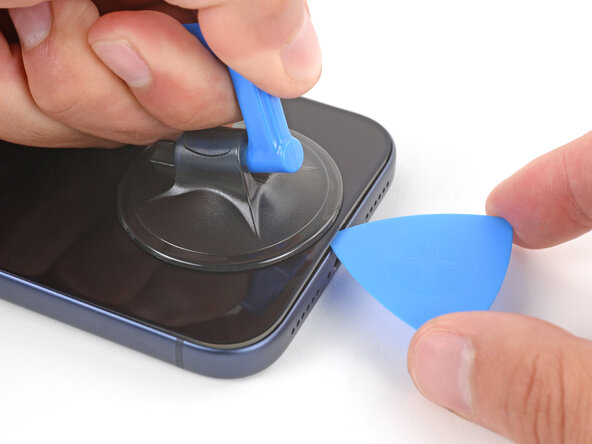
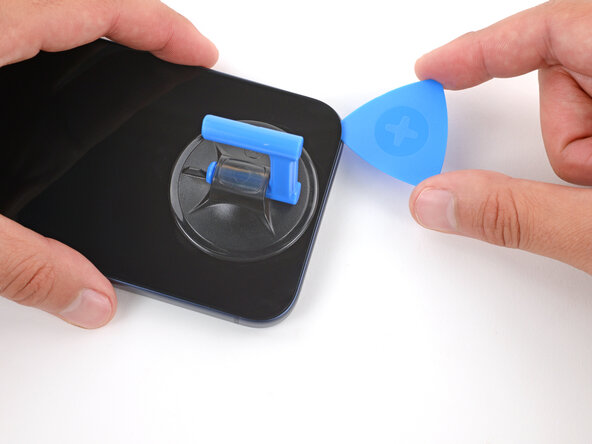
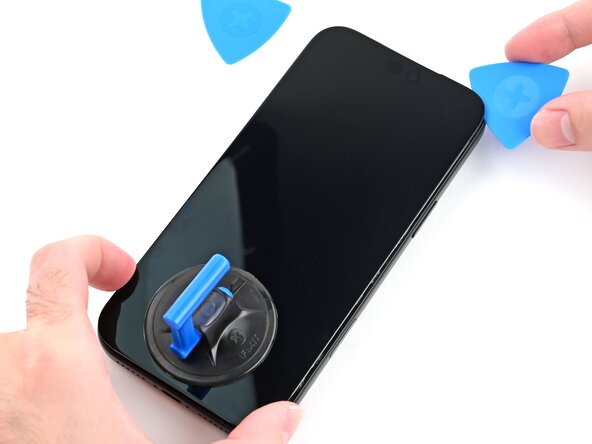
- Apply a suction handle to the bottom edge of the screen, as close to the edge as possible.
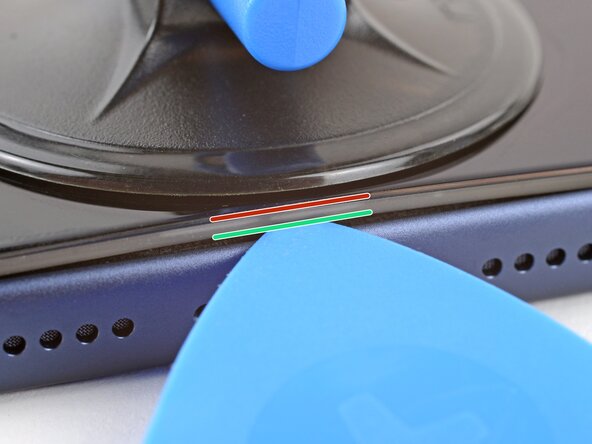
- To avoid damaging your screen in the next step, note the following:
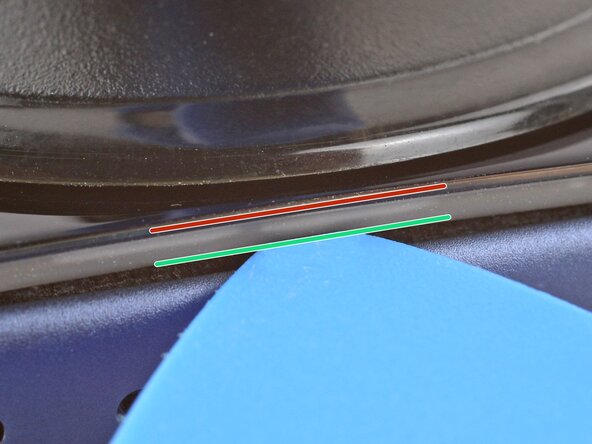
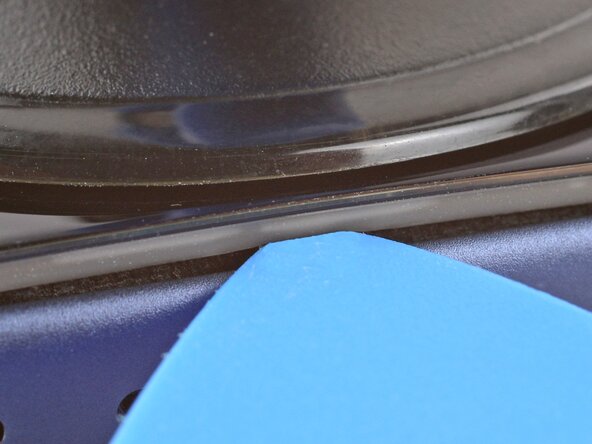
- There's a plastic bezel on the underside of the screen. Your opening pick will go underneath this bezel.
- There's a seam between the plastic bezel and the display panel. Don't insert your pick here or you'll damage the screen.
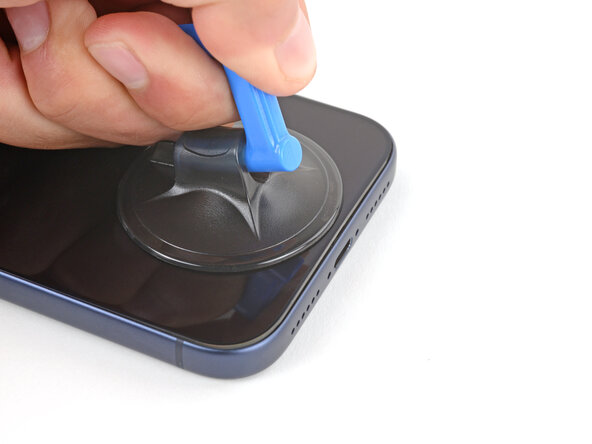
- Pull up on the suction handle with strong, steady force until a gap forms between the screen and frame.
- The iPhone cools off very quickly. If you're having trouble, reheat the screen and try again.
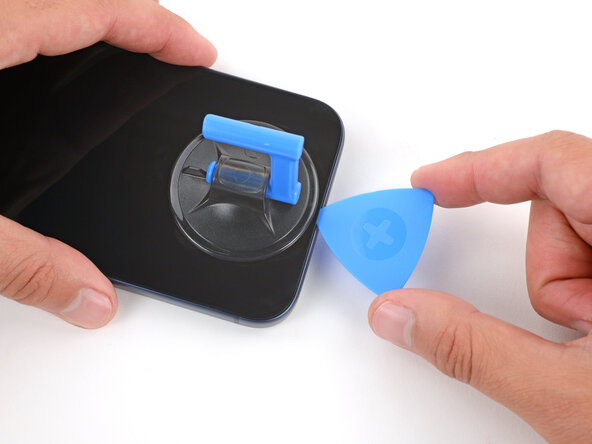
- Insert the tip of an opening pick in the gap you just created.
- Don't insert your pick more than 3 mm under the screen to avoid damaging the following components:
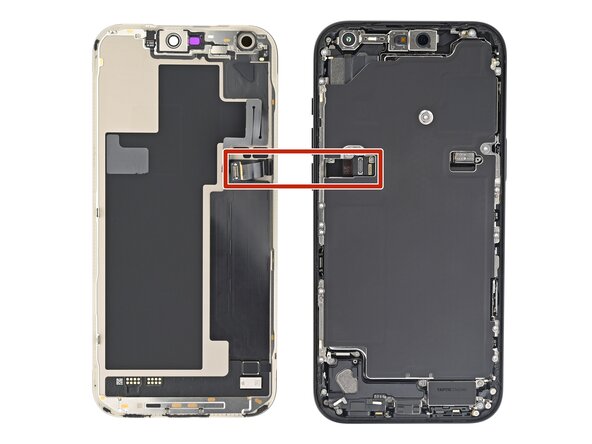
- The screen and ambient light sensor cables, located near the volume buttons.
- Delicate spring contacts around the perimeter of the phone.
- The underside of the screen has thin, metal clips that go into corresponding slots on the frame.
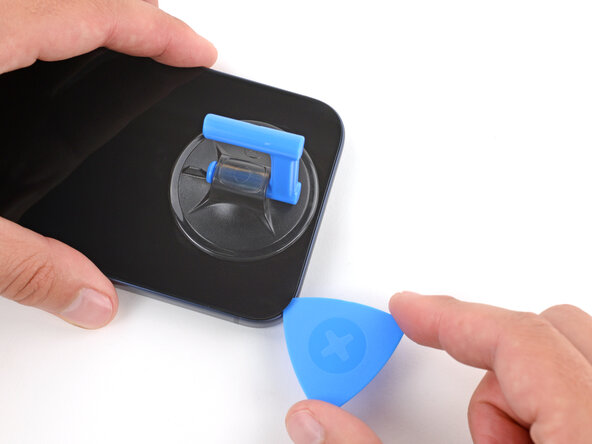
- Slide the opening pick along the bottom edge to separate the adhesive.
- Leave the pick inserted under the bottom right corner to prevent the adhesive from re‑sealing.
- Use a hair dryer or heat gun to heat the right edge of the screen until it's slightly too hot to touch.
- Insert a second opening pick under the bottom right corner of the screen.
- Slide the pick up the right edge, stopping just before the antenna line, to separate the adhesive and release the two clips.
- Leave the pick inserted under the top right corner to prevent the adhesive from re‑sealing.
- Use a hair dryer or heat gun to heat the left edge of the screen until it's slightly too hot to touch.
- Insert a third opening pick near the bottom left corner of the screen.
- Slide the pick up around the bottom left corner, then up the left edge to separate the adhesive and release the clip, stopping just before the antenna line.
- Use a hair dryer or heat gun to heat the top edge of the screen until it's slightly too hot to touch.
- Gently pull the screen downwards, and slide the pick on the right edge around the top right corner of the screen.
- Slide the broad side of the opening pick along the top to slice the adhesive while gently pulling the screen down.
- At this point, the screen should be released from the phone frame. If it feels stuck, go back around the perimeter and separate any remaining adhesive or clips.
- Lift the screen straight up and swing it over the left edge of the phone, propping it up against a sturdy box or stack of books so the cables aren't strained.
- Alternatively, you can lay the screen down flat over the left side. Be careful not to strain the delicate flex cables.
- Throughout this repair, keep track of each screw and make sure it goes back exactly where it came from.
- Use a JIS 00 screwdriver to remove the two 1.2 mm‑long screws securing the battery and screen cable covers (one for each cover).
- Small iFixit Phillips bits are designed to work with JIS screws. You can try Phillips screwdrivers from other manufacturers, but you risk stripping the screw.
- Remove the two covers.
- Use the point of a spudger to pry up and disconnect the battery press connector.
- Use the point of a spudger or tip of an opening pick to pry up and disconnect the screen and front sensors press connectors.
- Remove the screen.
- Use a Torx Plus 4IP screwdriver to remove thirteen screws securing the battery tray:
- One 5.7 mm‑long screw
- Two 3.5 mm‑long screws
- Ten 3.7 mm‑long screws
- Use your finger to lift the top right corner of the battery tray and remove it.
- Be careful not to smudge the front camera.