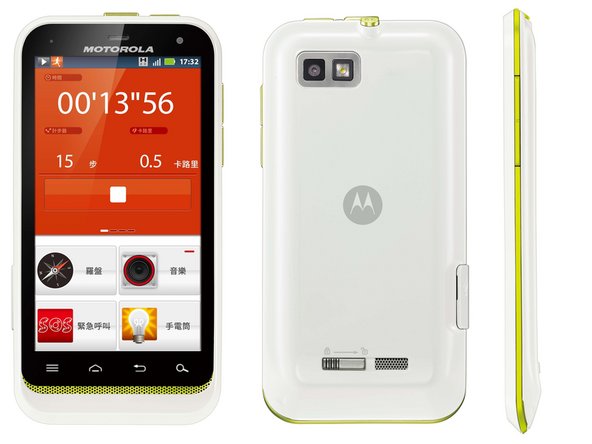
Disassembling Motorola Defy XT
ID: 28454
Description:
Steps:
- Switch off the mobile.
- Unlock the back case before open.
- Remove the battery
- Remove the memory card
- Remove the Sim card
- Remove 6 screws
- Tear off a part of label
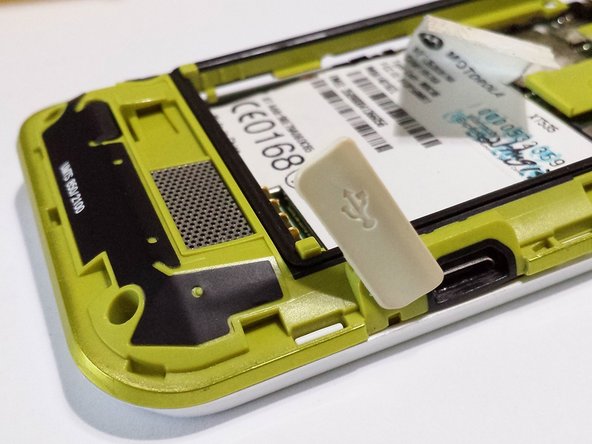
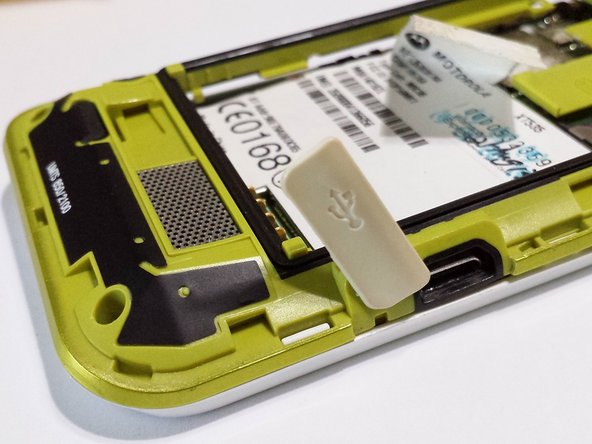
- Release the usb cover
- Open the green case part by yours fingernail from left side to the right side with the usb socket
- Be care of your labels
- If you want to repair the SIM card slot legs, be sure no short circuits in 6 legs.
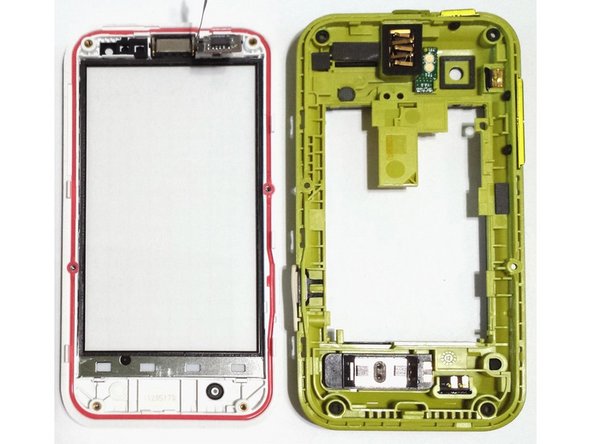
- To release the PCB for cleaning the Display the the touch screen, remove 2 PARTS by fingernail.
- 1. Touchscreen adapter
- 2. Sticker between the touchscreen PCB & mobile PCB
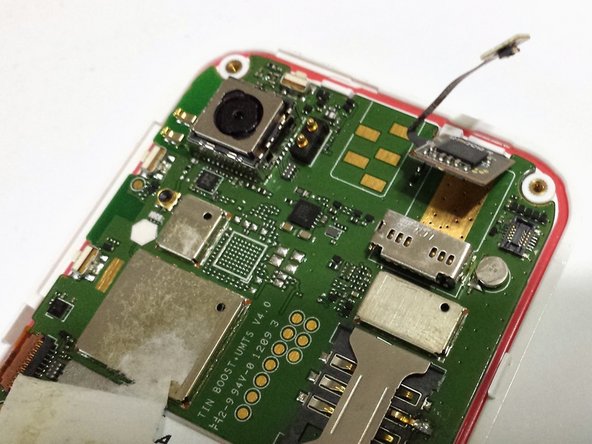
- Remove the mobile PCB much careful form top right. Be care the touchscreen circuits.
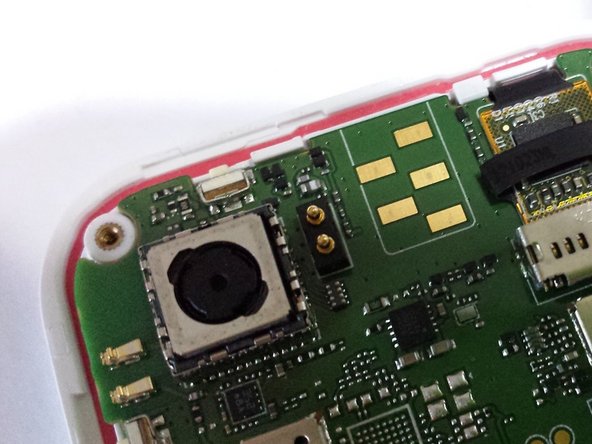
- You can use a cloth, USB vacuum cleaner (be careful of the components in the green case), and adhesive tape to remove all the dust.
- That finger pin is left by the Motorola Support Center in Hong Kong!!
- You can also clean the camera lens on PCB
- Remember to put all parts back and insert the touchscreen plugs slightly.
- Put the green case back, make sure all locks is conneted
- You can test the mobile before screw.
- After insert the memory card, SIM card and battery, switch on the phone
- Test call in and call out, also check the speaker
- Open the map Apps to test Wifi and GPS
- Bluetooth file transfer
- Camera test and save in sd card
- Check the sd card files
- Try to connect with PC
- If all works, remove the SIM card and battery.
- Recheck the label is it on the top of the green case
- Screws up all 6 screws
- Put back all battery and SIM card
- Close the back case and lock it
- Close the USB cover
- Done
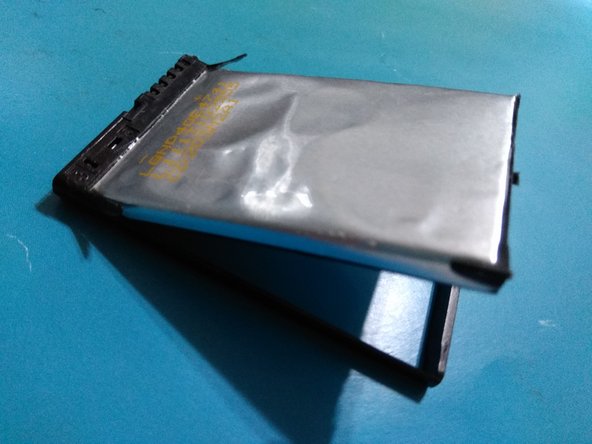
- If you want to explore what inside of the battery with PCB. Here is the step to follow.
- Remove the label
- Remove the black rubber
- Tear the battery by hand (Be patient to repeat it many time) ***do not use any metal tools to cut it out!!
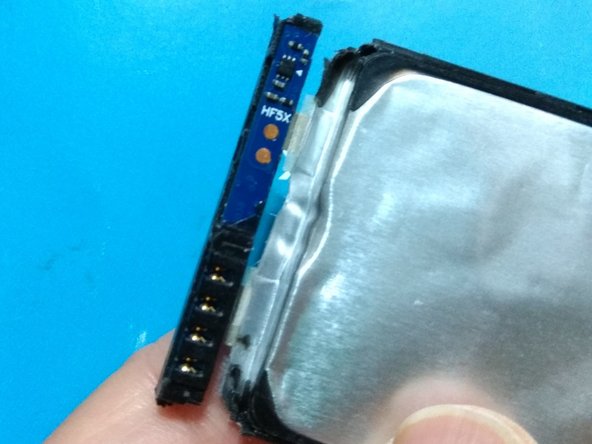
- Also you can tear PCB by hand
- Remove the black rubber Tear the battery by hand (Be patient to repeat it many time)
- ***do not use any metal tools to cut it out!!
- Also you can tear PCB by hand