How to Restring Your Lacrosse Stick
ID: 37676
Description: The string job in your lacrosse head effects...
Steps:
- Unstring current lacrosse netting on head and gather the necessary stringing supplies. You may cut the current strings, but I recommend keeping the mesh in tact for future stringing.
- Stretch out the new mesh piece for about 30 seconds.
- Fold over mesh a couple rows so that a 9 diamond row is on top.
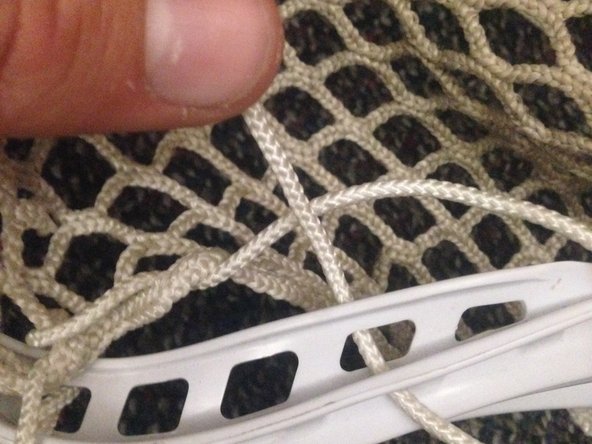
- Cut your strings to the appropriate size. I generally cut the top string to be a little over a meter long, and both of the sidewall strings to be a little less than a meter.
- Melt the ends of the string to prevent fraying. After melting, I lick my fingers and pinch the tips of the string to create a pointy tip that is easier to string. Have caution when pinching the tip, if your fingers are not salivated, you will burn yourself.
- Tie a double knot at one end of the top string and wrap the string around the first hole in the mesh and the first hole in the sidewall.
- Skip a hole of mesh, string the string through the back of the head top hole, up through the mesh hole and around the back of the string.
- Continue with the string down back through the mesh hole, up through the plastic hole, and through the hole created in the string.
- Pull all parts of the knot tight so the knot looks as shown.
- Skip a hole of mesh, and repeat this knot. The top string will consist of 4 of these knots, so divide up the plastic holes to string evenly. Different heads will require different spacing. On this head, a Gait Torque, I skipped 2 holes in the plastic.
- Repeat this knot 4 times along the top of the head/mesh. Pull the string tight between each knot.
- Lock the final hole to the plastic as you did when tying-on the mesh. Secure the string with a simple single or double knot.
- Lock the same hole of mesh to the plastic with a sidewall string.
- Begin to tie the first sidewall knot. Go down through the mesh and down through the sidewall. Skip a sidewall hole or two in the plastic while at the top of the stick.
- Pro Tip: When stringing the side wall, remember, "over- over". Go over the mesh, and over the sidewall hole in the plastic.
- Continue by going up through the mesh hole and pull the knot tight.
- Pro Tip: This knot is known as an interlock, and will sometimes be represented in a string pattern by an "i". By going back up through the mesh hole, you are essentially "locking" the mesh to the hole in the plastic sidewall and creating much more tension in the mesh that would otherwise be slack.
- Leave some space in the sidewall, and interlock the next mesh hole to the sidewall as before.
- Start stringing regular sidewall knots. For these, you continue to go "over-over" but you do not go back through the hole in the mesh.
- Pro Tip: When you have reached the point where the width of your head narrows, you want to start creating a pocket with your sidewall. Because you want a pocket, you want to STOP interlocking so that you relieve tension and create slack where you want your pocket.
- Pull the knot tight, and go through the next hole in the mesh, then the next hole in the sidewall.
- Continue to go "over-over" with your simple sidewall knots. Use these until you reach the bottom of the sidewall. Make sure to pull the string tight between each knot. Tie off the string at the bottom of the stick with a simple single or double knot.
- String the sidewall on the other side in the same way with the exact same knot pattern. If you use a different knot pattern on this side your mesh will not be even.
- Trim the extra string from the sidewall.
- Create a bottom string from the extra sidewall string if available. The bottom string only needs to be around 6 inches long.
- Melt the tips of the bottom string, tie a knot, and insert the string into the plastic at the bottom of the stick.
- In a 10 diamond mesh row, weave the bottom string through the mesh by going in and out of each hole in a row.
- Pull the bottom string tight and tie it off through a plastic hole.
- Pro Tip: You can adjust the depth of your pocket by loosening or tightening the bottom string.
- Start stringing the shooting strings towards the top of the stick by going through a hole of mesh. Leave only a couple inches of string outside the stick as shown.
- Weave the shooting string through row of mesh.
- Once woven once through, go around the plastic sidewall, and weave the string back through the same row going above, then below the current weave.
- Pro Tip: For the cleanest looking shooters, make sure to weave back on the opposite side of the mesh to cover up any part of mesh in the row. You can see this difference on the right and left side in the picture.
- Finish weaving the shooter and tie it off where you started the weave.
- Add in the desired amount of shooters. This picture is an example of a shooter known as a "nylon" which is essentially a sidewall string in the place of a shooter.
- Pro Tip: Shooters placed in different rows create a different feeling when throwing. It's all a matter of trial and error, as well as personal preference to decide where to put your shooters.
- Pro Tip: String your shooters different directions to avoid warping of your mesh/pocket over time. Notice how the shooters in this pocket are tied off on different sides.
- Go play with your new strings!
- Pro Tip: Finding a string job that suits you is all a matter of personal preference. Change up your sidewall pattern and shooters to find a stringing taste that you prefer.
- Pro Tip: Stick stringing takes lots of practice. If this is your first string job, your knots most likely are not as clean as you might like them to be. Practice, pull your knots tight, and practice more. You will be stringing like a pro in no time!
- Pro Tip: Look up new knots, new patterns, new pocket ideas, and add some personality to your strings! Once you get the basics down, experiment with all kinds of sidewall knots in your quest for the perfect pocket.