Smart Parts Ion Trigger Replacement
ID: 37863
Description: Sometimes the trigger on the Ion needs...
Steps:
- Remove the air tank by rotating it counterclockwise.
- Do not pull the trigger or jostle the gun, there will still be pressurized air inside the gun that could be expelled and cause bodily harm if injected into eyes and/or skin.
- The pressure gauge will indicate the leftover air in the gun.
- Remove the hopper by pulling it out of the feed tube, located on the top of the body. The hopper should easily come off when pulled straight up.
- Turn the gun on by pressing the power button until the red light blinks.
- Turn vision mode off by pressing the power button again.
- Red light should be flashing in a double blink sequence.
- Pull the trigger to release the air in the gun.
- Pressurized air can be forceful, causing particles to be ejected from the gun into your eyes and/or skin. When air bubbles enter the bloodstream, they can block blood vessels, causing embolisms. To avoid this, make sure to point the gun in a safe direction when pulling the trigger because air will be released from the gun.
- Remove the four 8mm screws on each side of the gun's grip using a Phillips #2 screwdriver.
- Remove the grip by sliding it towards the front of the gun.
- Remove the 9V battery by unsnapping it.
- Remove the front and rear 1" screws on the gun's grip frame using a 3/32" Allen Wrench.
- Remove the 12 mm screw on the top of the grip frame using a 3/32" Allen wrench.
- Separate the gun's body from the frame by gently pulling them in opposite directions.
- Remove the 1-1/4" screw that's attached to the blue tube above the front grip using a 3/32" Allen Wrench.
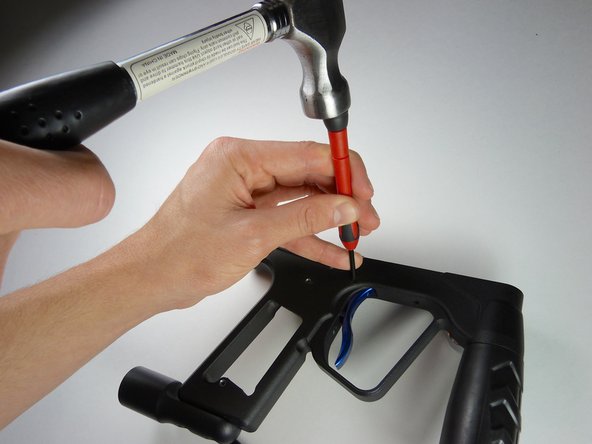
- Remove the trigger pin by tapping it out of the right side of the gun using a 3mm screwdriver.
- Any small tool can be used for this step instead of a 3mm screwdriver
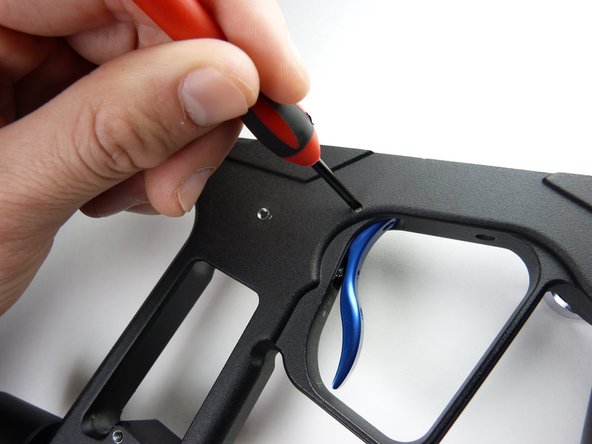
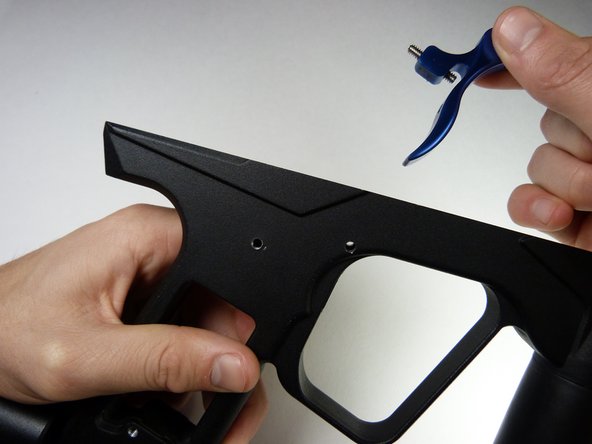
- Remove the trigger by pulling it out.