Vtech InnoTab 3S Camera Replacement
ID: 50088
Description: Is the camera not working properly on your...
Steps:
- While holding the battery compartment locks down, slide the two battery doors outwards from the sides of the device.
- Remove the batteries from the device.
- Remove six 7 mm screws from the interior of the battery compartment using a Phillips #1 screwdriver.
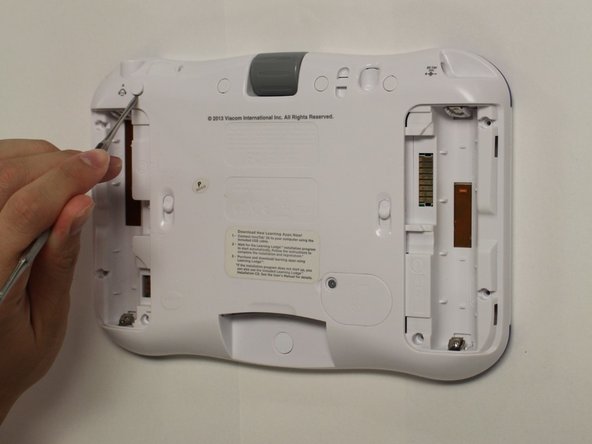
- Using a nylon spudger, remove the five caps that hide the screws.
- Potential for device damage: Be careful not to scrape the plastic from the device using the spudger.
- When removing the caps, hold the spudger vertical to the board to make removal easier. Also try to push in with your spudger pointing towards the bottom of the device.
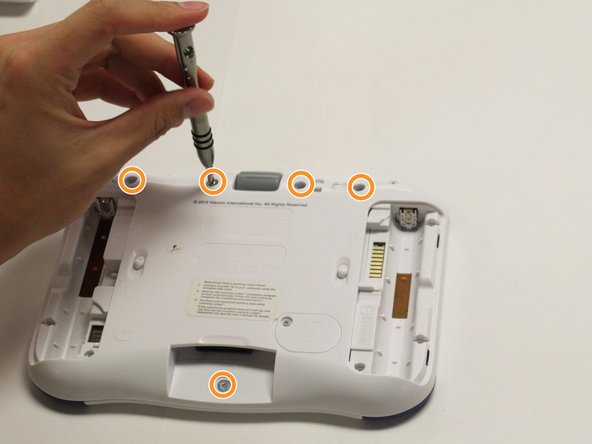
- Remove the five 5 mm Phillips #1 screws from the rear panel of the device.
- Carefully remove the rear panel from the front panel of the device.
- Once the rear panel is removed, you'll be able to see the motherboard and other components within the Vtech InnoTab 3s.
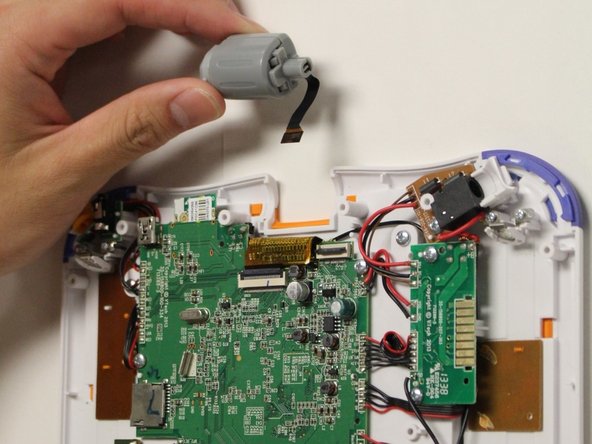
- Using the tip of your finger, carefully pull the clip upwards to release the camera connection from the motherboard.
- The connection between the motherboard and the camera is located at the near the top of the device.
- Remove the camera and the connecting wire from the the clip and attach the replacement cameras connection to the latch on the motherboard.
- Carefully lower the latch until you hear a click to secure the new camera to the device.
- Pulling or tugging on the connection between the camera and the circuit board may cause damage to the connection.