HP Spectre 13-3010dx Screen Replacement
ID: 56233
Description: This guide will aid you in replacing your...
Steps:
- Put on Anti Static Wrist Strap.
- It is always a good idea to ground yourself when working with electronics to prevent static buildup. You wear this strap to protect you and your device from accidental electrostatic discharge (ESD) damage during repairs.]
- Flip Computer Upside down.
- Unscrew the eight 3.3mm black screws on the back casing with the T4 Torx Screwdriver.
- Use the plastic opening tool to lift the back case off.
- Use the plastic opening tools first; metal spudgers can damage your device.
- Remove the six 2.0mm silver screws and the two 3.2 mm black screws using the PH00 Phillips Screw Head.
- Gently unplug from CONO851 plug, using the plastic opening tool.
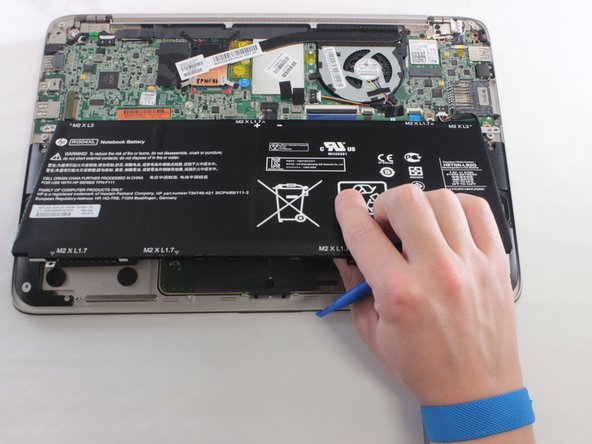
- Gently lift up the battery and remove using the plastic opening tools.
- Unscrew the two brackets using the Phillips Head #0.
- Detach the plug.
- Detach the wires that snap off.
- Peel back the tape strip.
- Grip the tape strip attached to the black plug and pull upwards to remove from port.
- Once all of the plugs are detached and the screws are removed, simply lift the bottom half of the computer away from the display unit.
- You may need to adjust the brackets that the display pivots on: they are tough to move but totally safe.