Bosch 36618 Drill Driver Teardown
ID: 56493
Description: Overview of how to take apart a Bosch 36618...
Steps:
- Remove the battery before any disassembly.
- Prepare a workspace by having a clean, level surface and any required tools within reach.
- Remove the 11 T10 Torx screws from the exterior of the drill driver.
- The screw circled in orange is recessed quite far and might not be reachable with certain T10 screwdrivers.
- After the 11 exterior screws are removed, pull the plastic housing pieces apart.
- There are no tabs or plastic flaps holding the two pieces together. Pull straight up and the two pieces should separate easily.
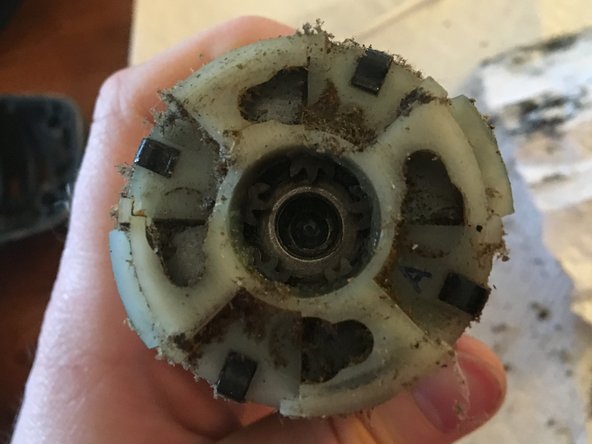
- Check out all that dust by the motor, that can't be efficient!
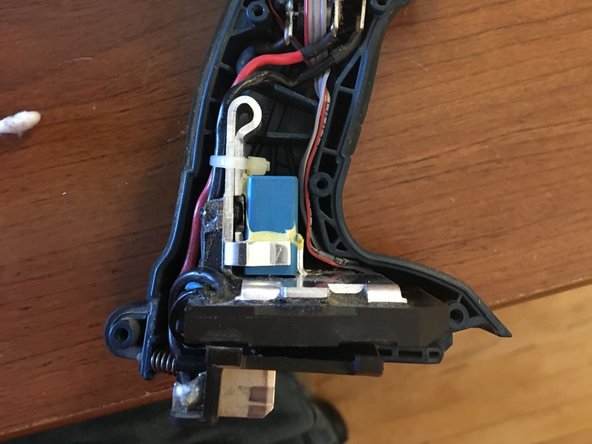
- The second picture is a closer up shot the side with all the electronic goodies.
- The motor and chuck assembly can be pulled up and out.
- Be aware of the speed selector (first picture) which is slotted onto the motor and chuck assembly as you remove it.
- Remove the electrical connections. The colors are marked on the motor so no need to remember which side is which.
- The electrical connections are spade terminals with a little locking piece on the front (non flat) side of the spade. Push the lock to the back and pull the connector straight out.
- What's remaining is the motor and chuck assembly (third picture).
- The chuck can be removed with a hex key, I didn't go that far in the disassembly.
- The motor can be removed from the chuck assembly with a clockwise twist.
- The two red boxes in the first picture depict where the separation will occur.
- The second picture shows the connection on the chuck assembly side.
- The third picture shows the connection on the motor side.
- Remove the black plate on the motor by removing the two T15 Torx screws.
- When reassembling, slotting the gear pictured to the left back into the chuck assembly can be finicky. Be patient and take your time.
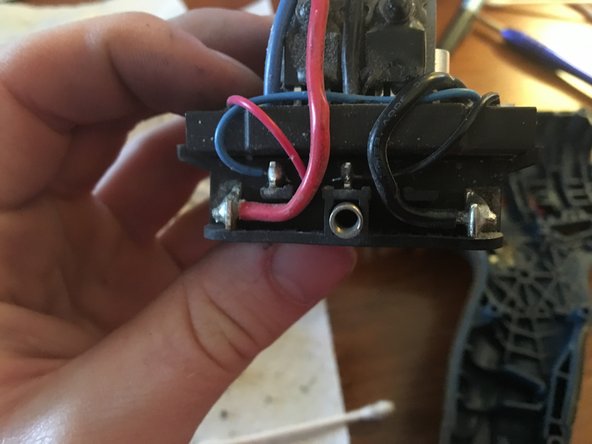
- Here are some closeups of a few electrical connections.
- Picture 1: connections to the trigger assembly.
- Picture 2: connections on the rear of the battery receptacle.
- Picture 1: closeup of the forward, revers, and lockout assembly.
- Picture 2: be cautious of this spring behind the battery receptacle, it likes to fall out.
- Insert wisdom here.
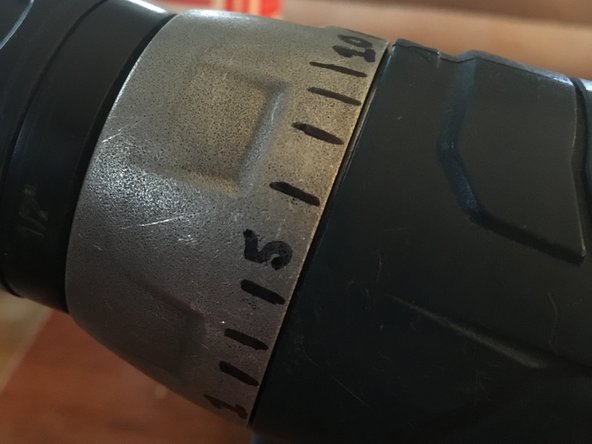
- Here's the thoroughly cleaned and fully reassembled drill. No extra pieces, yay!
- Picture 2. I relabeled the torque ring with Sharpie so that the markings were legible again.
- Look at all that dust and particulates that were gunking up the drill! I'm sure the drill driver will operate more smoother and efficiently now.
- Thanks for looking at my teardown! Happy fixing!