TiVo Series 2 TCD24008A Motherboard Replacement
ID: 6786
Description: The Motherboard contains all the 'brains' of...
Steps:
- Unscrew the five 0.31 inch T-9 screws on the back cover.
- Slide the cover towards the back until it is no longer under the front cover.
- Lift the cover up and off the device.
- Unscrew the 0.31 inch T-9 size screw on the back panel
- Unscrew the two 0.59 inch T-8 size screws on the back panel
- Unplug the fan from the motherboard by gently pulling up on the red plug.
- Unplug the ribbon attaching the front panel sensor by pulling it upwards gently.
- Unplug the ribbon connecting the hard drive to the motherboard by pulling straight up on the ribbon. This may require some gentle wiggling.
- Unplug the ribbon connecting the power supply to the motherboard by pulling upwards on this ribbon.
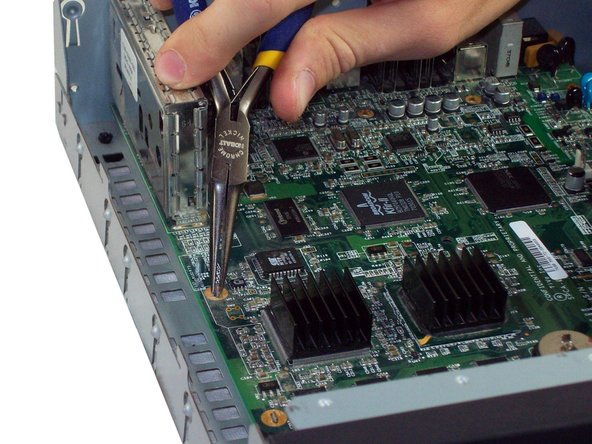
- Locate the four metal tabs on the motherboard.
- Using Pliers, bend each of the tabs until they align straight with the holes underneath them.
- Bend these just enough to slip them through the holes. Over-bending could snap these tabs. While this won't affect how the TiVo functions, they are there to secure the motherboard to prevent damage.
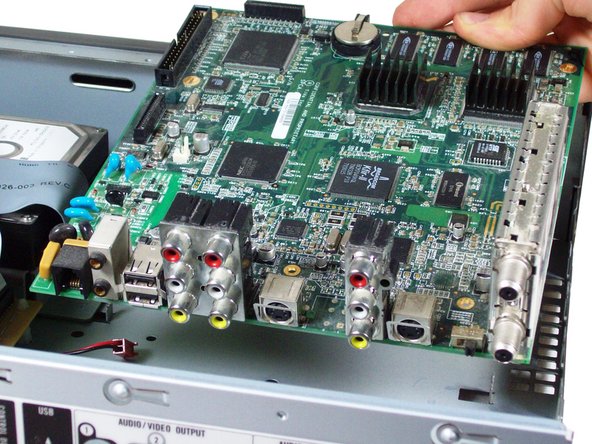
- Locate and remove the four 0.31 inch T-9 size screws at the front of the motherboard.
- Pull directly up on the motherboard so that it slips over the four golden metal tabs.
- Pull up and away from the back panel so all of the cable inputs slip through the casing.