Acer AL1916 EMI Shield Replacement
ID: 6993
Description: The EMI shield protects the power supply and...
Steps:
- Lay the monitor on a flat surface so that the back is facing up.
- Grab the hinge cover with both hands on either side of the stand.
- Squeeze inwards with your thumbs and fingers and lift up to remove the hinge cover.
- Remove the four 12.1 mm Phillips #2 screws that hold the stand to the monitor.
- Support the monitor while removing the screws to prevent the monitor from falling.
- Lift up to detach the stand.
- Remove the five 9.5 mm Phillips #2 screws located around the perimeter of the monitor.
- Starting at the corner of the monitor, wedge the small plastic opening tool between the back cover and the display bezel.
- Tilt the plastic opening tool up to separate the back cover from the display bezel.
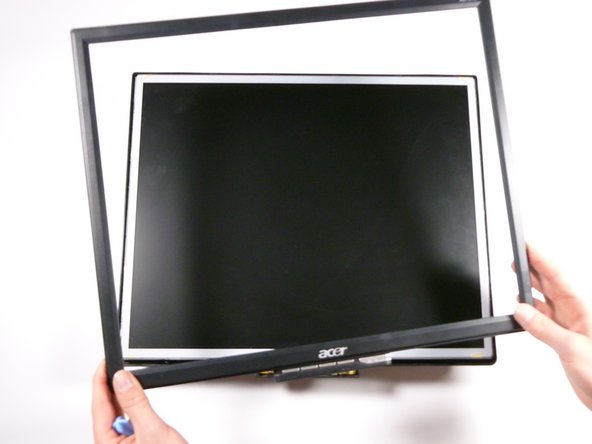
- Continue around the perimeter of the monitor until the display bezel comes off.
- A reasonable amount of force is necessary to detach the back cover from the display bezel.
- Reposition the monitor so that the back is facing up.
- Grab the corners of the monitor and jiggle them upwards to detach the back cover from the inside of the monitor.
- Lift the back cover up.
- Remove the two 5.7 mm Phillips #2 screws located on either side of the EMI shield.
- Using a nut driver (or if necessary, needle-nose pliers), remove the two nuts on either side of the VGA input.
- Grab the metal casing by the sides and slide it down towards the bottom of the monitor.
- Lift up to remove the metal casing.
- Beware, metal casing is sharp!