Creative Zen Vision M Screen Replacement
ID: 72554
Description: This guide demonstrates how to replace a...
Steps:
- Pop off the top plastic on the device with a flat tool like a flathead screwdriver.
- Unscrew and remove the two exposed Phillips head screws.
- Work your way around the recess of the device with a flat tool like a flathead screwdriver.
- Don't try attempt to open it from the recess between the buttons and the device.
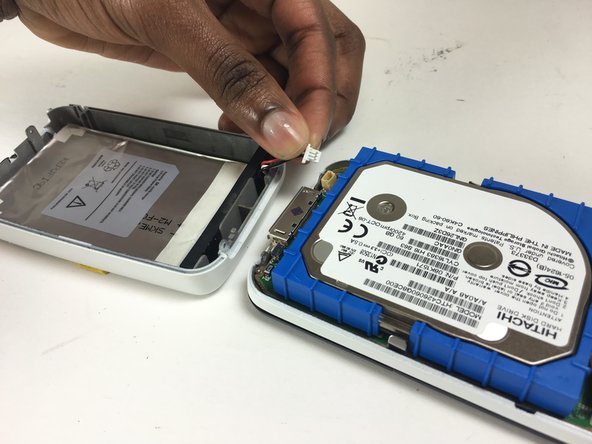
- Disconnect the wire from the bottom device.
- Handle with care as the wires tend to disconnect easily.
- In the top right corner, pull the black foam square off to separate the hard drive from the screen.
- Handle with care as the hard drive also comes off easily.
- Unscrew the seven screws placed around the mother board.
- You will need a one millimeter Phillips head screwdriver.
- The screws are small, so keep them safely.
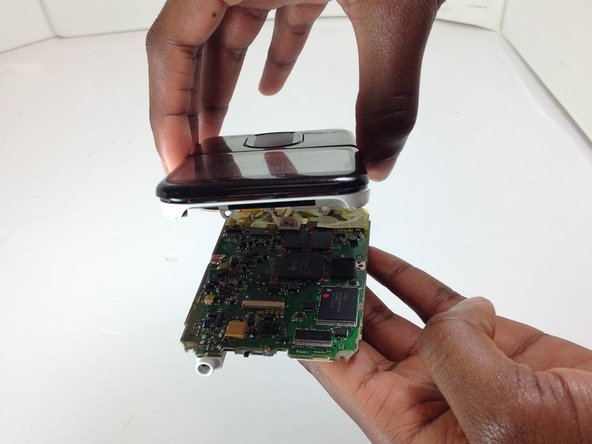
- Flip your device upside down so that the motherboard will loosen.
- Detach the connector from the motherboard.
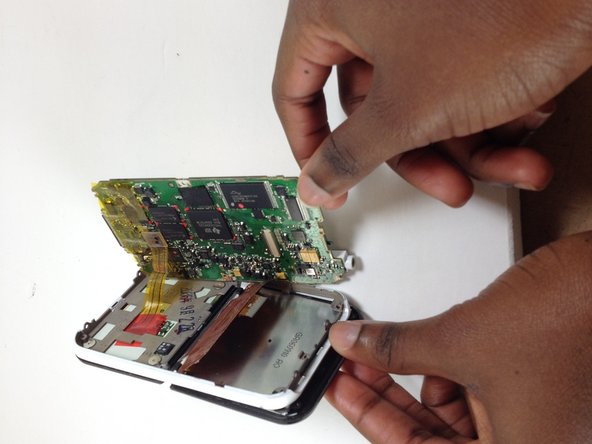
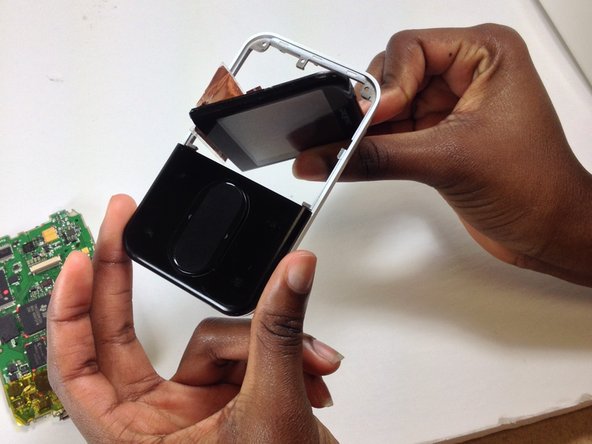
- Tilt the screen diagonally. Separate the screen and motherboard from the device frame.
- Lift the light gray flap to detach the screen from the motherboard.
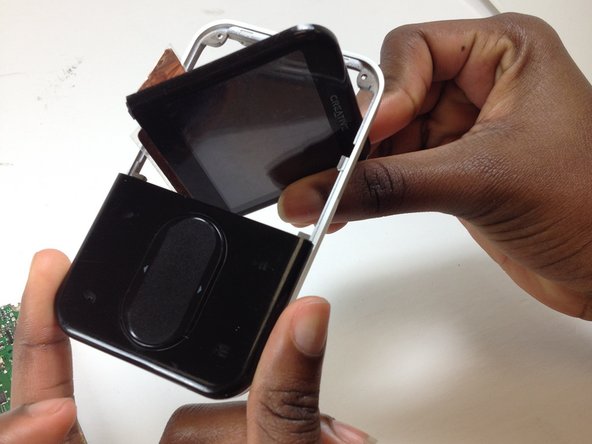
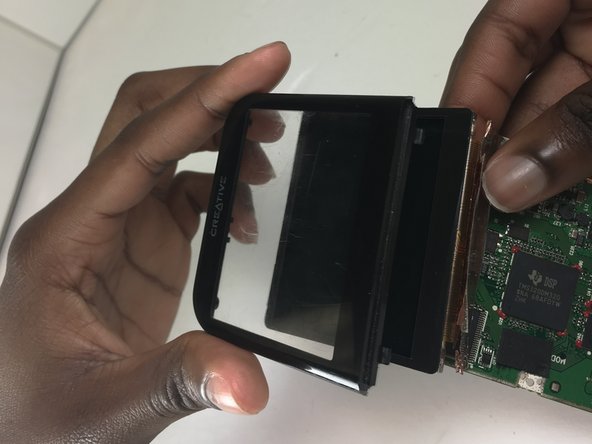
- Separate the clear screen frame from the digital display.