Insignia Flex 10.1 NS-P16AT10 Camera Replacement
ID: 72559
Description: This guide will show you how to replace the...
Steps:
- Make sure your device is off and not connected to any power sources to avoid injury
- Use a plastic opening tool to remove the rear panel from the front case.
- Insert the plastic opening tool between the front case and rear panel. Use a prying motion to lift the front case from the rear panel.
- The volume rocker and power button will become free from the device when the front and rear panels are separated from each other. Do not worry. These pieces are easily put back into place when reassembling the tablet.
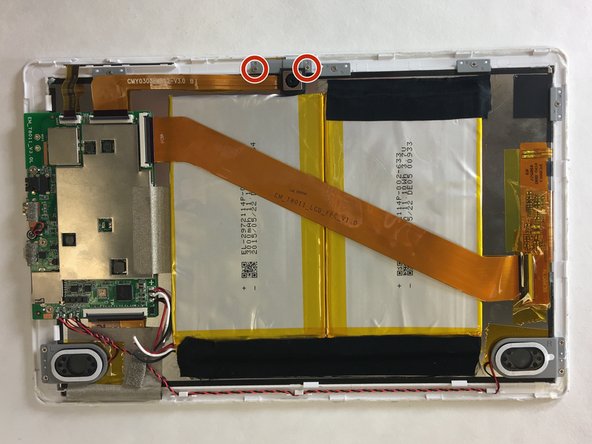
- Use a plastic opening tool to flip up the ribbon connector that connects the camera to the motherboard.
- Free the ribbon cable from the motherboard.
- Use a #00 Phillips head screw driver to remove the two screws that hold the camera down to the front case.
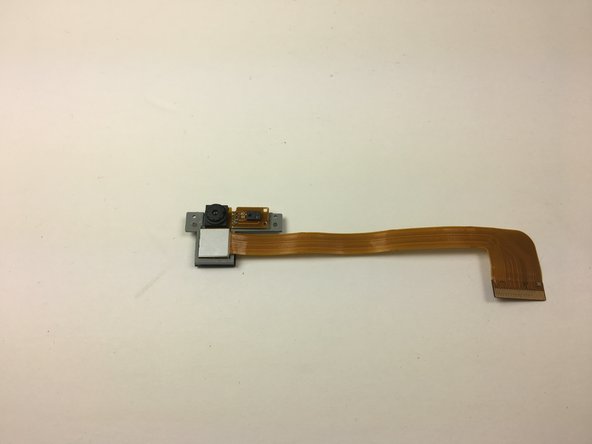
- Use tweezers or your fingers to remove the camera from your Insignia Flex 10.1 NS-P16AT10.
- The camera is now free and ready to be replaced.