Garmin Nuvi 2689LMT Screen Replacement
ID: 72811
Description: In this guide, we are going to provide...
Steps:
- Remove the stand by depressing the tab and rocking the round interface back away from the tab, pulling it away from the Garmin unit.
- Remove the four 4mm hex screws from the four corners of the unit using a T5 bit.
- Place the unit screen-side down flat, with the bottom facing you. There are two seams; the one on top is artificial.
- This is the real seam—open it with a plastic opening tool in step 4.
- Firmly force a plastic spudger into the bottom seam and pry open a section. Use a prying/pushing motion to force the tool into the unit until you feel a click.
- Repeat this all the way around the seam.
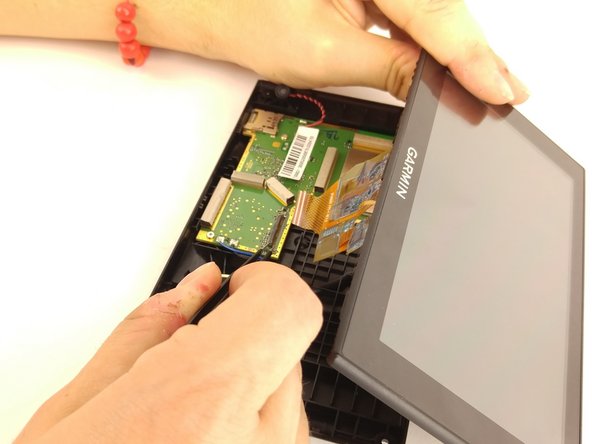
- Do not attempt to separate the unit until all the tabs have been separated. Once the seam is completely separated, you can lift the back away from the screen easily.
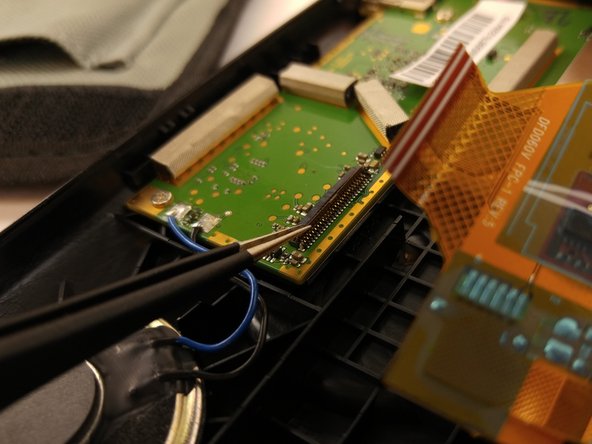
- Retrieve a new screen and connect the flat-gold wire to the socket from where you removed the old screen.