Timer Switch Relay Replacement
ID: 75188
Description: The guide shows how to replace the relay...
Steps:
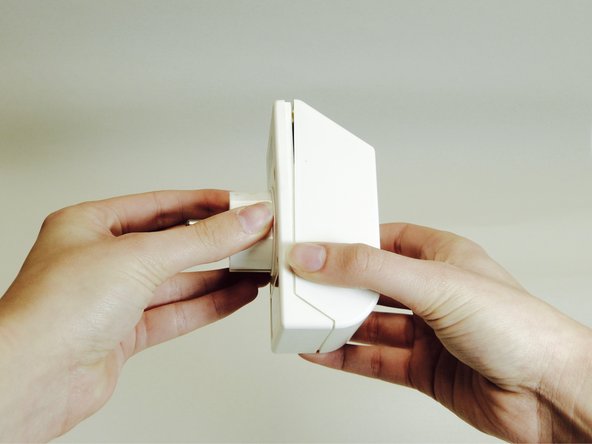
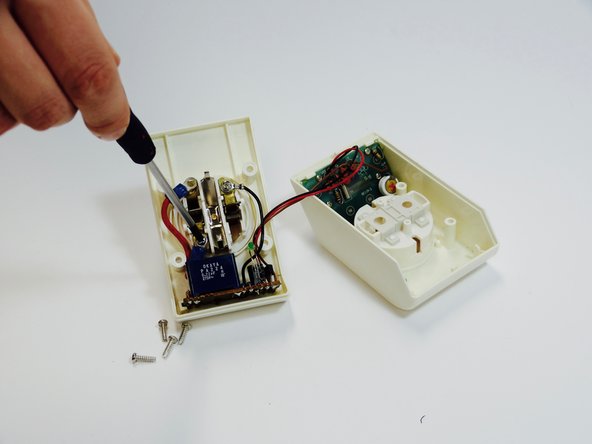
- Locate the screw holes.
- Use the #1 Phillips head screwdriver to remove the screws. This may cost some prying effort.
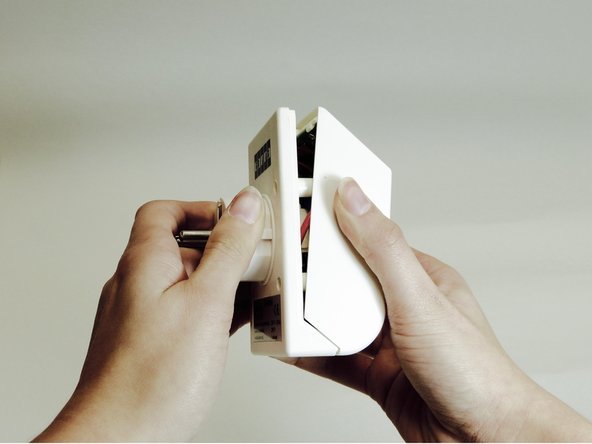
- Open the case by pulling the back case from the front case.
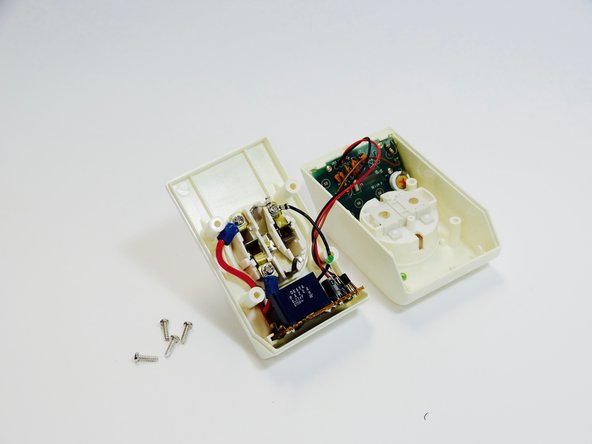
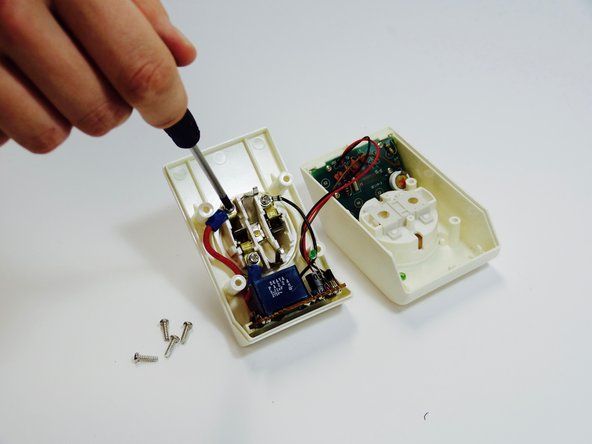
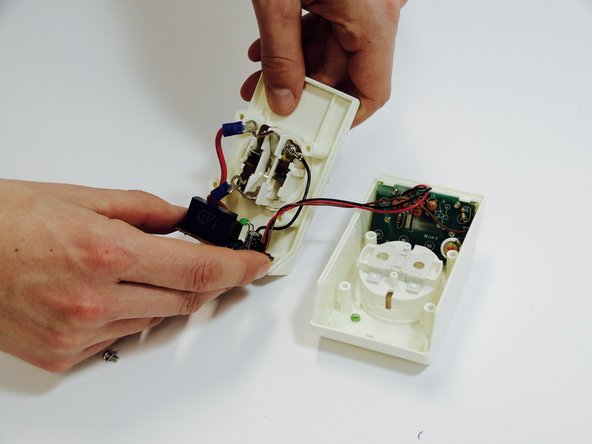
- Use the #1 Phillips head screwdriver to remove the screws on the inside.
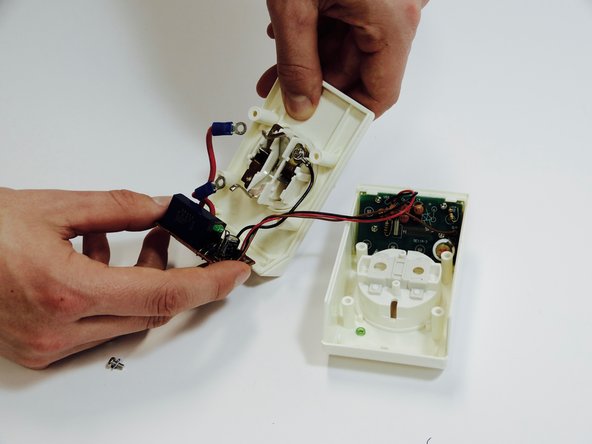
- Pull the PCB (printed circuit board) from the case.
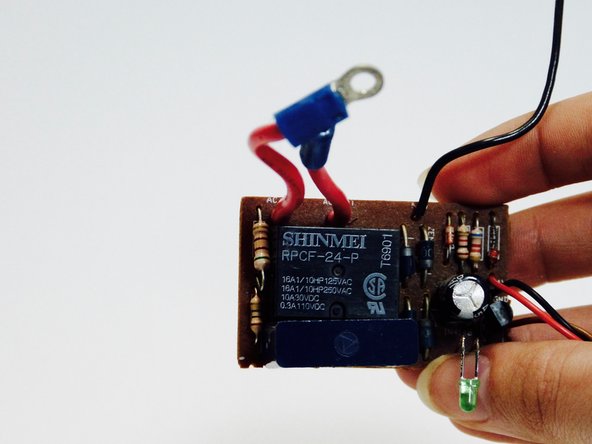
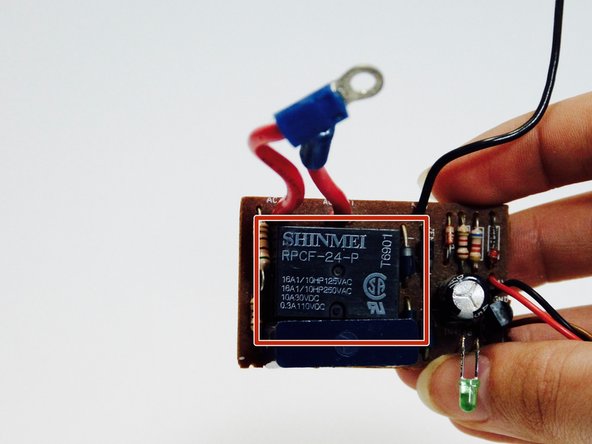
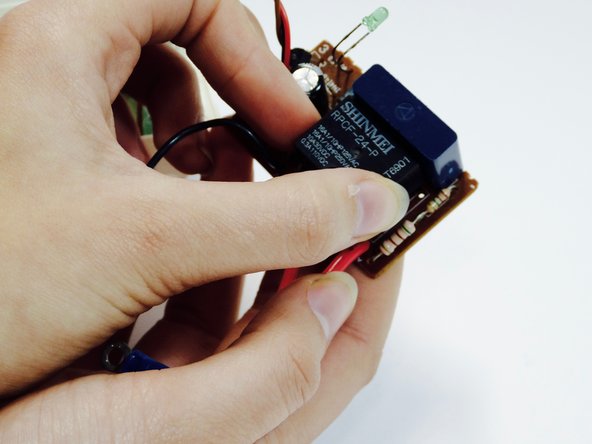
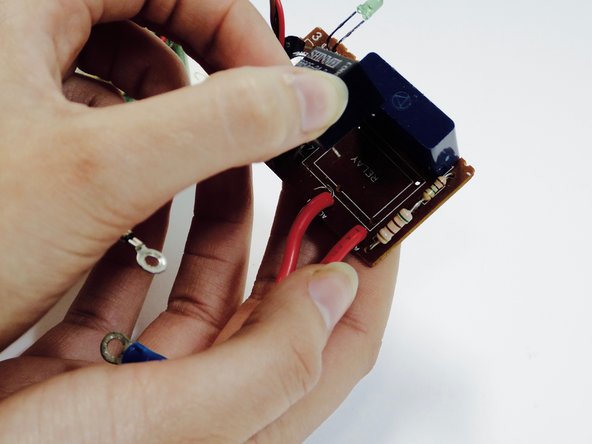
- Locate the relay.
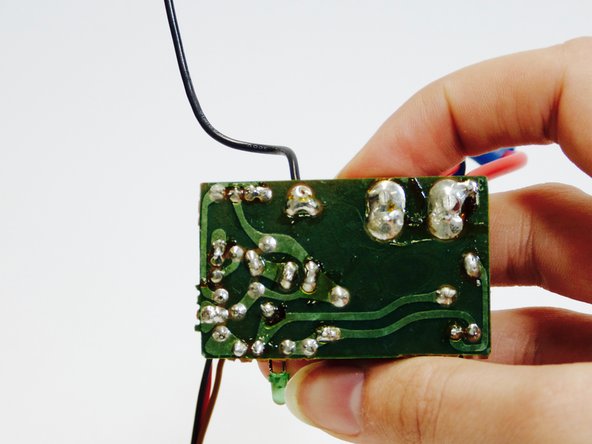
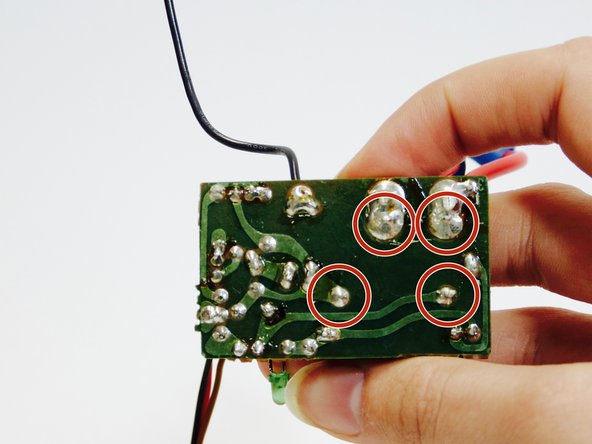
- Locate where the relay is connected to the PCB.
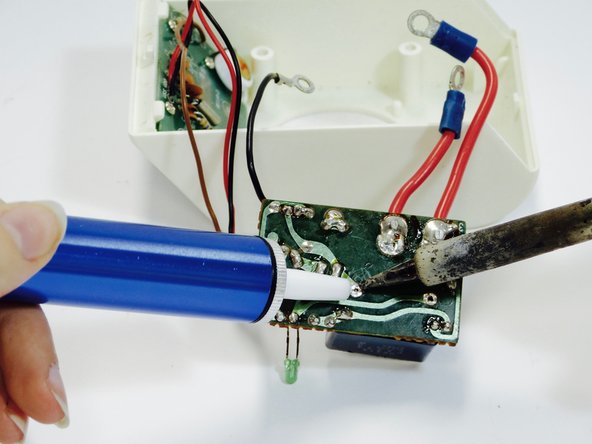
- Melt the solder with the soldering iron.
- Don't burn yourself by touching the hot soldering iron tip.
- Use the desoldering pump to suck up the old solder.
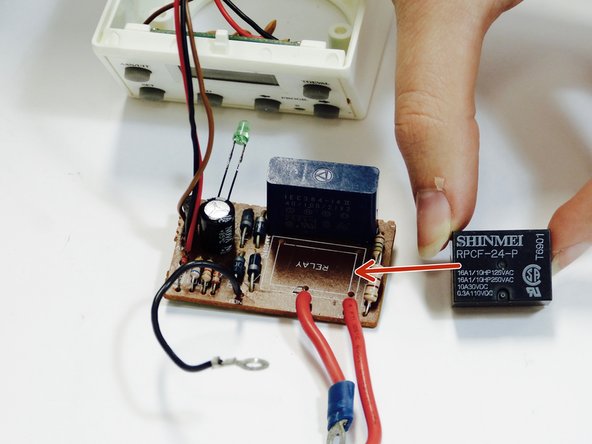
- Pull the relay from the PCB.
- Put a new relay at the same place as the old relay.
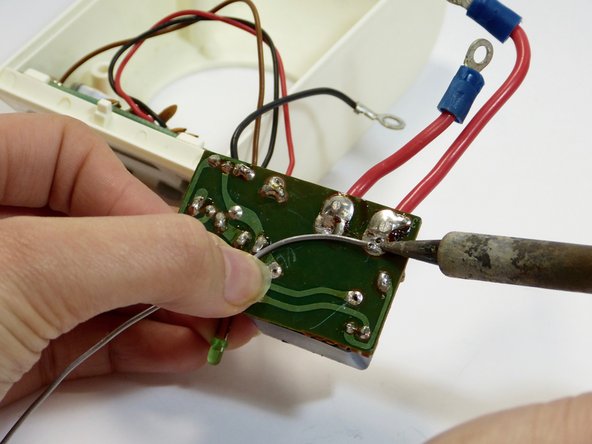
- Use new solder and the soldering iron to connect the new relay to the PCB.
- Don't burn yourself by touching the hot soldering iron tip.