Samsung BD-H5100 Disk Tray Replacement
ID: 75221
Description: This guide will teach how to remove and replace...
Steps:
- Use the Phillips Head #2 screwdriver to remove the three 10mm screws on the back panel.
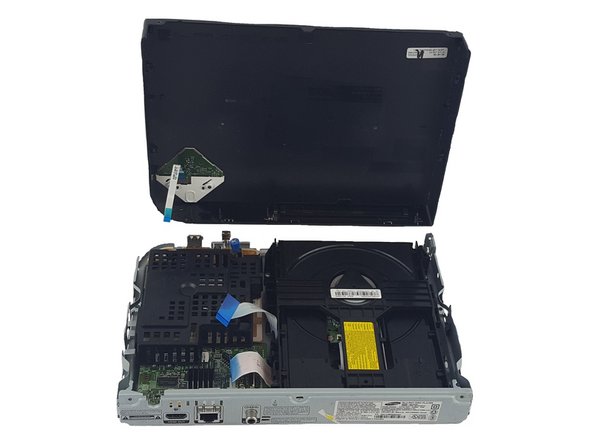
- Use the plastic spudger to pry open the top panel.
- Be careful not to break the ribbon connecting the motherboard on the bottom panel to the top panel.
- Pull the ribbons gently from one corner by the blue tabs to remove it.
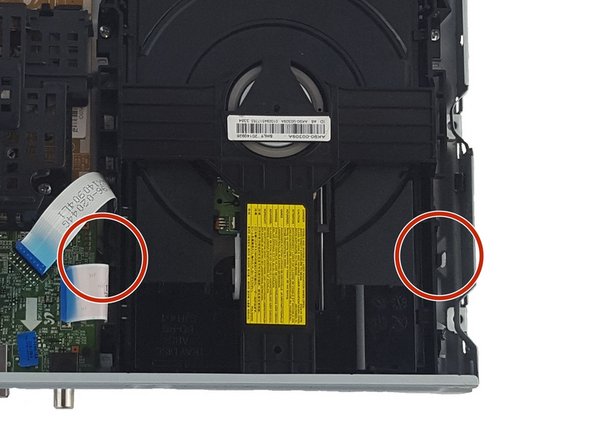
- Remove the two 7.5 screws on both sides of the disk tray with Phillips Head #2 screwdriver.
- Push two small prongs on both sides inwards and push forward.
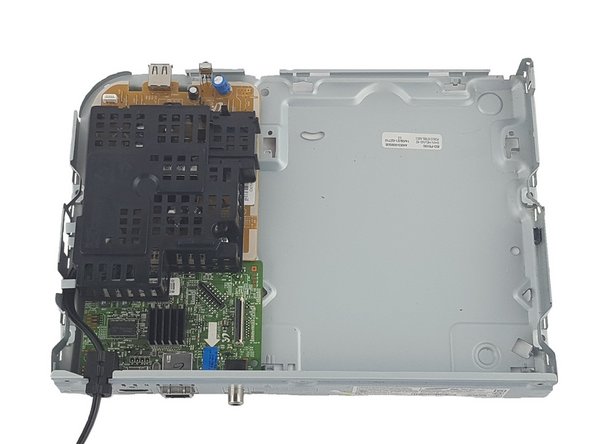
- Remove the disk tray.