Dell Alienware M11x R3 2.5" Hard Drive Replacement
ID: 87628
Description: This guide for the Dell Alienware M11xR3 (model...
Steps:
- Loosen the eight retaining screws on the base of the computer with a small Phillips screwdriver.
- The screws have retaining washers to hold them in place, so you don't have to remove them from the base plate.
- Remove the bottom cover from the laptop.
- Remove the three screws attaching the hard drive tray to the laptop.
- Grasp the plastic tab provided, and gently pull up. This will unplug the drive from the laptop.
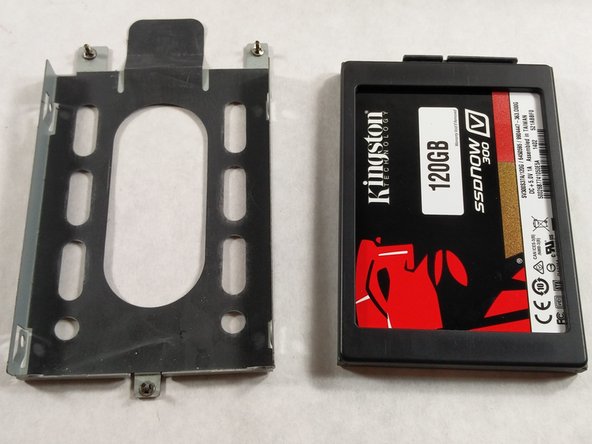
- On both sides of the cage, there are two screws you have to unscrew to be able to remove the SSD.
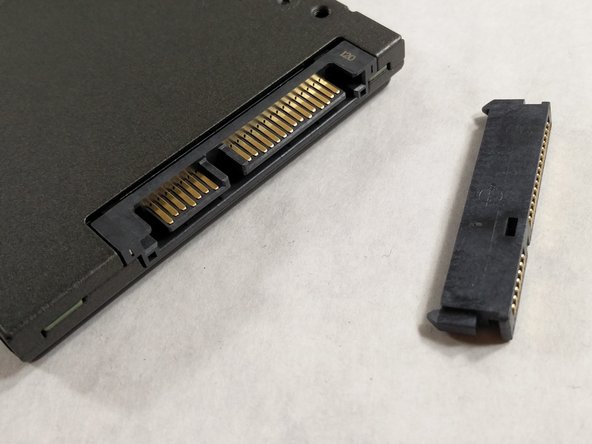
- Finally, remove the L connector for the hard drive. You will need to put this on your new hard drive.
- Make sure that the SSD you bought to replace this one has the same connections. I.e. able to connect to a SATA cord.