Dell Vostro 1400 Screen Replacement
ID: 87640
Description: This guide will show you the proper steps to...
Steps:
- Be sure the power is off and all cables are unplugged from the device before starting.
- After flipping over the laptop, the battery is on the bottom side of the laptop.
- Find the tabs on both the left and right side of the battery.
- Push tabs toward the outside of the laptop until they lock in place.
- Push the battery forward to eject it from the laptop.
- Please make sure your device is completely turned off and everything is unplugged from the device
- Open the laptop.
- Remove the 6 screw hole covers surrounding the screen.
- Remove the 6 screws that were underneath the screw covers.
- Carefully remove the plastic surrounding the screen by pulling off, starting at the bottom.
- Remove the two (2.5mm x 5mm) screws at the top, by the camera.
- Remove the two 5mm screws from the camera above the screen.
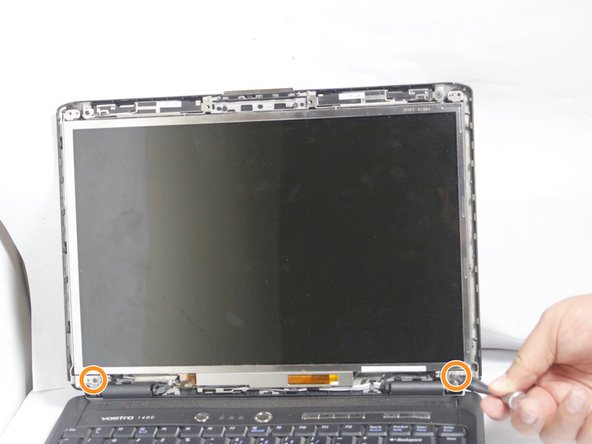
- Remove the two 5mm screws from the bottom of the screen.
- Carefully remove the screen from the back cover.
- Lift up the black tag holding the camera and cable together.
- Unplug the camera from the cable.
- Unplug the two cables connected to the screen.
- Remove the six 3mm screws on each side of the screen.
- Remove the railing on each side of the screen.
- The railing will be marked "L" for left side or "R" for the right. This should assist in reassembly.