Acer Aspire One 751h-1948 Display Replacement
ID: 87699
Description: This guide will help you replace the display of...
Steps:
- Close the laptop and flip it over to view the back of the laptop.
- Unlock the right side of the battery by sliding the battery lock to the right. Then slide the left lock to the left and remove the battery.
- Unscrew the two Phillips #0 (M2-L2.5 mm) holding down the network card panel.
- These screws don't come all the way out.
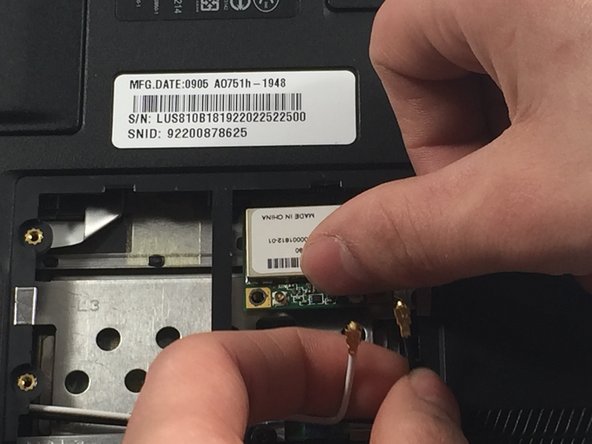
- Unplug the two connecting cables by lifting them up. They should unclip easily.
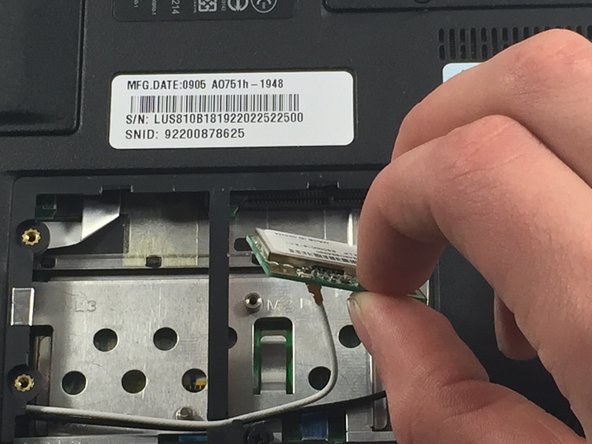
- Remove the screw Phillips #0 (M2-L3 mm) holding down the network card. Pull out the card.
- Unscrew the Phillips 0# (M2 L2.5 mm) screw and remove the cover panel.
- These screws will not come out all the way.
- Remove the hard drive by sliding it to the left and pull it out.
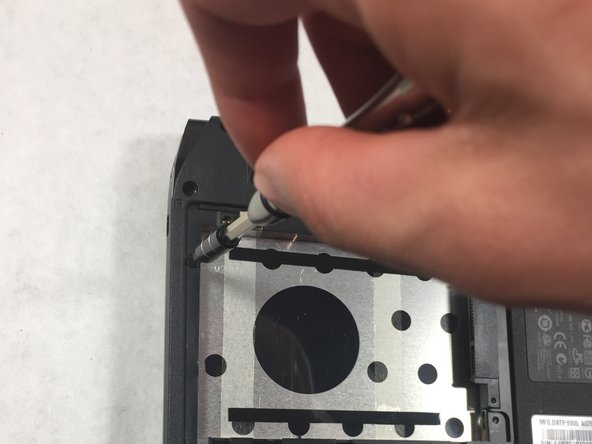
- Unscrew the Phillips #0 (M2-L2.5 mm) screws.
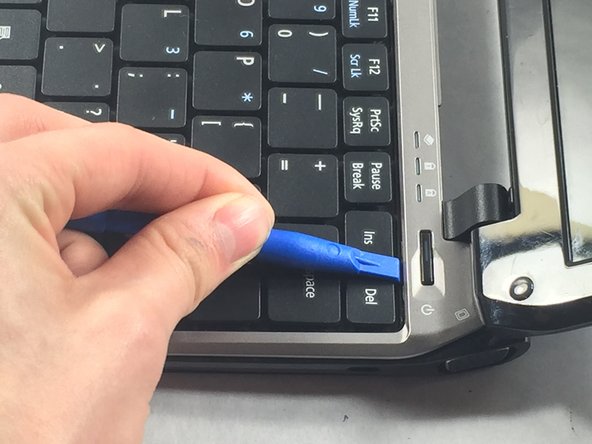
- Use the plastic opening tool to push in each of the four clips and carefully lift the keyboard.
- Don't lift the keyboard completely so that you don't damage the ribbon cable underneath.
- When you remove the keyboard, be careful not to damage the ribbon cable that attaches it to the motherboard.
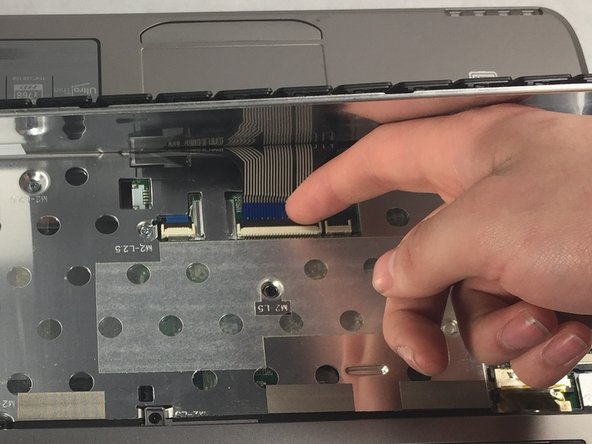
- Unplug the ribbon cable by gently lifting the black tab up. Then remove the cable.
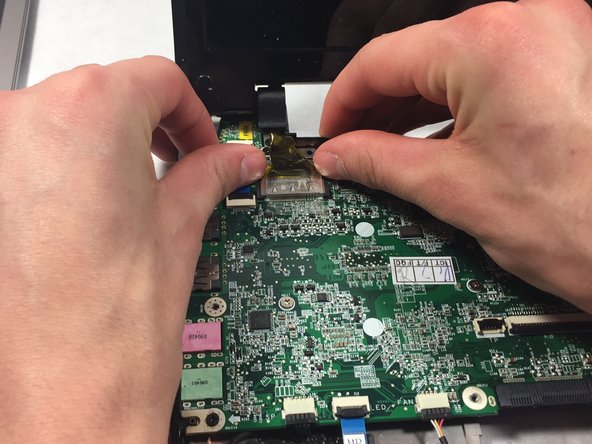
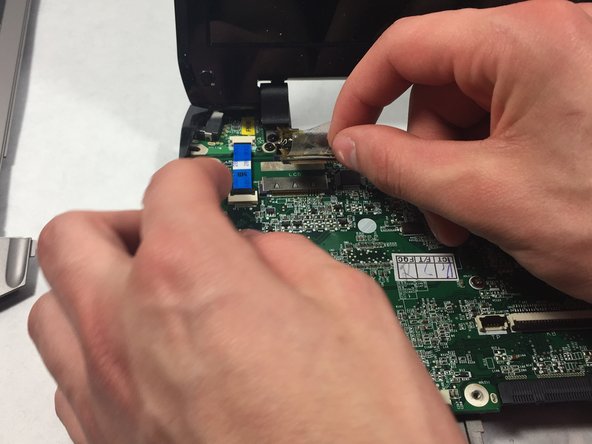
- Unplug the SCD cable
- Use the spudger to remove all rubber pads covering the screws for the upper casing.
- Then unscrew all the Phillips #0 (M2-L5 mm) screws under rubber pads.
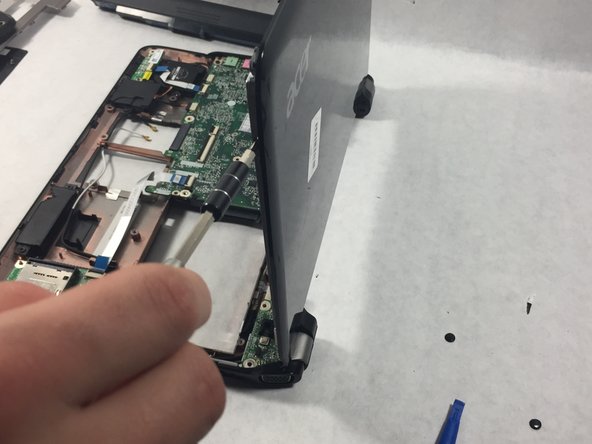
- Separate the upper casing from the display.
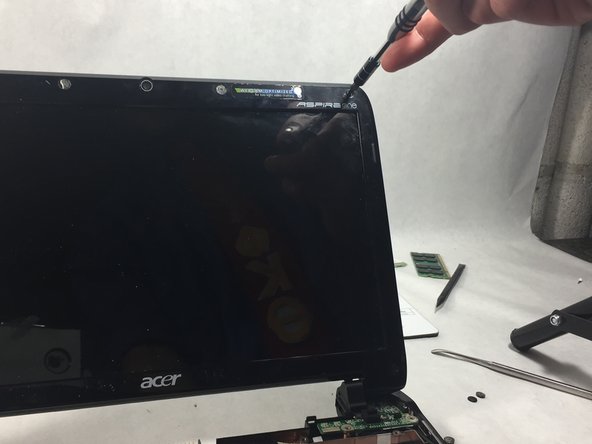
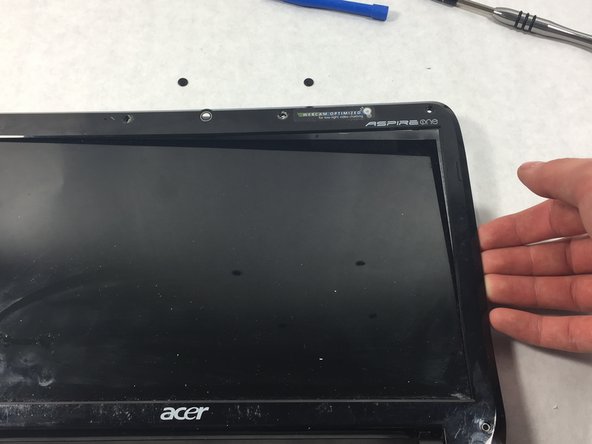
- Unscrew all the Phillips 0# (M2-L2.5 mm) on each side of the display.
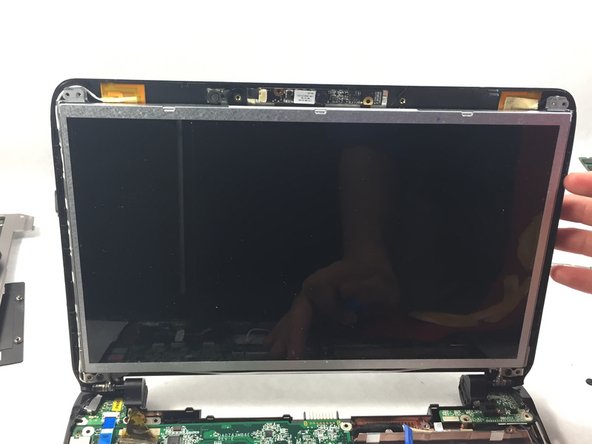
- Separate the screen from the metal frame that secures it to the upper casing and remove the screen.
- Be careful, the display is very sensitive.