Huawei P8 Display Replacement
ID: 95219
Description: Use this guide to remove and replace the...
Steps:
- First switch off your phone.
- Remove the trays for the SD card and the SIM card.
- Remove the two Torx T2 screws located at the bottom next to the micro USB port.
- If the screen is cracked you might want to use some tape to protect your eyes from glass shreds and get a better grip to open the phone.
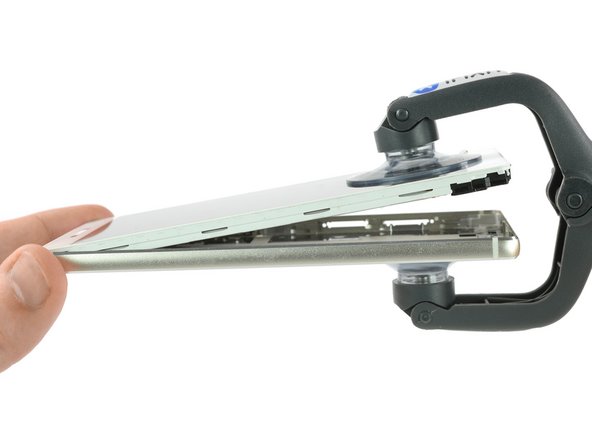
- Use an iSclack or a suction handle to separate the display unit from the rear panel.
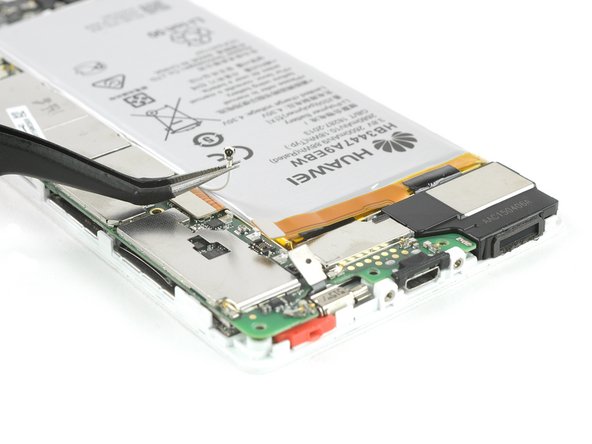
- Remove the two Phillips #00 that hold down the two metal clamps covering the front camera, the display and battery flex connectors.
- Use a tweezer to remove the metal clamp covering the display and the battery flex connector.
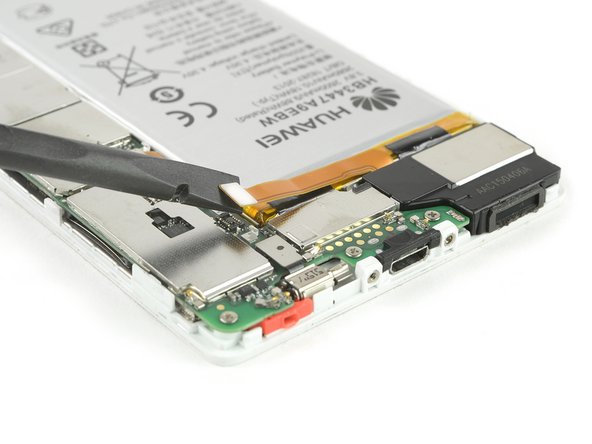
- Unplug the battery flex connector with a Spudger.
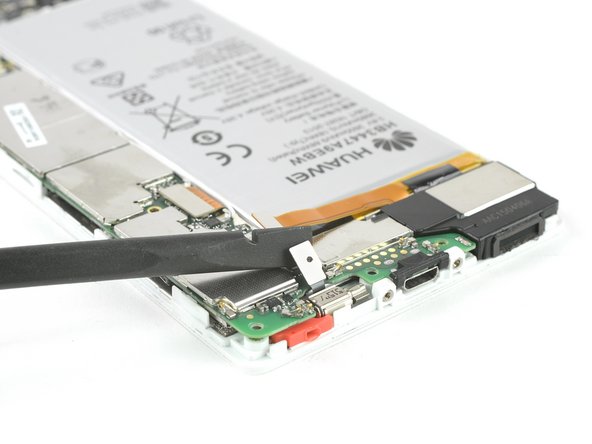
- Remove the metal clamp covering the flex connector of the front camera.
- Unplug the headphone jack and the front camera flex connectors.
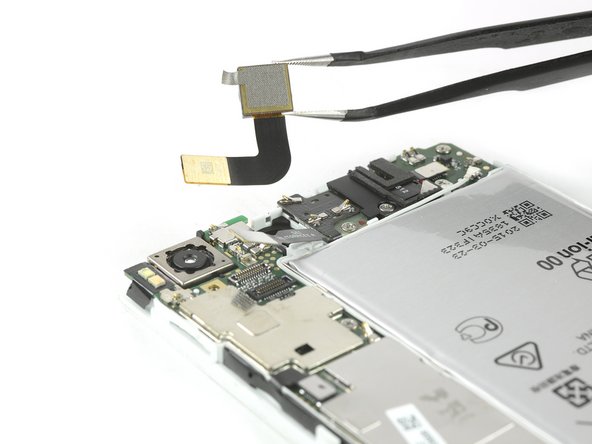
- Remove the front camera.
- Unscrew the four Phillips #00 screws that hold down the motherboard of your Huawei P8.
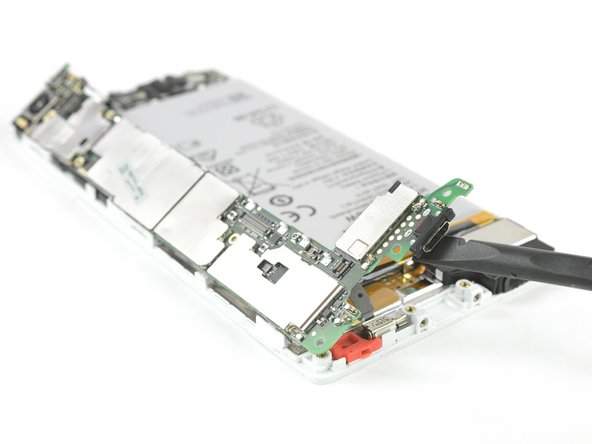
- Unplug the vibration motor flex connector.
- Disconnect the antenna cable.
- Unplug the display flex connector from the main board with a Spudger.
- Disconnect and remove the antenna cable with a tweezer.
- Use a spudger to disconnect the flex cable of the power and volume buttons.
- Remove the liquid contact indicator that sits on top of the last screw holding down your main board.
- Unscrew the Phillips #00 screw.
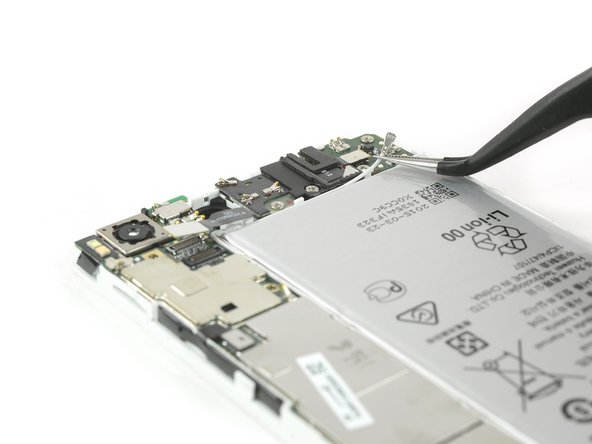
- Lift up the main board with a spudger and remove it.
- Remove the adhesive tape which is covering the display flex cable.
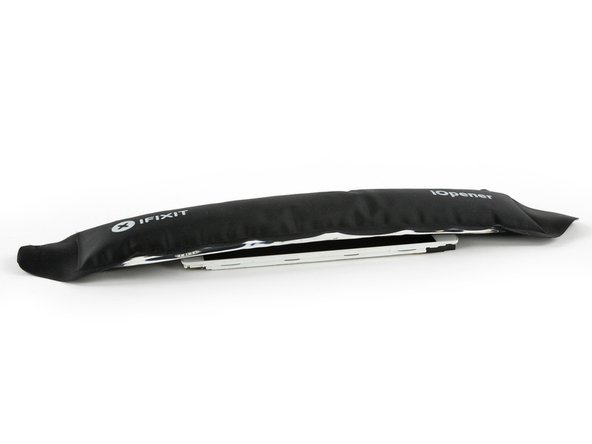
- Loosen the adhesive around the mid frame with an iOpener.
- In particular take care of the adhesive under the top and bottom of the display.
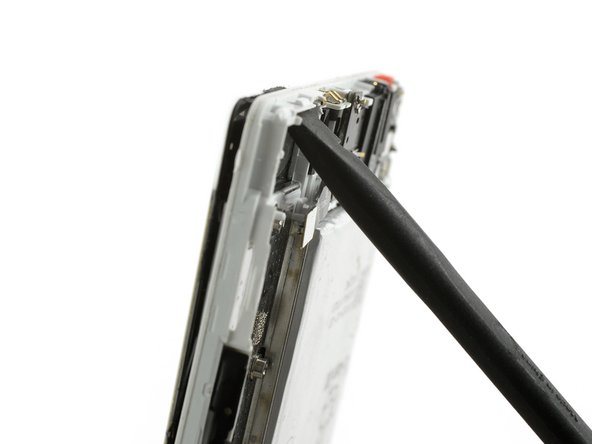
- When the glue is softened you can use a spudger to get behind the display through the camera bay and get between the frame and the display.
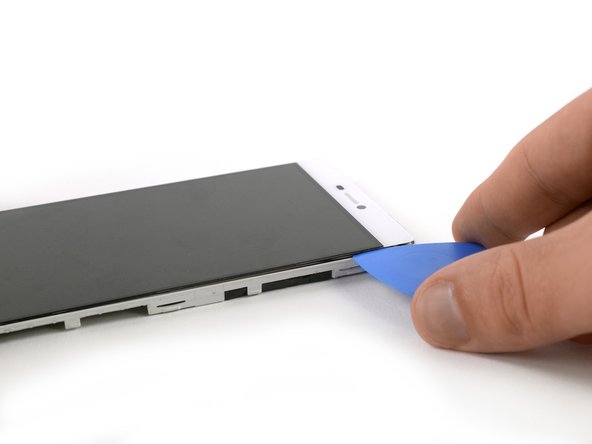
- Insert an opening pick in the gap where you separated the display from the mid frame.
- Insert just the tip of the opening pick and slide it along the right side to separate the display from the frame.
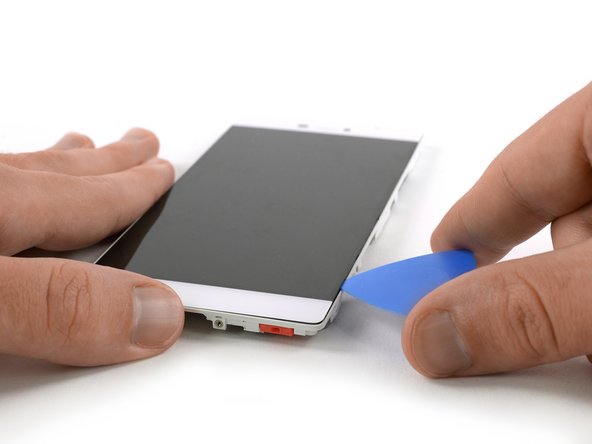
- Insert another opening pick at the top of the phone and loosen the adhesive under the upper part of the display.
- Insert just the tip of the opening pick and slide it along the left side of the phone to separate the display from the frame.
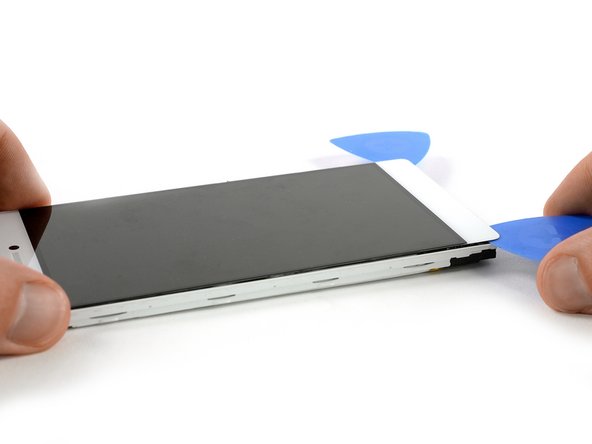
- Loosen the adhesive under the bottom part of the display unit with the opening pick.
- Flip the opening pick a little to separate the display from the mid frame.
- If you notice that there is still some adhesive which isn't loosened, use the iOpener to loosen it and slide once more along the mid frame with an opening pick.
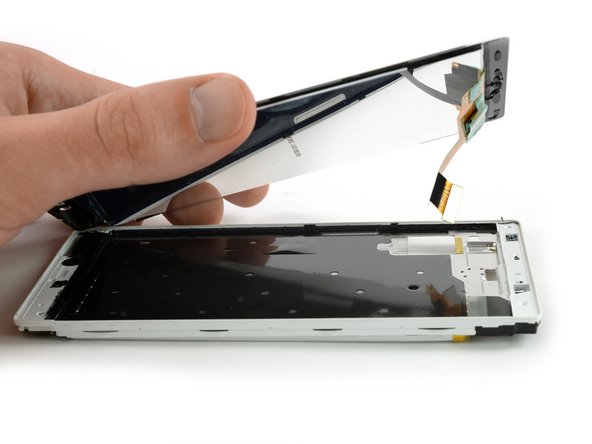
- Lift up the display and remove it.
- The display flex cable should easily go through the recess in the mid frame while removing the display.